
自建 Bangumi API 和图片反代
最近 Bangumi 被墙了,我站上有些内容靠它的接口和图片撑着,干脆自己搭个反代。
不想自己搭的,直接用我的也行:
- API 反代:https://bgmapi.anibt.net
- 图片反代:https://bgmimg.anibt.net
配置都在仓库里。
方案一:nginx 部署
Client -> Cloudflare -> nginx origin -> api.bgm.tv / lain.bgm.tv安装 nginx
我用的是 N.WTF 打的 nginx 包,模块全,sub_filter、realip 这些直接就有:
apt install -y lsb-release ca-certificates apt-transport-https curl gnupg dpkgcurl -fsSL https://n.wtf/public.key | gpg --dearmor -o /usr/share/keyrings/n.wtf.gpgcat > /etc/apt/sources.list.d/n.wtf.sources <<'EOF_NWTF'Components: mainTypes: debUris: https://mirror-cdn.xtom.com/sb/nginx/Suites: trixieArchitectures: amd64Signed-By: /usr/share/keyrings/n.wtf.gpgEOF_NWTFapt updateapt install -y nginx-extras certbot python3-certbot-nginx nftables申请证书
先建个 webroot 目录:
mkdir -p /var/www/letsencryptchown -R www-data:www-data /var/www/letsencrypt再签证书:
certbot certonly --webroot -w /var/www/letsencrypt \ -d api.example.com -d img.example.com \ --agree-tos --register-unsafely-without-email --no-eff-email我这边一张证书同时盖住两个域名,省事,以后 Cloudflare 想切 Full strict 也不用再动证书。
nginx 配置
完整模板在仓库的 bangumi-proxy.nginx.conf,部署时把里面的占位域名换掉:
api.example.com -> 你的 API 域名img.example.com -> 你的图片域名proxy_pass https://api.bgm.tv;proxy_set_header Host api.bgm.tv;proxy_ssl_server_name on;proxy_ssl_name api.bgm.tv;
proxy_set_header Accept-Encoding "";sub_filter_once off;sub_filter_types application/json text/plain;sub_filter "https://lain.bgm.tv" "https://img.example.com";sub_filter "http://lain.bgm.tv" "https://img.example.com";sub_filter "lain.bgm.tv" "img.example.com";图片代理这边尽量不落盘:
proxy_pass https://lain.bgm.tv;proxy_set_header Host lain.bgm.tv;proxy_ssl_server_name on;proxy_ssl_name lain.bgm.tv;
proxy_buffering off;proxy_request_buffering off;proxy_max_temp_file_size 0;add_header Cache-Control "public, max-age=2592000, s-maxage=2592000, immutable" always;这里我没写 proxy_cache_path,也没开 proxy_cache。图片的缓存交给 Cloudflare 按 Cache-Control 处理,本机只管转发,硬盘上不留东西,小盘机器也不怕被塞满。
只允许 Cloudflare 访问 443
nginx 这层可以做一道校验,只放行来自 Cloudflare IP 段的连接。不过这只能算兜底,真正该拦的地方是网络层——nftables 或者云厂商的防火墙。
nftables 大概长这样:
chain input { type filter hook input priority filter; policy accept; iif "lo" accept tcp dport 443 ip saddr @cf4 accept tcp dport 443 ip6 saddr @cf6 accept tcp dport 443 drop}cf4 和 cf6 这两个集合从 Cloudflare 官方 IP 列表生成:
这些段偶尔会变,最好挂个定时任务每天拉一次,更新完顺手 reload nftables 和 nginx 的 realip 配置。
真实 IP
套了 Cloudflare 之后,nginx 直接看到的来源全是 Cloudflare 边缘节点的 IP,日志里没法用。想拿到真实客户端 IP,得先信任 Cloudflare 的 IP 段,再让它读 CF-Connecting-IP:
real_ip_header CF-Connecting-IP;real_ip_recursive on;set_real_ip_from 103.21.244.0/22;# 这里继续写完整 Cloudflare IPv4 / IPv6 段完整的 IP 段仓库模板里已经写好了,照抄就行。
验证
配置弄完,如何测试:
nginx -tsystemctl reload nginx
curl -I https://api.example.com/__healthcurl -I https://img.example.com/__healthcurl https://api.example.com/v0/subjects/1 | grep img.example.com最后那条 grep 能匹配到自己的图片域名,就说明 sub_filter 改写生效了。
图片缓存这样测:
IMG="https://img.example.com/r/200/pic/cover/l/c4/ca/1_d2tF2.jpg?cache-test=1"curl -I "$IMG"curl -I "$IMG"连请求两次,第二次返回头里出现 cf-cache-status: HIT,边缘缓存就正常了。
方案二:Cloudflare Worker 部署
不想碰 VPS 的话,直接上 Cloudflare Worker。
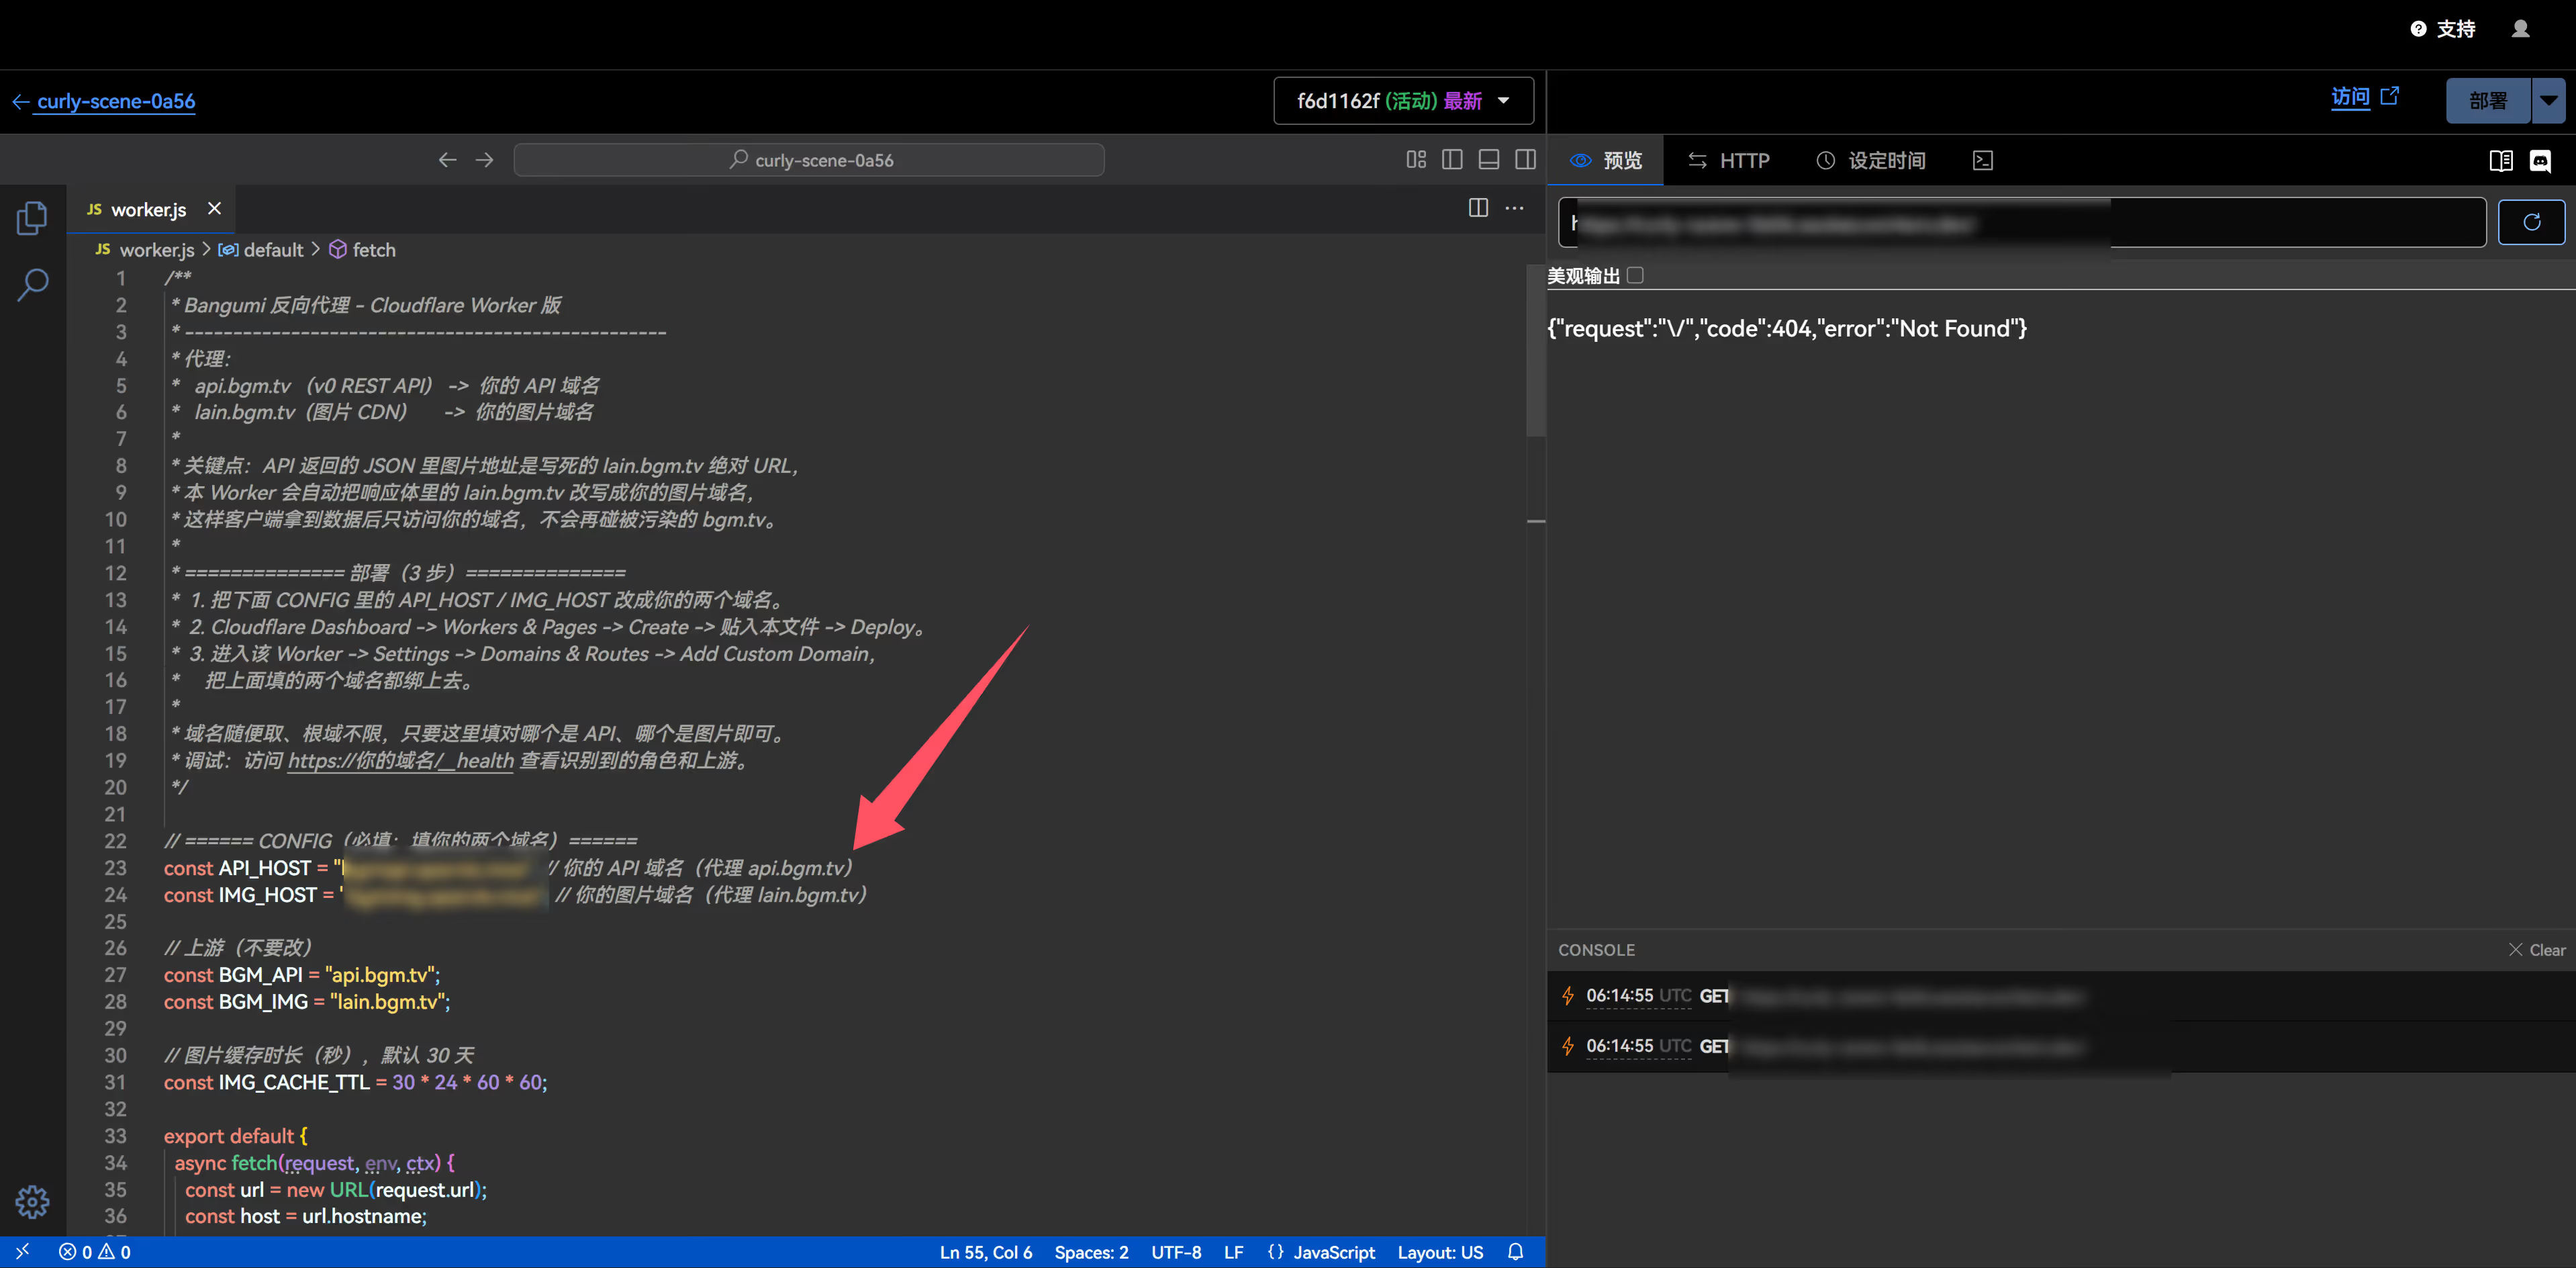
用仓库里的 worker.js,先把开头两个域名改成自己的:
const API_HOST = "api.example.com"const IMG_HOST = "img.example.com"- Cloudflare Dashboard 新建 Worker
- 把
worker.js整个粘进去 - 改掉
API_HOST和IMG_HOST - Deploy
- 在 Worker 的 Domains & Routes 里绑上两个自定义域名
要提醒一句:Worker 比较适合个人小流量用,不建议公开。
小结
我的公开地址就放这了:
CORS 开成了 Access-Control-Allow-Origin: *,谁都能直接调。