Chevereto v4 Pro: Personal Image Hosting Setup Guide and Troubleshooting
Cracked trial download (for testing only): Link
1. Installation with BaoTa (aaPanel)
Environment requirements
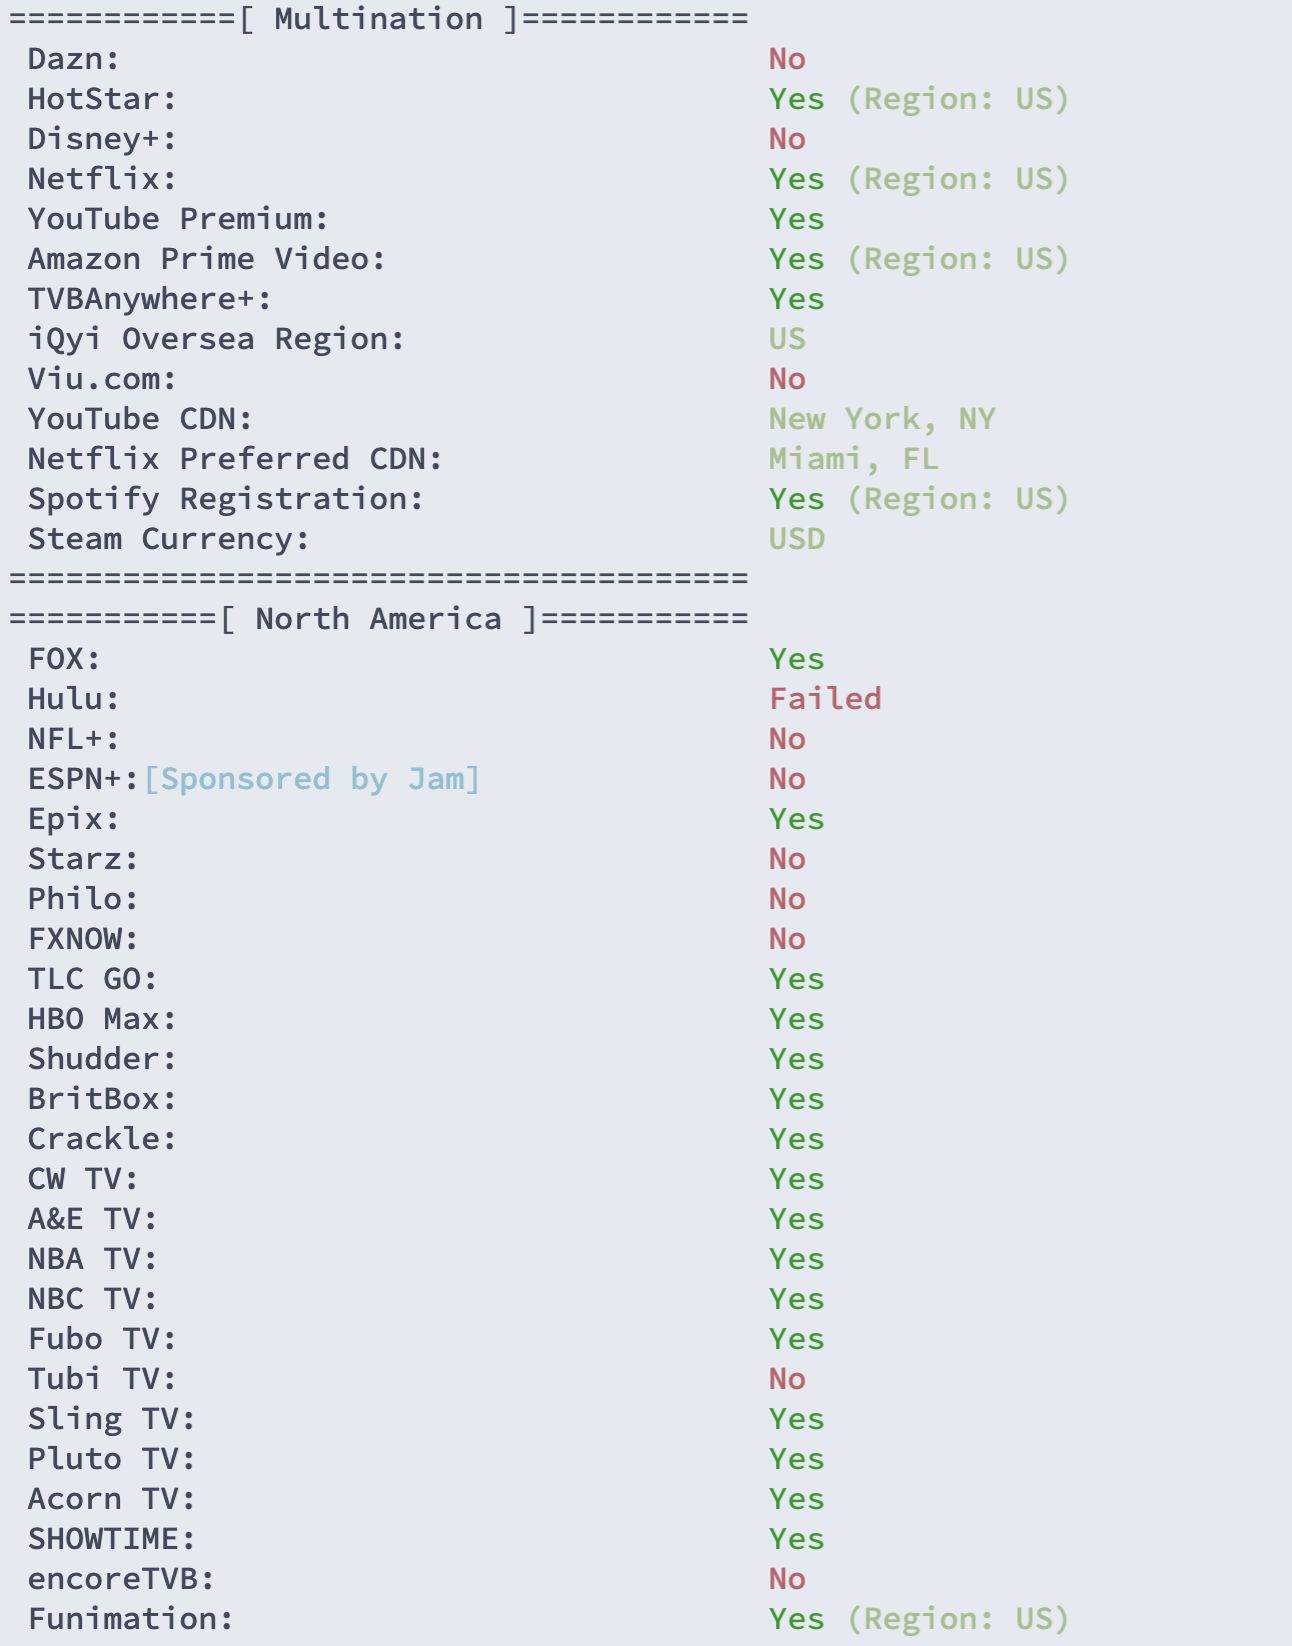
PHP 8.0 or higher, MySQL 5.x or 8.0, and the following PHP extensions: fileinfo, imagemagick, and exif.
Upload the licensed installer and extract it
Configure Nginx rewrite rules
location ~* /(importing|app|content|lib)/.*\.(po|php|lock|sql)$ { deny all;}location ~ \. (jpe?g|png|gif|webp)$ { log_not_found off; error_page 404 /content/images/system/default/404.gif;}location ~* /.*\.(ttf|ttc|otf|eot|woff|woff2|font.css|css|js)$ { add_header Access-Control-Allow-Origin "*";}location / { index index.php; try_files $uri $uri/ /index.php$is_args$query_string;}
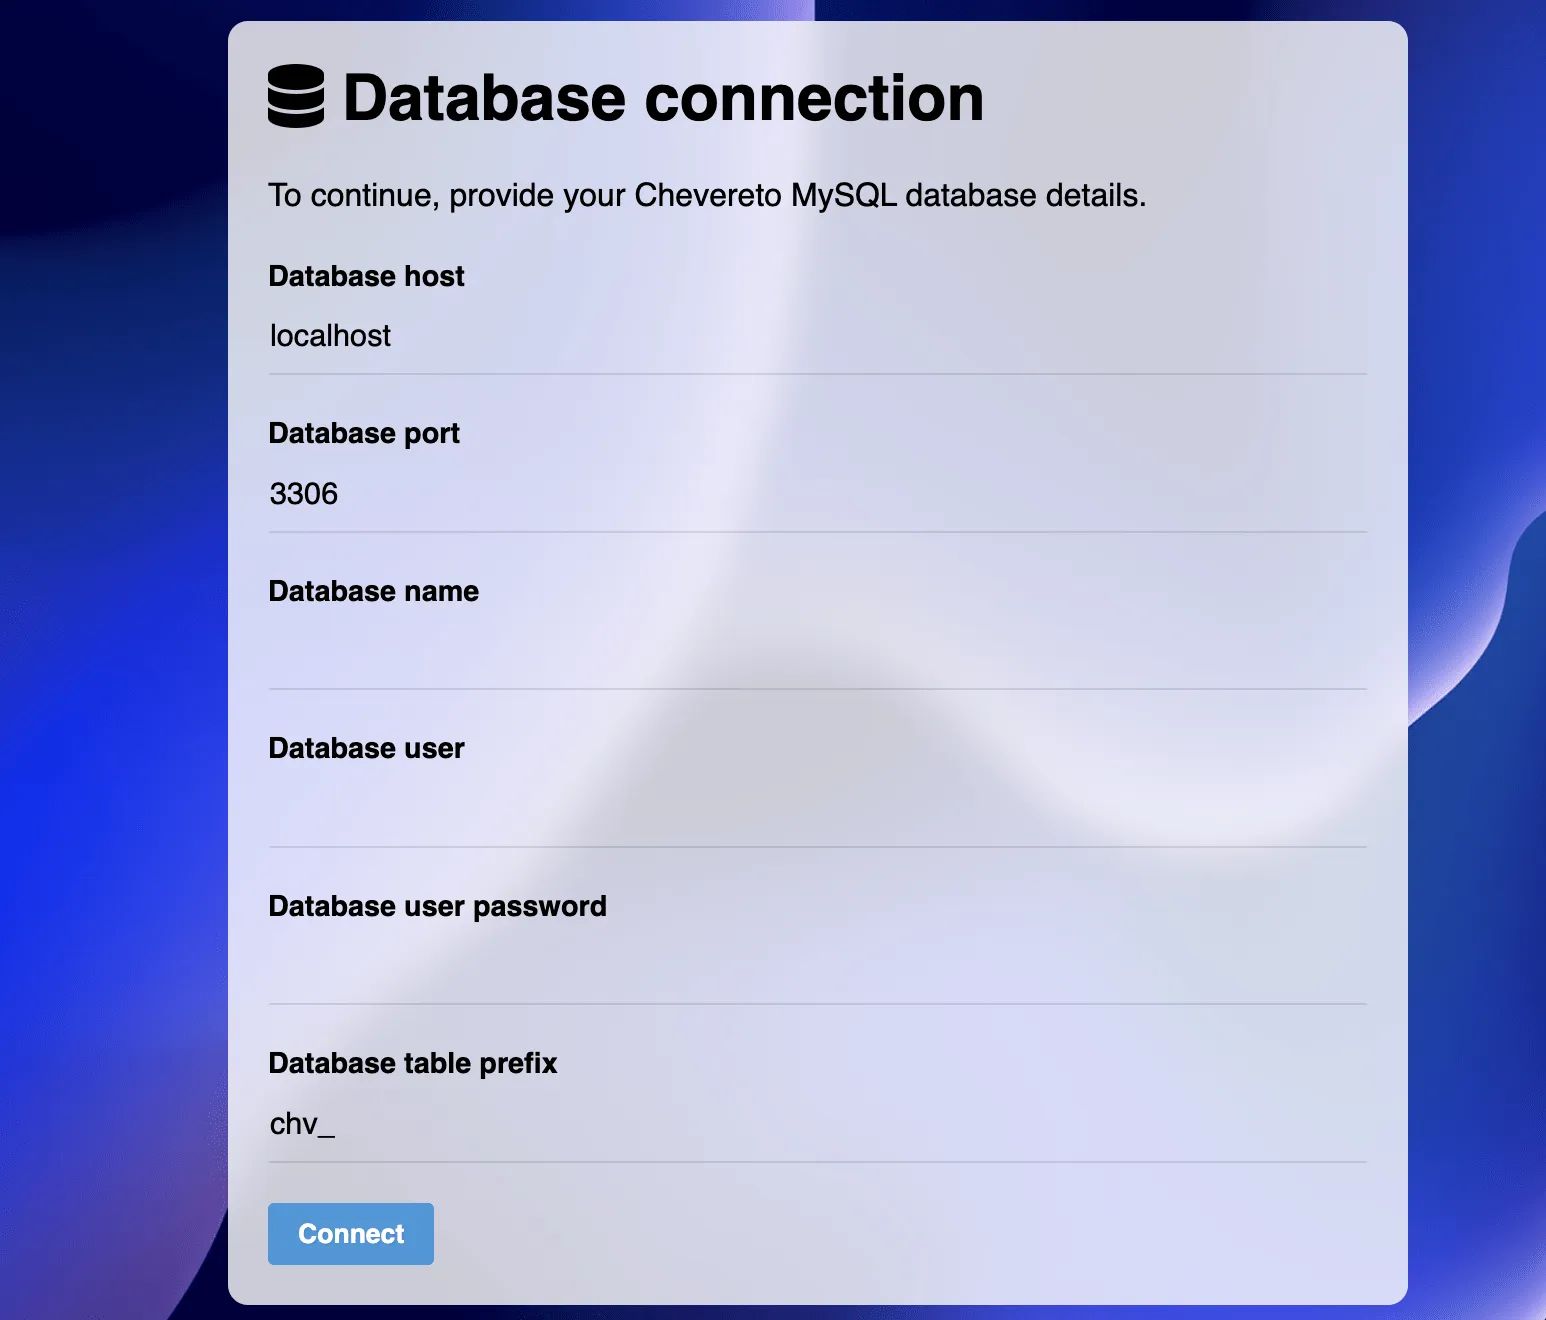
Start the installation
Visit your domain name or server IP to run the installer.
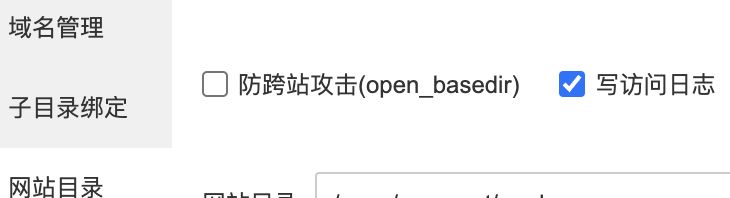
Possible issues
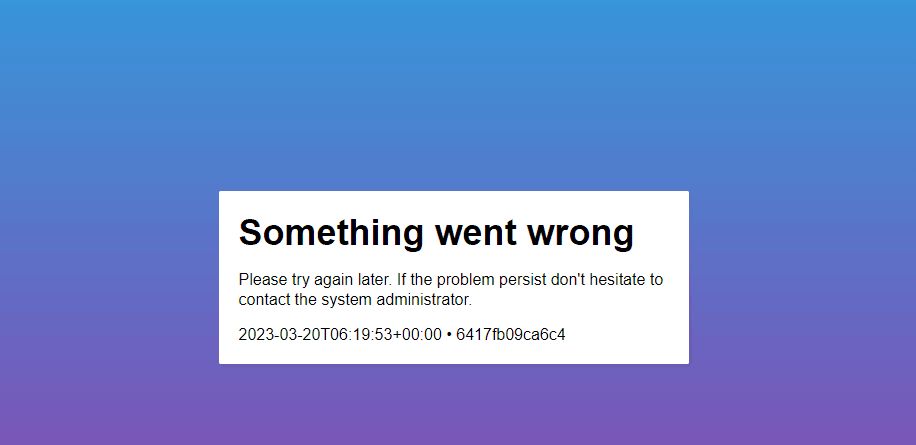
Solution
Disable “Anti-cross-site attack” (anti-XSS) protection in the BaoTa website directory settings for this site.
2. Docker installation (recommended)
Advantages
- 🤹 Multiple website instances
- 📱 Portability
- 🌈 Easy maintenance
- 🔐 Automatic HTTPS setup
- 🎨 Customization
- 👮♂️ Improved security
- 🌎 CloudFlare integration
Requirements
-
Chevereto license (paid edition)
-
Purchase (opens new window) a new license
-
License panel (opens new window) manage your existing licenses
-
-
VPS
-
make,unzip,curl,git -
SSH access
-
-
A hostname (domain) pointing to the VPS
One‑click Docker installation
curl -fsSL https://get.docker.com -o get-docker.shsudo sh get-docker.shClone chevereto/docker
git clone https://github.com/chevereto/docker.gitcd dockerConfigure Cron
This step creates a Cron file /etc/cron.d/chevereto which will run background jobs for all Chevereto instances on the server.
make cronCreate the proxy
This step creates a proxy service to handle incoming web traffic to the server. It also provisions automatic HTTPS certificates.
Pass your email address in the EMAIL_HTTPS option.
Build Chevereto
This step builds the container image for the Chevereto application.
make imageSetup namespace
Create a namespace (opens new window) for each Chevereto instance you want to deploy.
For example, create the example namespace for the VPS, with the hostname img.chevereto.dev (replace this with the domain you actually want to use):
make namespace NAMESPACE=example HOSTNAME=img.chevereto.devStart Chevereto
Run make spawn and pass the NAMESPACE option to create and start an instance.
make spawn NAMESPACE=example🎉 Congratulations, Chevereto is now up and running.
To create more instances, repeat the steps in Setup namespace for each additional site you want to deploy.