Deploying Magnetboard with Docker: A Sehuatang-Based Crawler for Automated AV Subscription Downloads
Preface
CAUTIONUpdate: The author has decided to charge for the project.
This is a new AV download project, different from the previous MDC. Many of its resources are fetched via 98堂. Compared to M-Team, it can obtain Chinese-subbed and uncensored AV releases more quickly. The whole project is AI-driven and is essentially the author’s personal toy. It’s pseudo-open-source; according to the author, the source code can be provided if needed.
Conceptually, the project crawls Sehuatang posts and historical metadata, stores them in a local database for search, and then exposes features like pushing magnets to qBittorrent, etc. Because of this, the project will likely impose a non-trivial load on the Sehuatang site.
CAUTIONIt’s not recommended to hook this directly into your Emby library or similar, especially if you already have a large existing library. Isolation is critical: due to the particularities of Vibe Coding, do not casually connect it to your primary library. My suggestion is to treat it purely as an auxiliary downloader.
Docker Hub repo: hub.docker.com
Author’s documentation: Magnetboard Complete Usage Guide
Project Highlights
- Visualized index management – Manage your magnet links with an intuitive UI
- Smart search & filtering – Quickly locate the content you want
- Batch operations – Batch copy and push magnet links
- Multiple downloader support – Works with mainstream clients like qBittorrent
- 115 Cloud integration – Supports 115 offline download
- Automated pushing – Scheduled jobs and automatic pushing rules
- Telegram bot – Remote control and notification features
Deployment
If you often read my blog, you should already be familiar with Docker; I won’t repeat the basic initialization here. What you need to do is create a folder and put a docker-compose.yaml file inside it.
The container image is relatively large, close to 1 GB, so for users in mainland China, it’s recommended to use a mirror registry when pulling. It is not recommended to expose the database port directly to the public internet; keep it internal.
version: '3.8'
services: sehuatang-crawler: image: wyh3210277395/magnetboard:latest container_name: sehuatang-crawler ports: - "8000:8000" # 仅暴露 Web 界面 environment: # ----------------------------- # 数据库配置(内部连接) # ----------------------------- - DATABASE_HOST=postgres - DATABASE_PORT=5432 - DATABASE_NAME=sehuatang_db - DATABASE_USER=postgres - DATABASE_PASSWORD=postgres123
# ----------------------------- # 应用配置 # ----------------------------- - PYTHONPATH=/app/backend - ENVIRONMENT=production - ADMIN_PASSWORD=admin123
# ----------------------------- # 代理配置(可选) # ----------------------------- - HTTP_PROXY=http://your-proxy:port - HTTPS_PROXY=http://your-proxy:port - NO_PROXY=localhost,127.0.0.1,192.168.0.0/16,10.0.0.0/8,172.16.0.0/12
# ----------------------------- # Telegram 机器人配置(可选) # ----------------------------- - TELEGRAM_BOT_TOKEN=你的Bot_Token - TELEGRAM_BOT_WEBHOOK_URL= - TELEGRAM_BOT_WEBHOOK_SECRET=
# ----------------------------- # CloudDrive2 配置(可选) # ----------------------------- - CLOUDDRIVE_HOST=你的CD2主机地址 - CLOUDDRIVE_PORT=你的CD2端口
volumes: - sehuatang_data:/app/data - sehuatang_logs:/app/logs
depends_on: - postgres
restart: unless-stopped
postgres: image: postgres:15-alpine container_name: sehuatang-postgres environment: - POSTGRES_DB=sehuatang_db - POSTGRES_USER=postgres - POSTGRES_PASSWORD=postgres123 volumes: - postgres_data:/var/lib/postgresql/data restart: unless-stopped
volumes: sehuatang_data: sehuatang_logs: postgres_data:
networks: default: name: sehuatang-networkFirst startup time: about 10–60 seconds (depending on image pull speed and DB initialization).
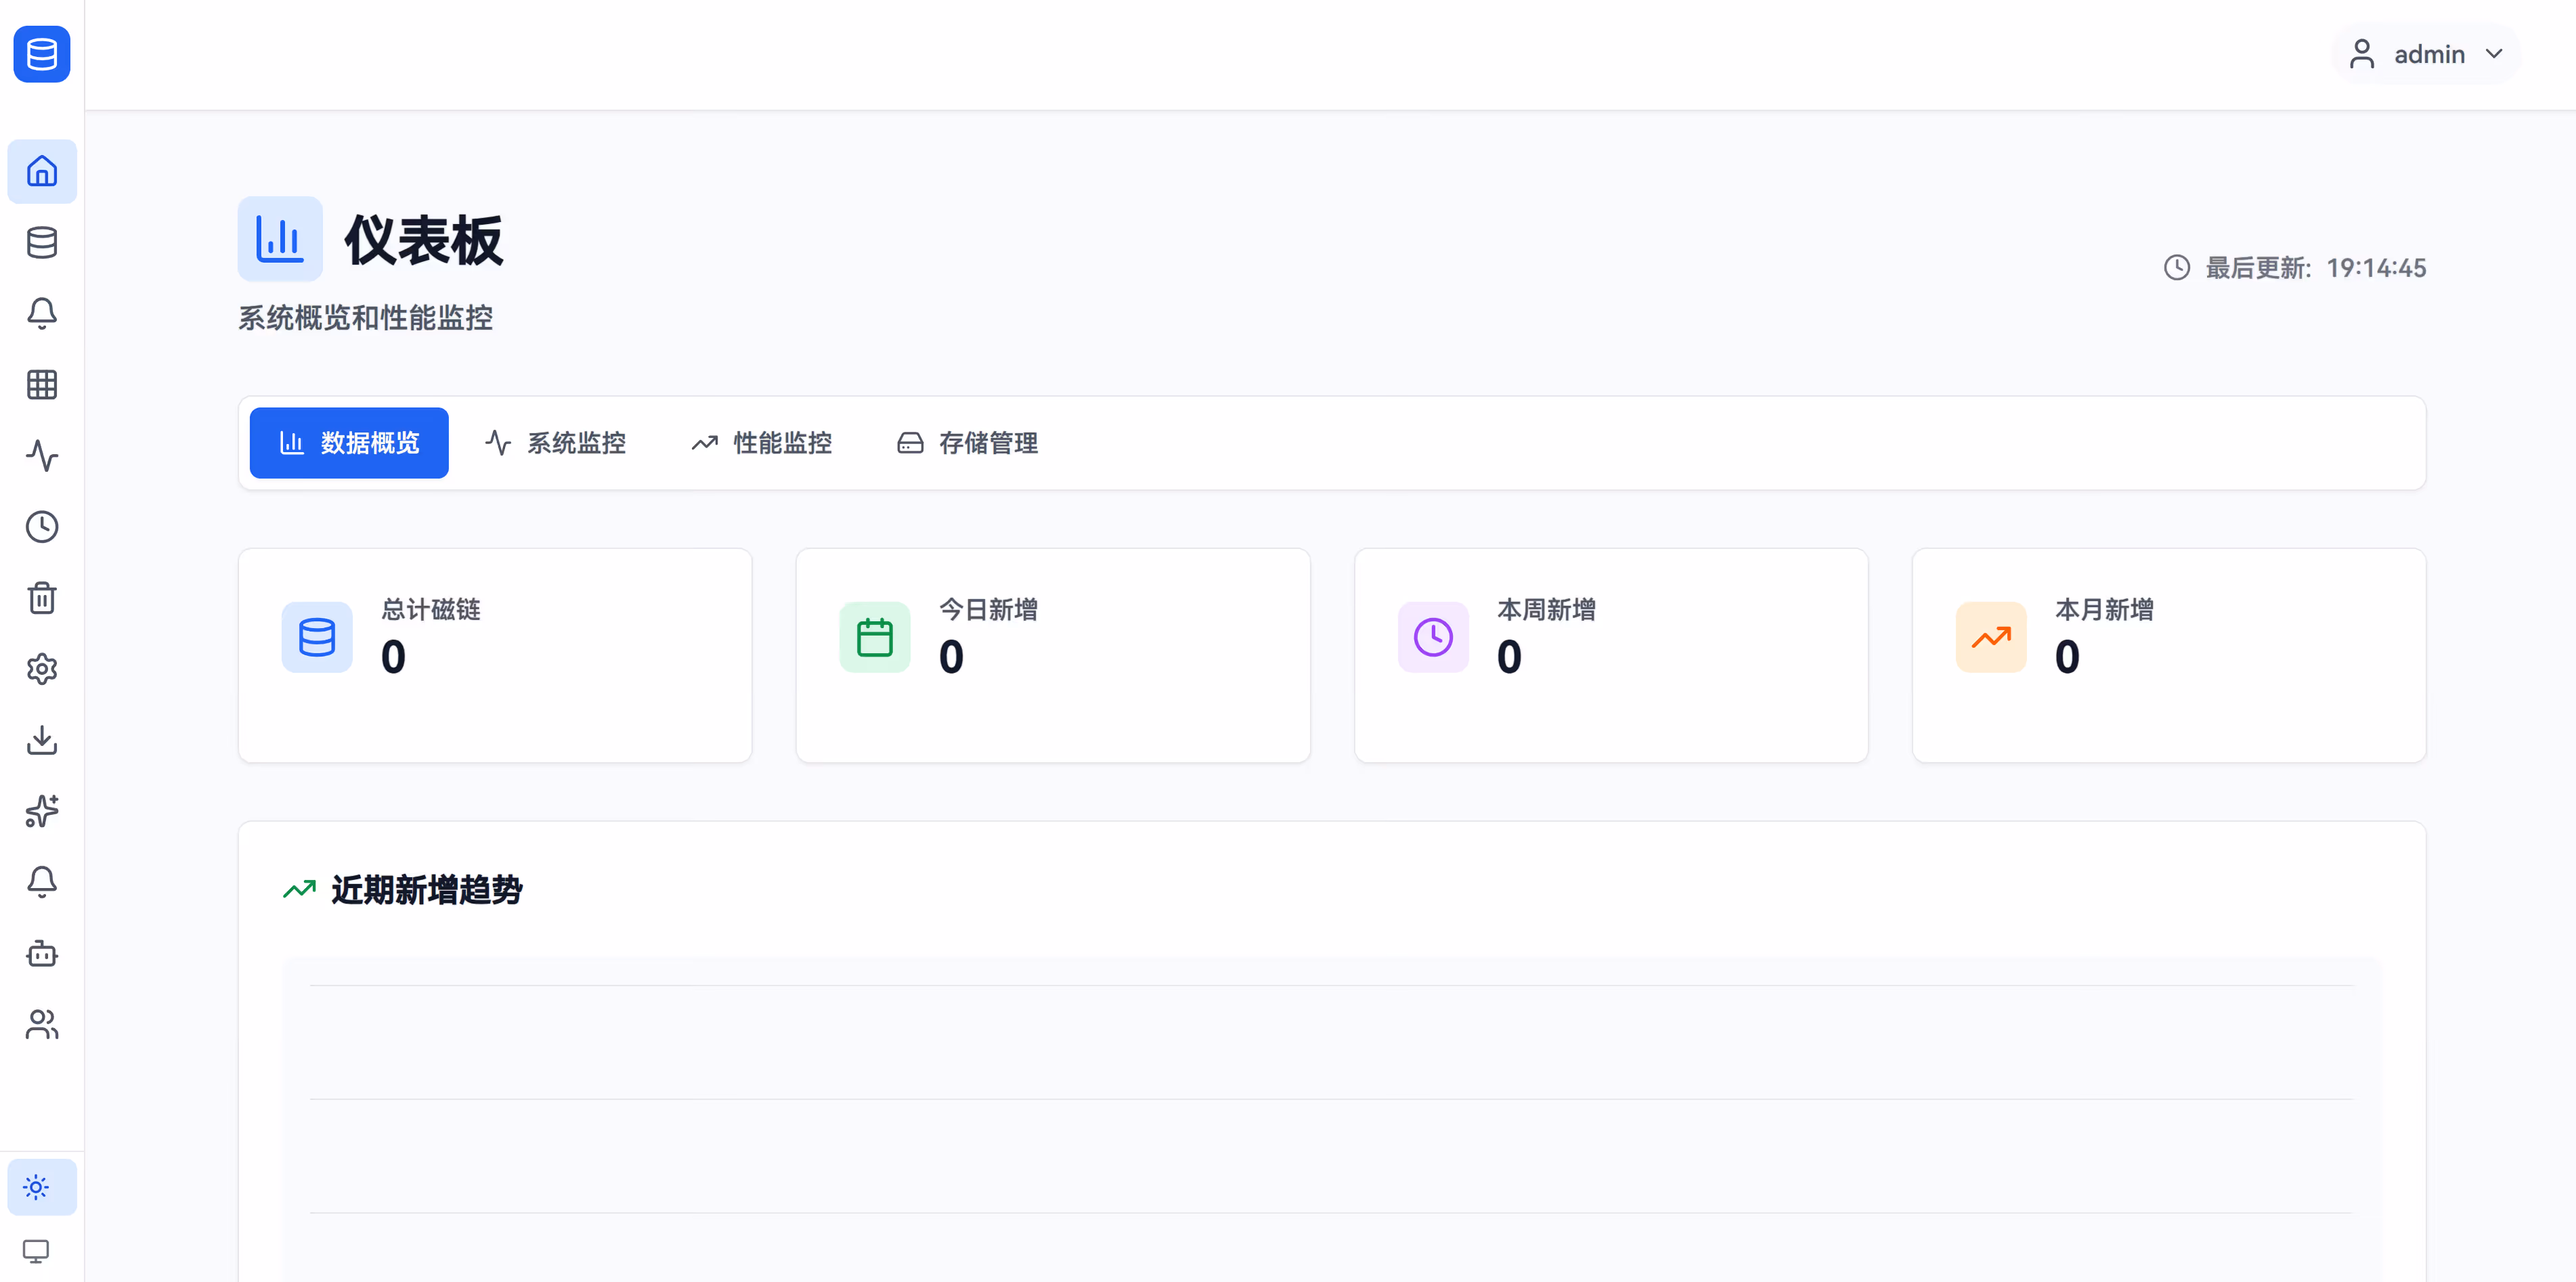
Web UI: http://<your IP or domain>:8000
API docs: http://<your IP or domain>:8000/docs
If your reverse proxy is already using port 8000, simply change the left side of ports: "8000:8000" to another port (for example, 18000:8000).
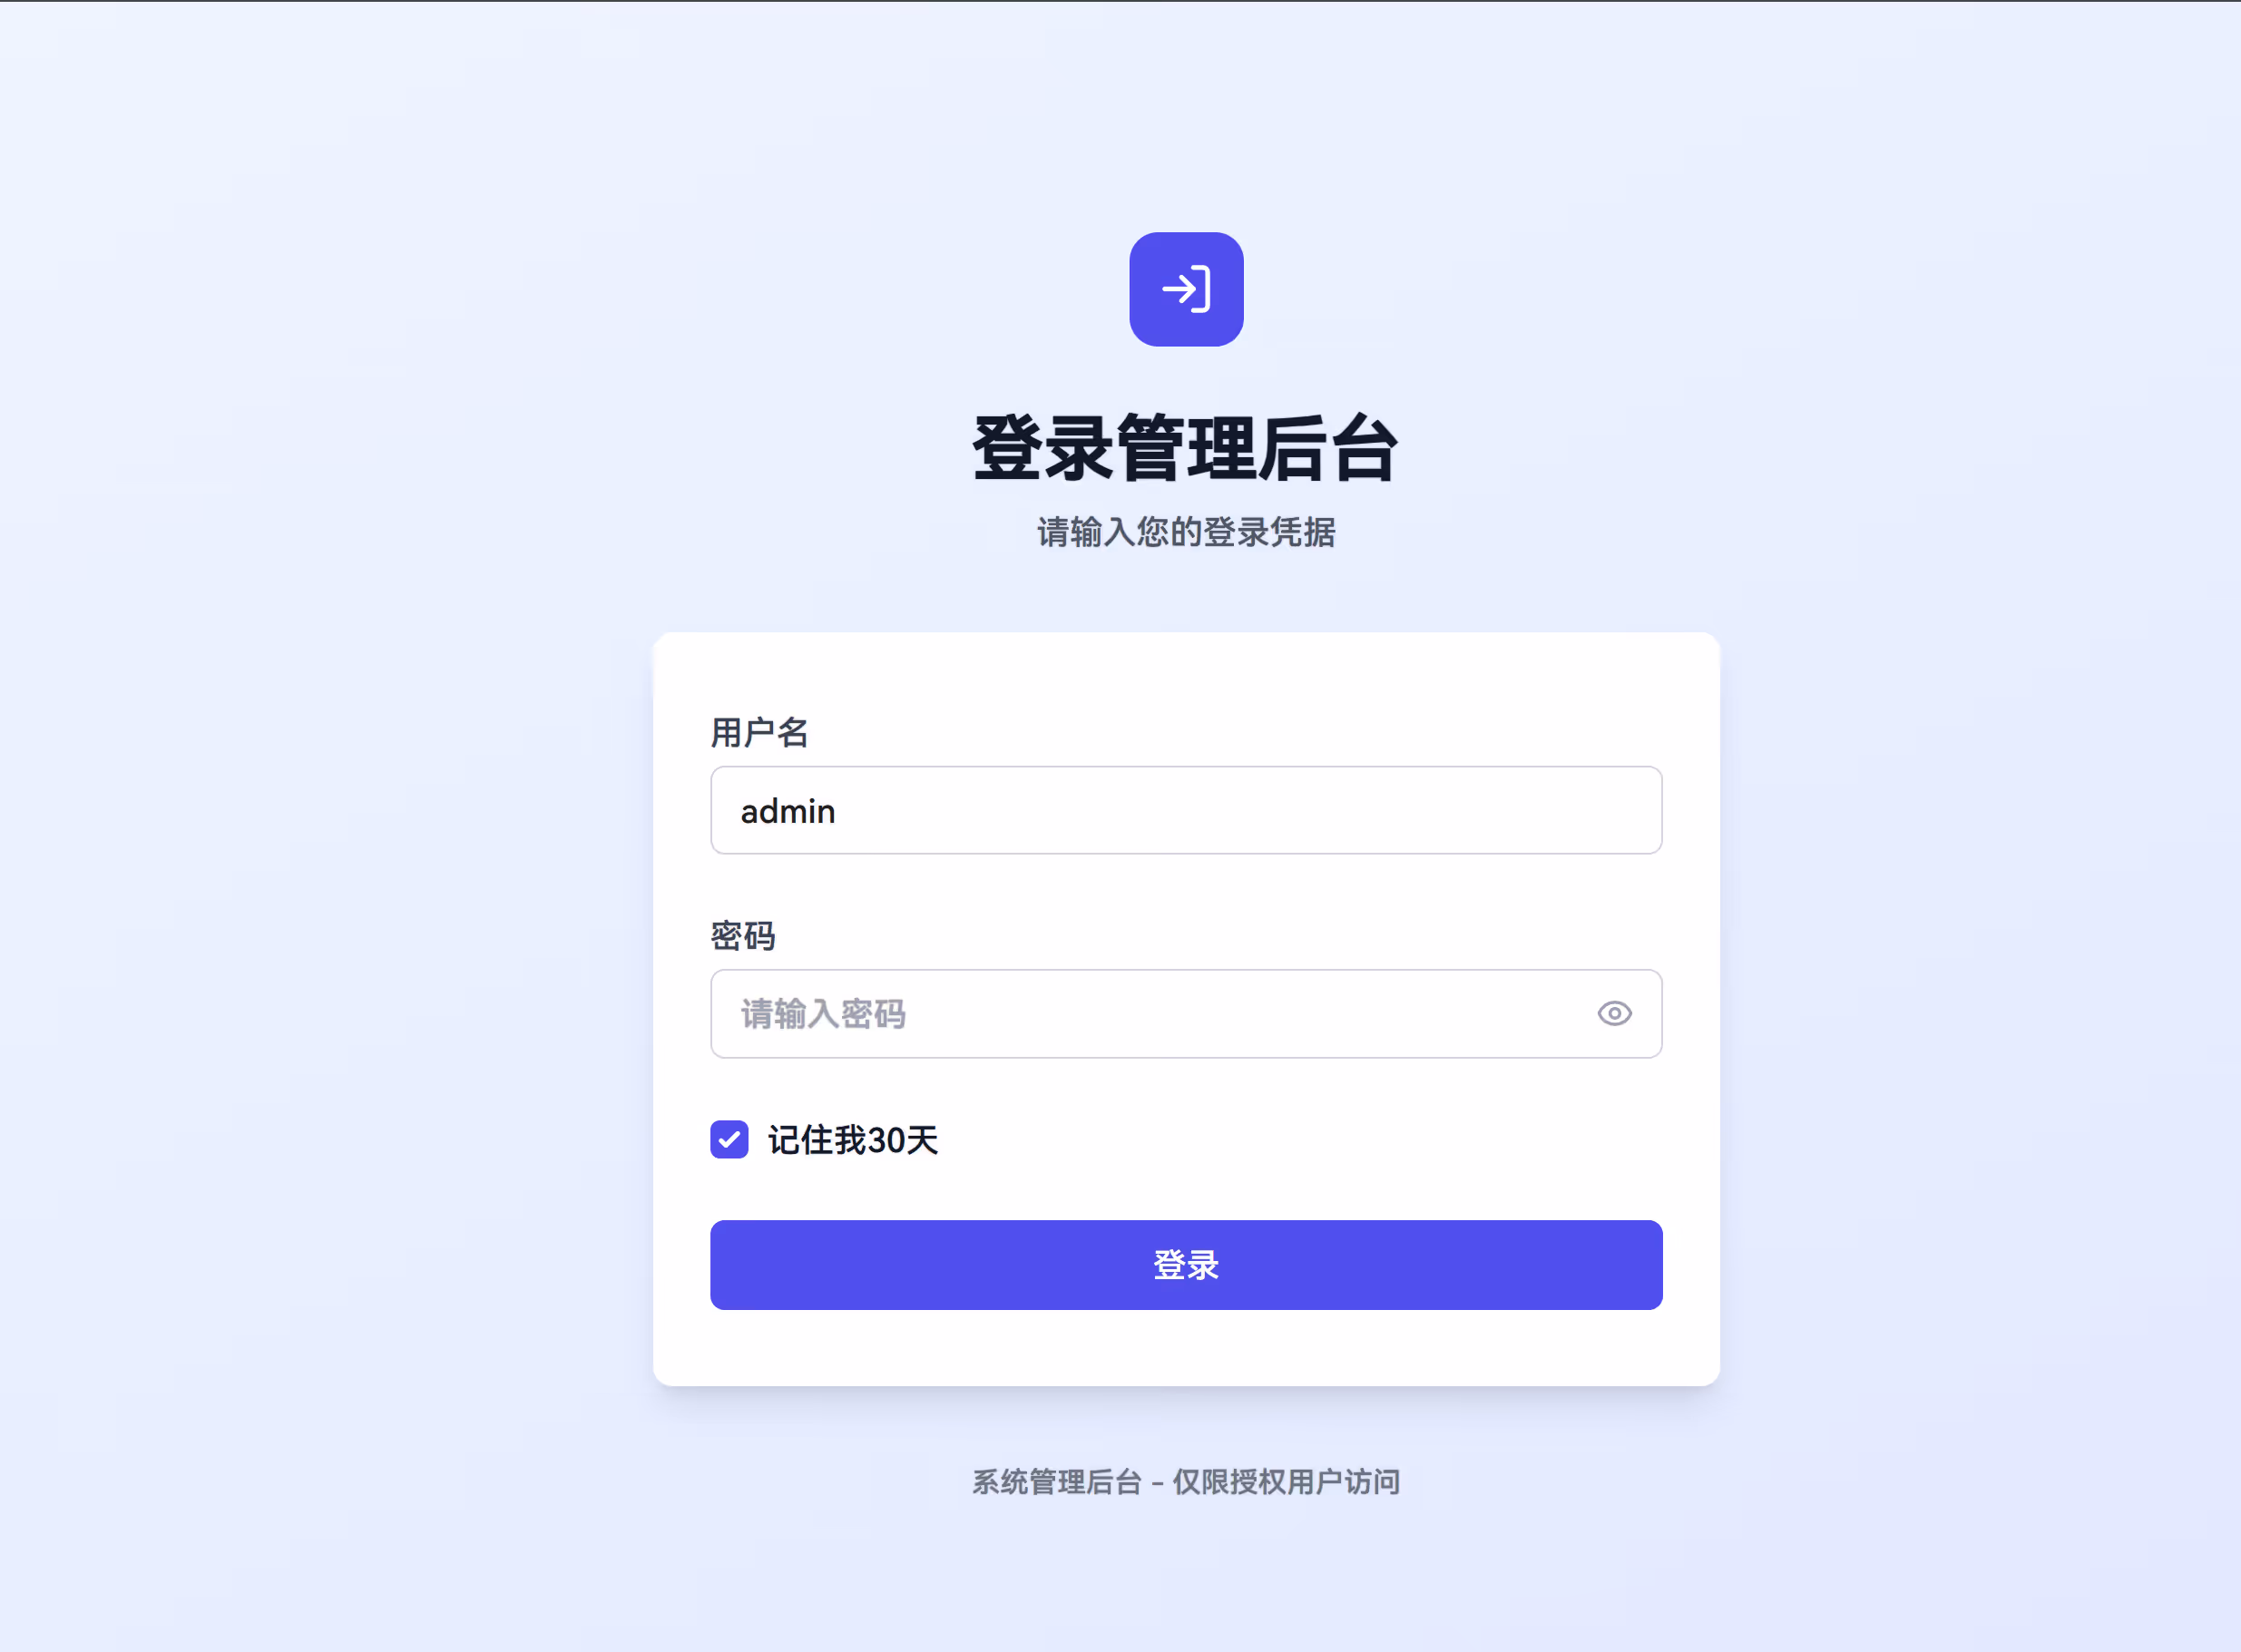
Login
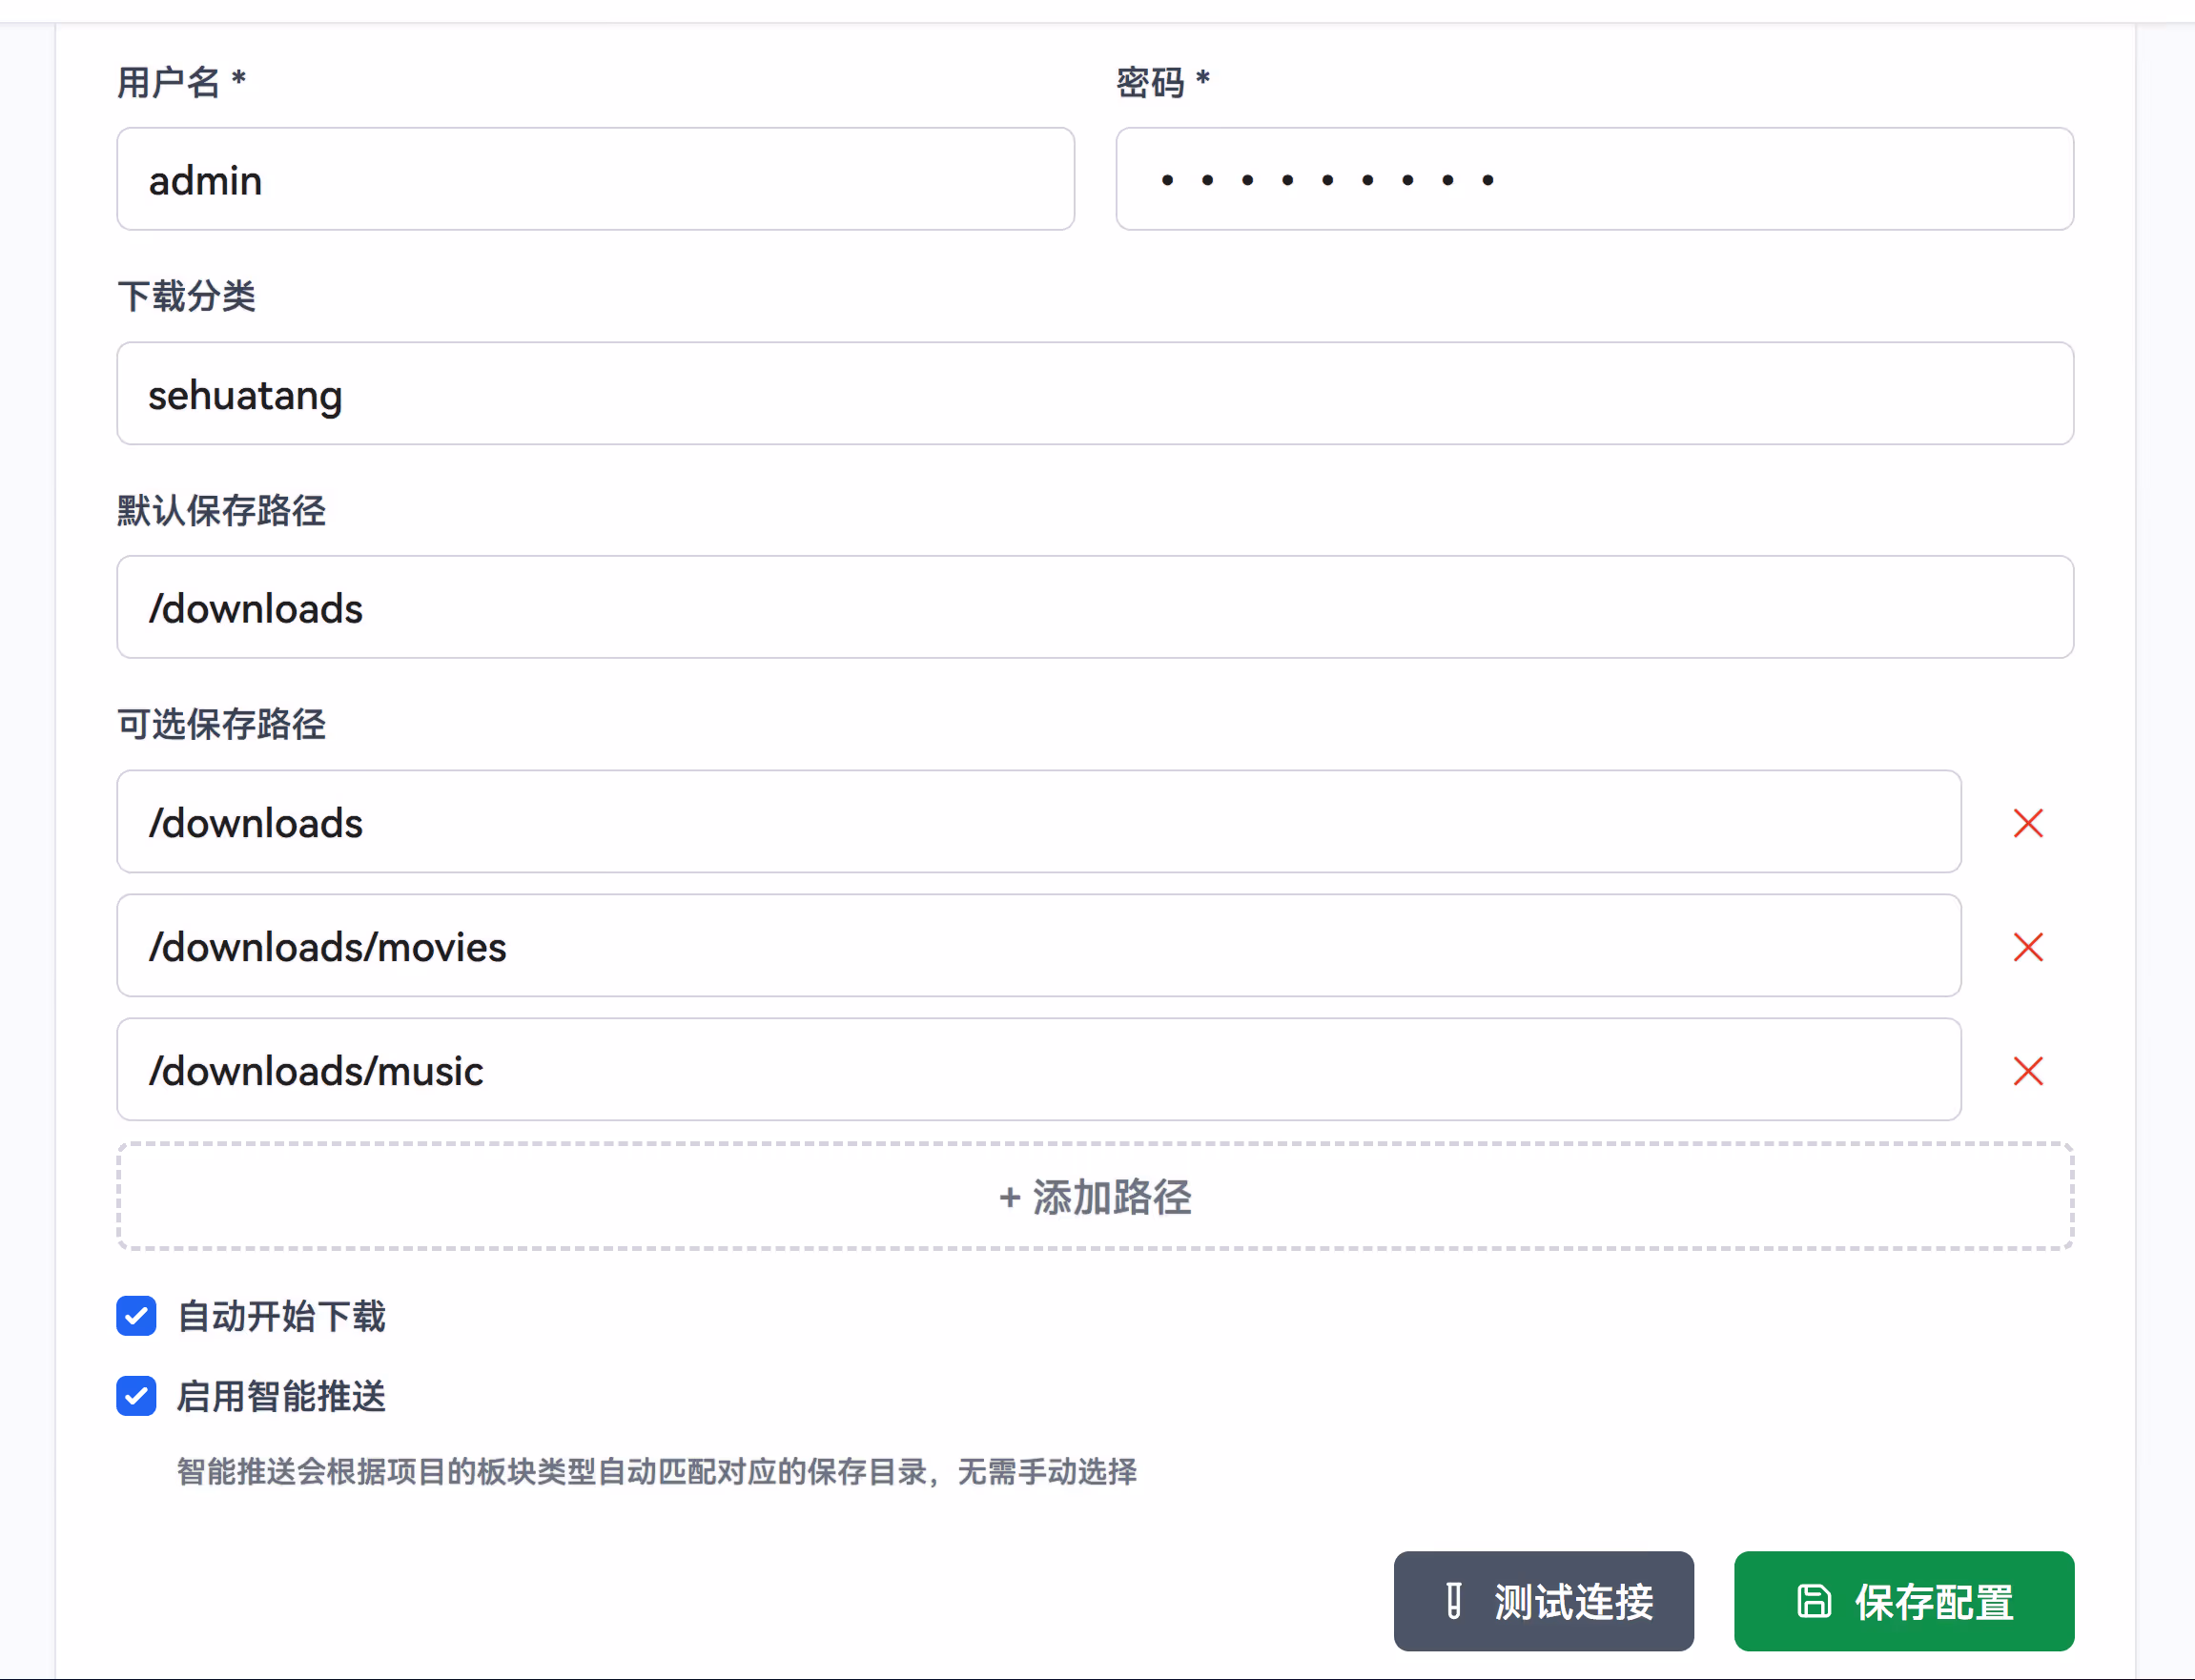
The default username is admin, and the password is whatever you configured in docker-compose.yaml.
I won’t go into detail on how to connect to qBittorrent or set up Telegram notifications; just enter your own configuration.
For safety on first use, I recommend spinning up a new, dedicated qBittorrent instance for this module, in case unknown bugs cause other existing tasks in your main qBittorrent to be deleted.
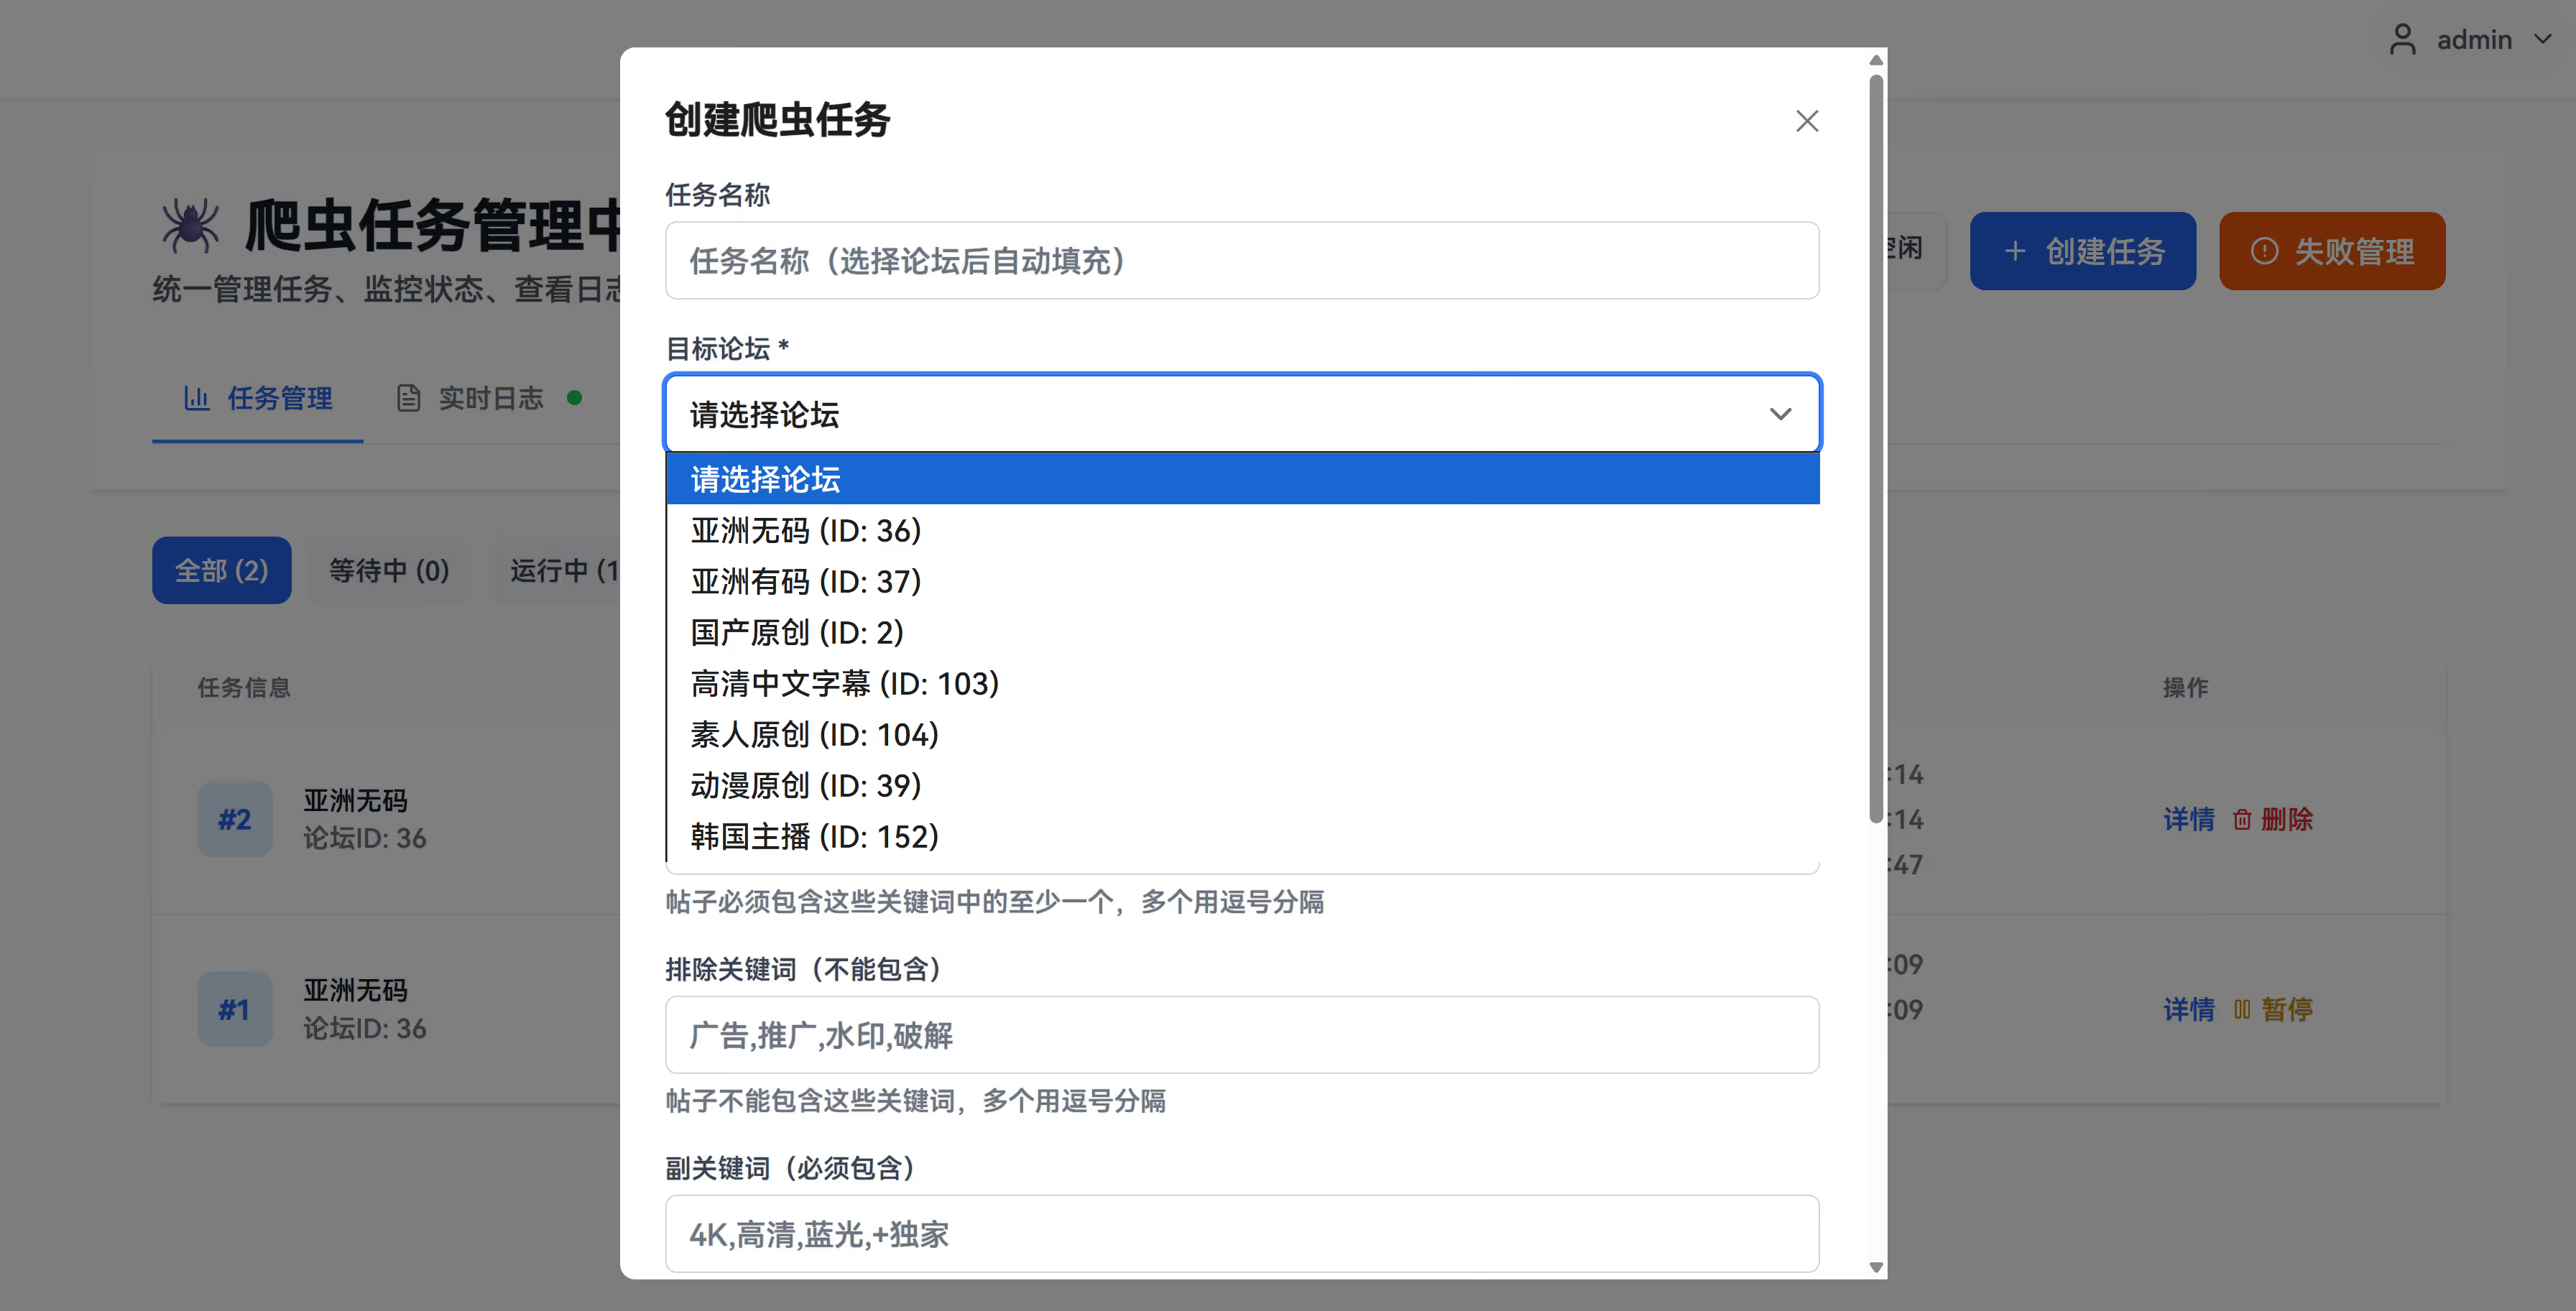
Creating a New Crawler
This is used to create a normal crawler task (no Cookie required). After creation, you can configure a schedule under Scheduled Jobs, and view crawl results under Data Overview.
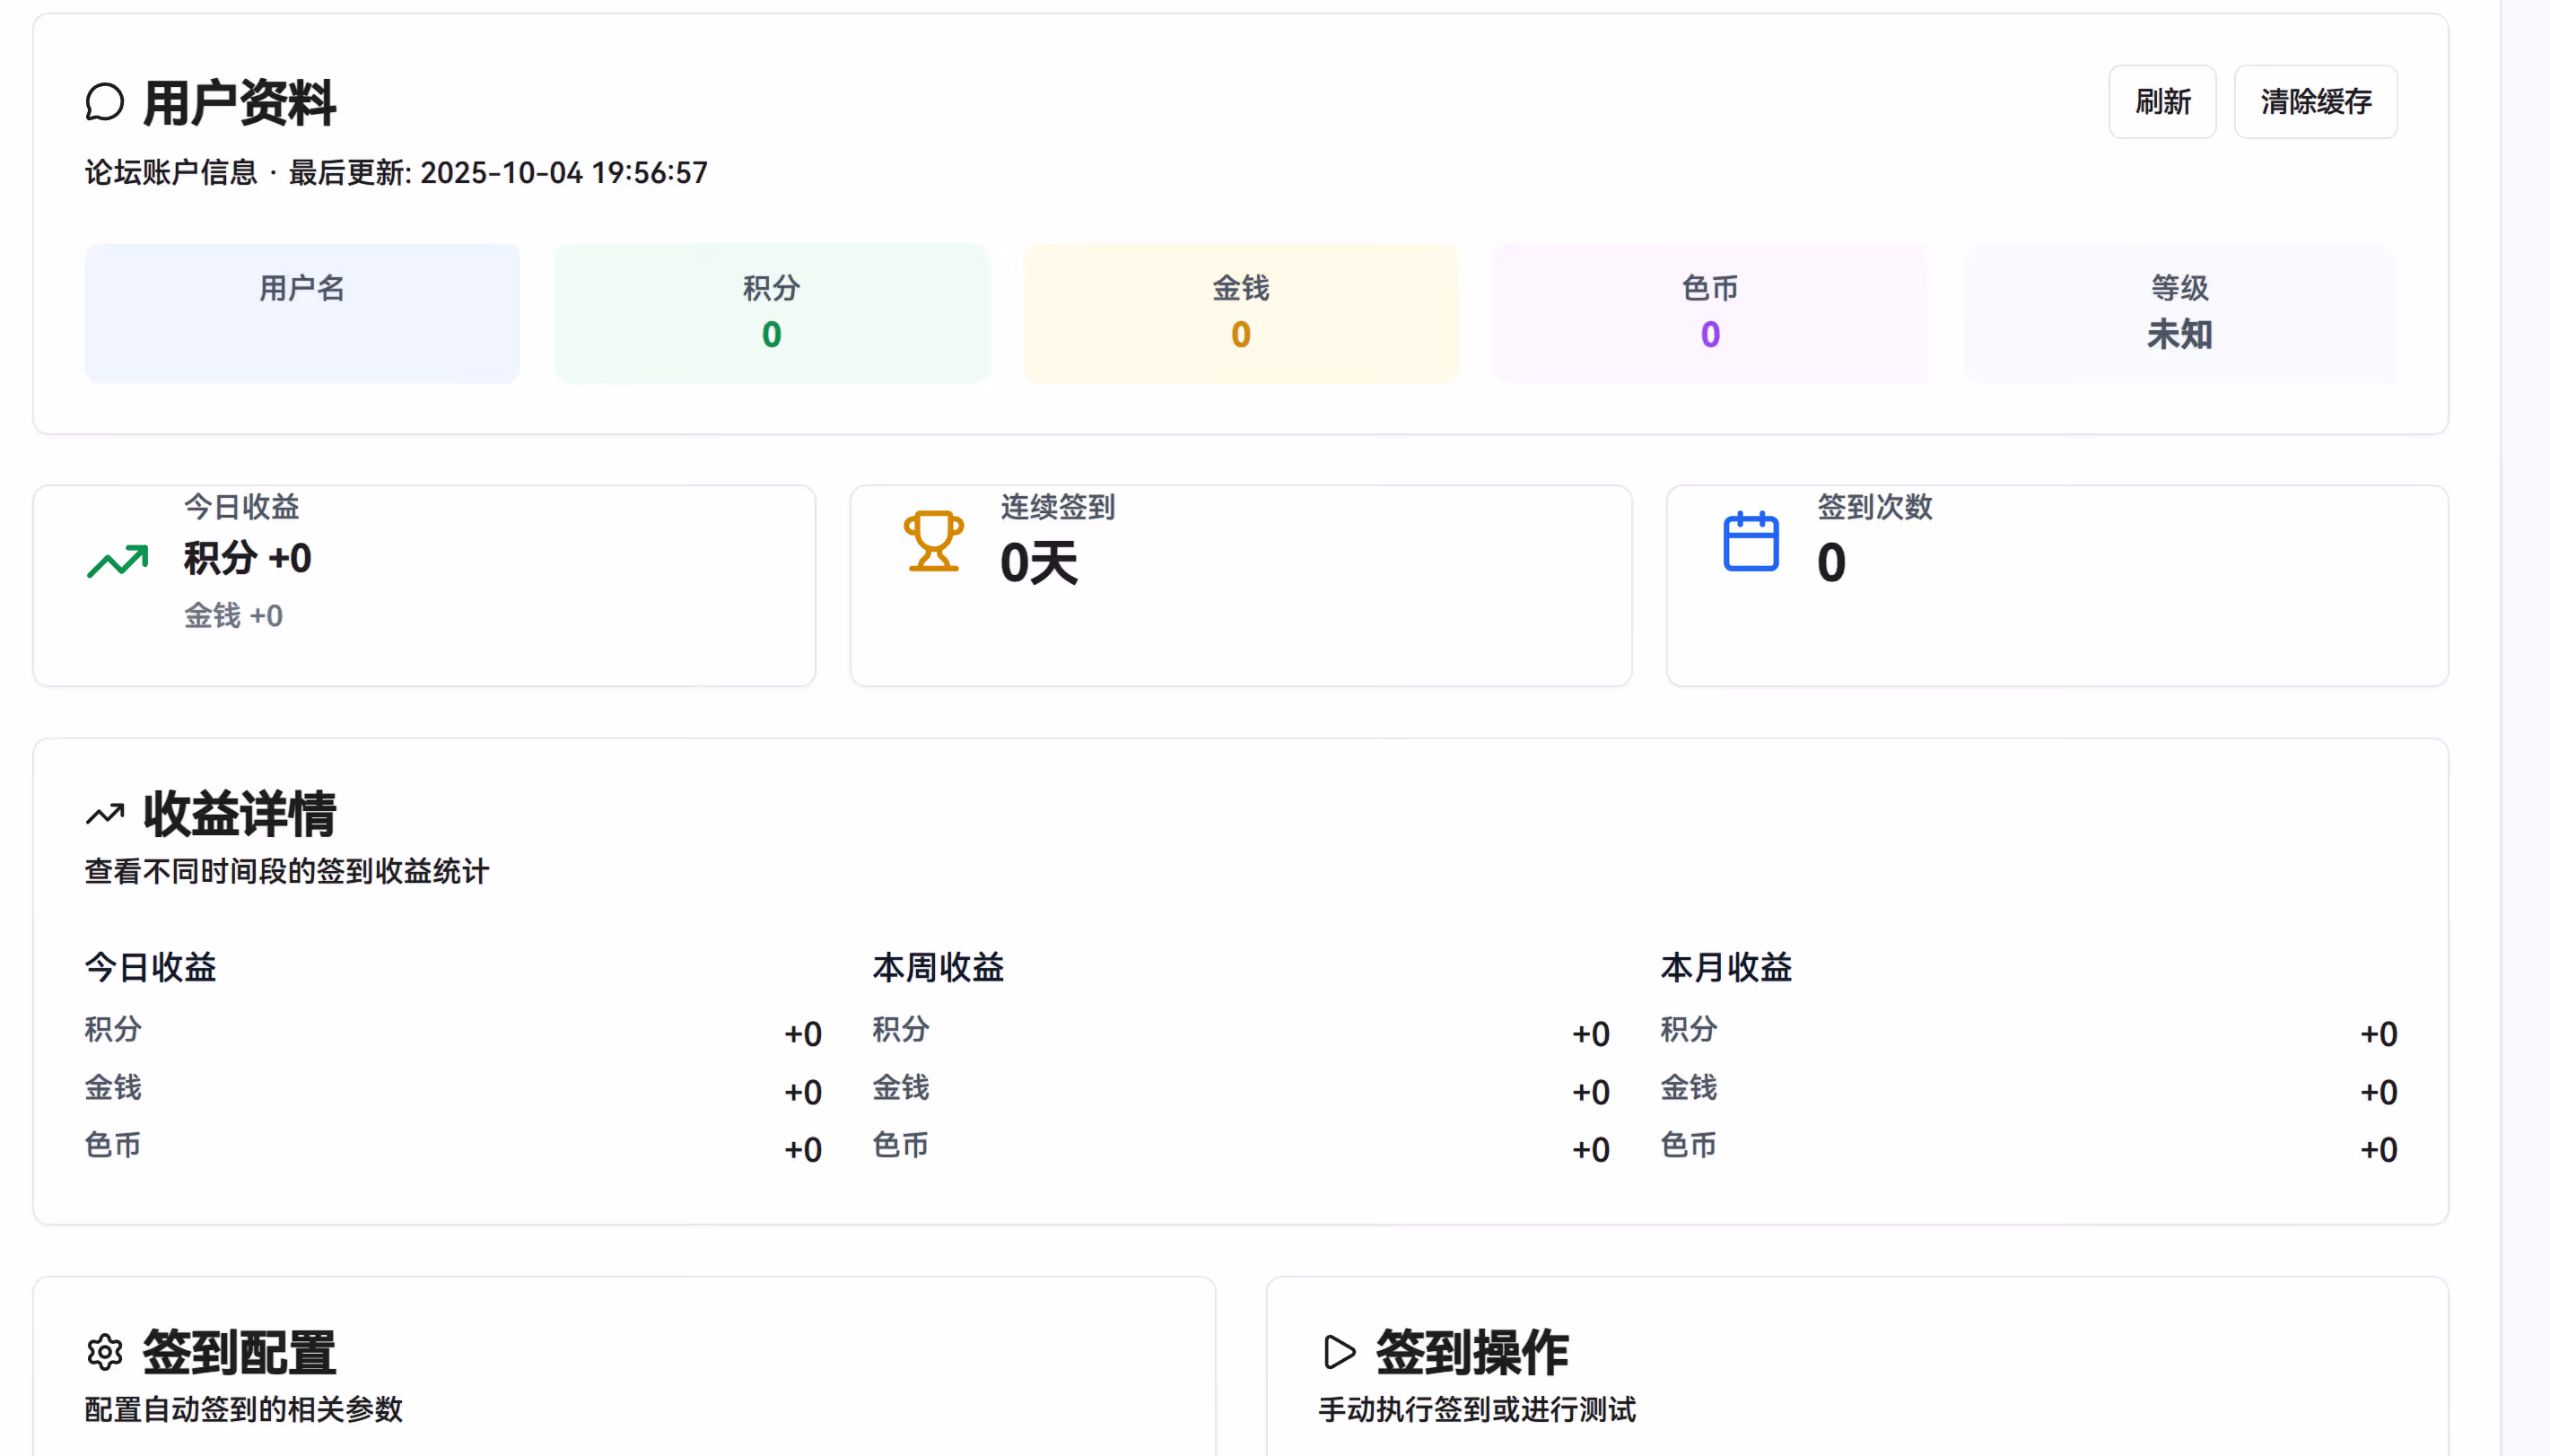
I don’t have a Sehuatang account either, so I won’t demonstrate the auto check-in and similar features.
Example 1: Page-based crawling
- Task name: SONE 无码破解
- Board category: 亚洲无码
- Start page: 1; End page: 100
- Run immediately: On
Result: After saving, it will immediately crawl pages 1–100, and the content will appear under Data Overview.
When it finishes, you should see the newly crawled records on the home page.
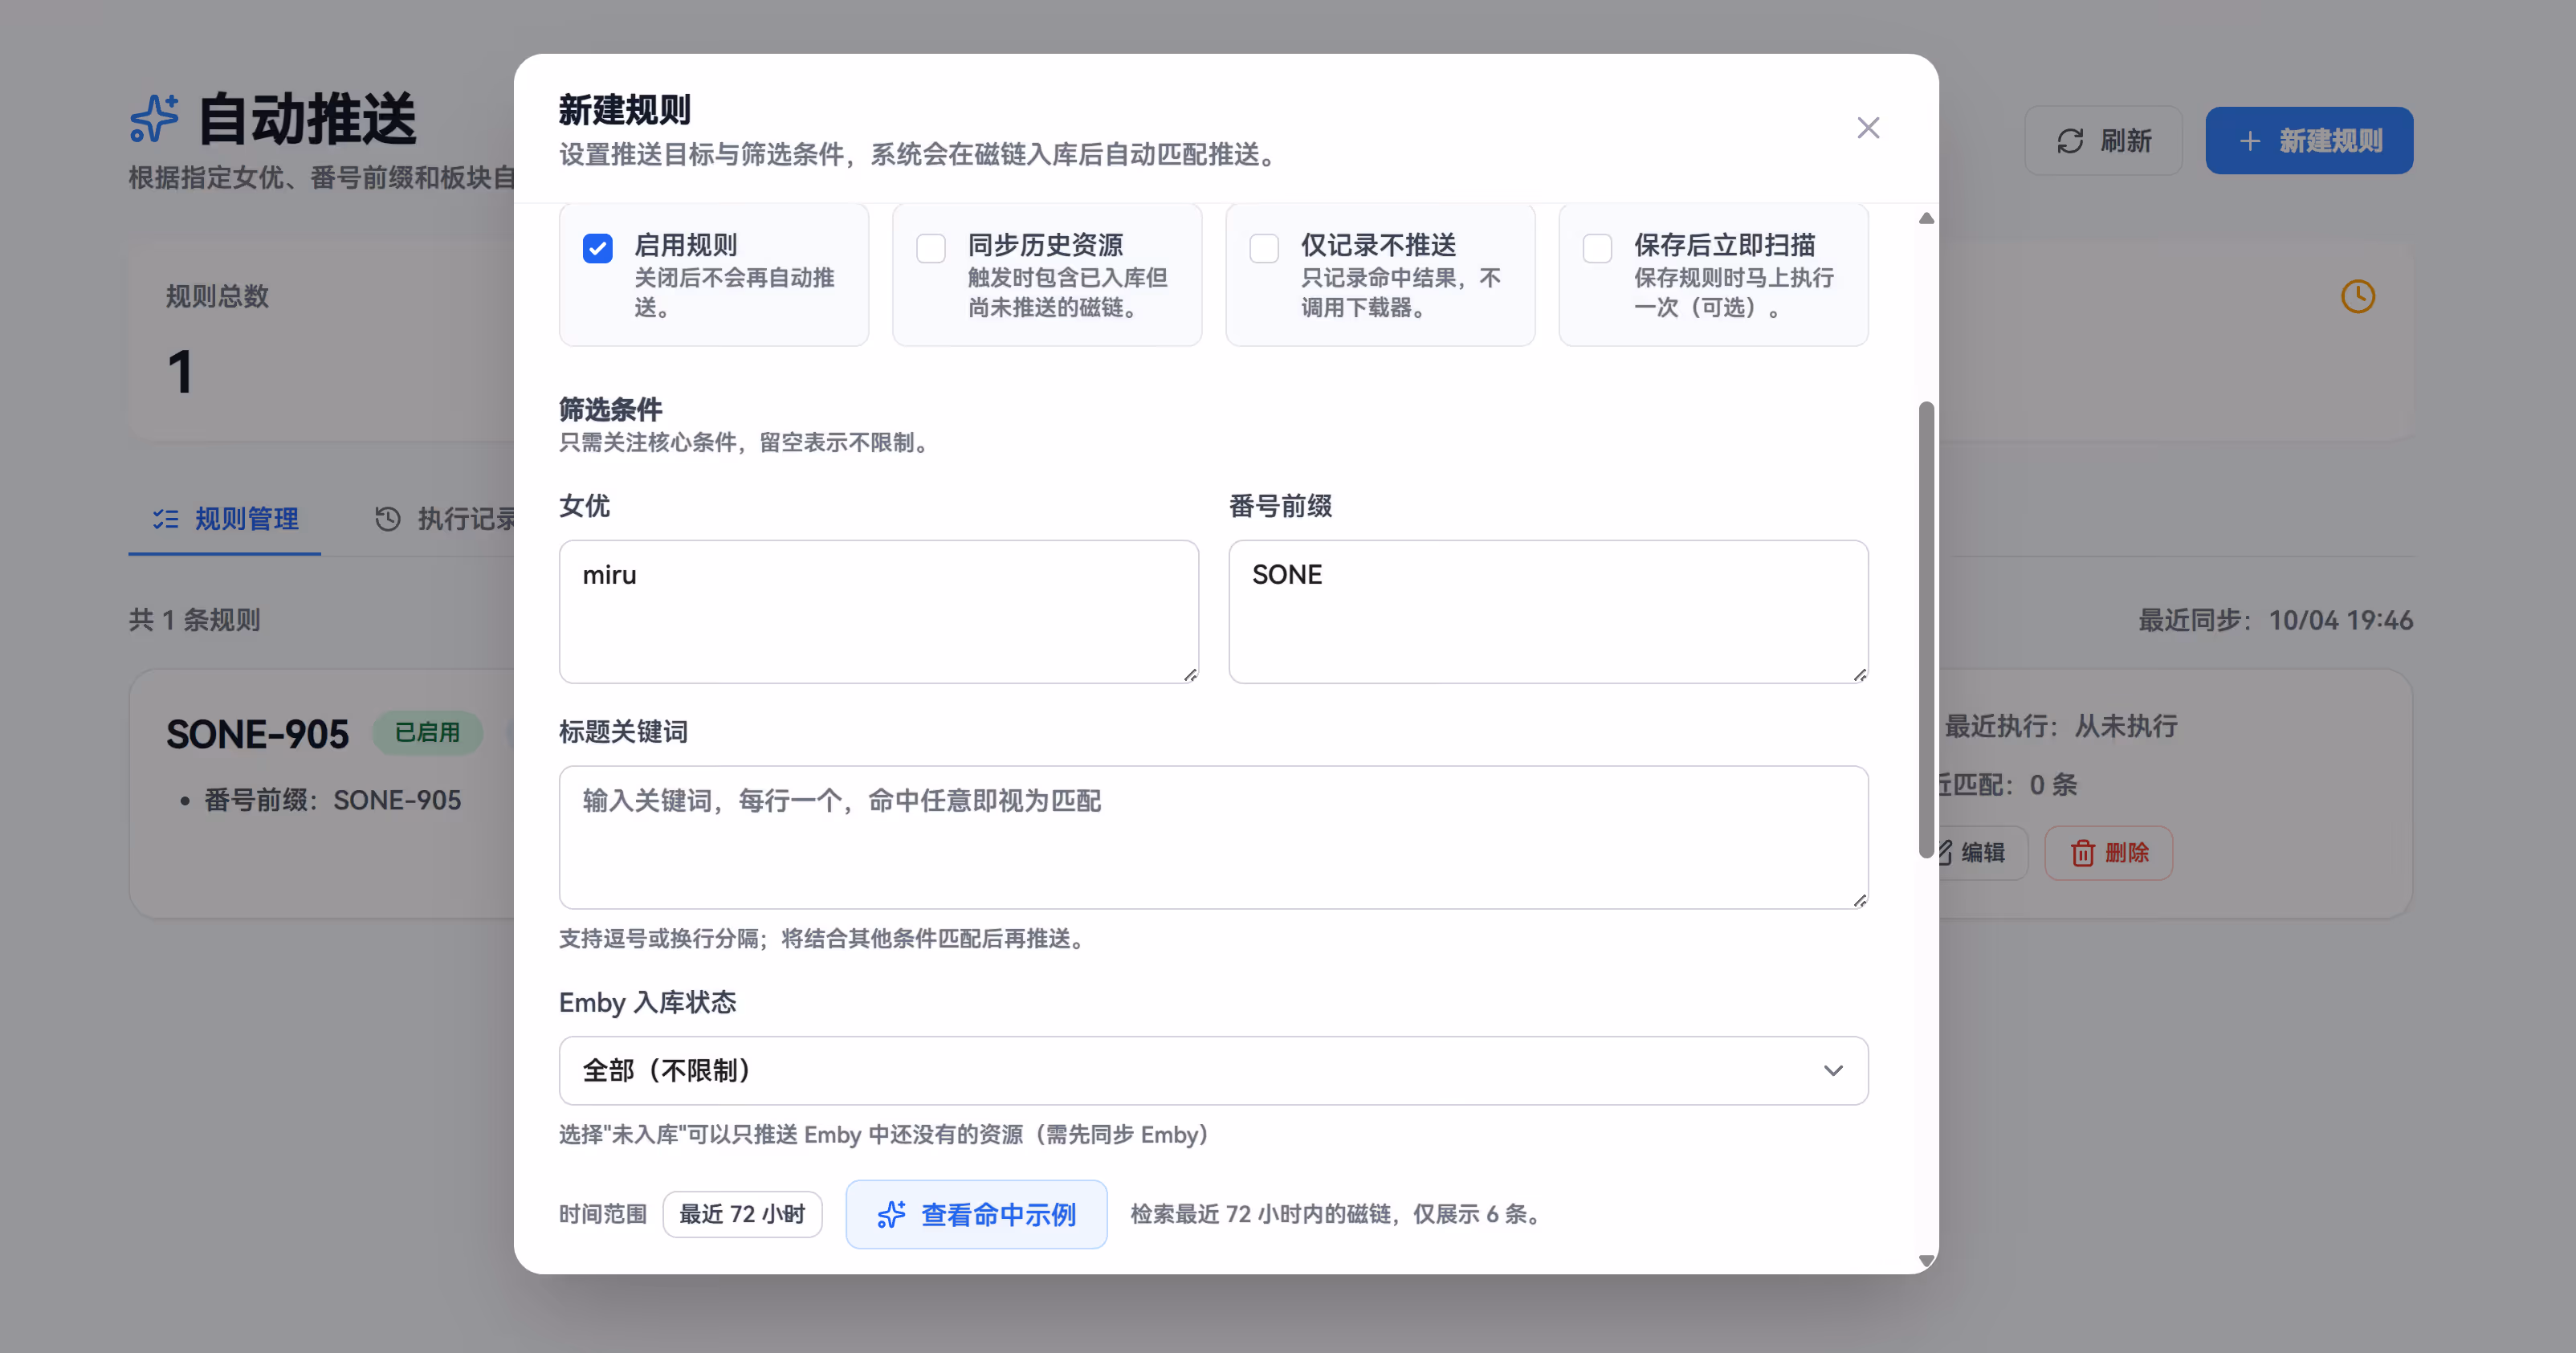
Auto Pushing
This feature is meant to automatically push matched resources (based on your predefined rules) to qBittorrent or similar downloaders once a crawler task completes.
Entry point:
- Auto Pushing page → New Rule
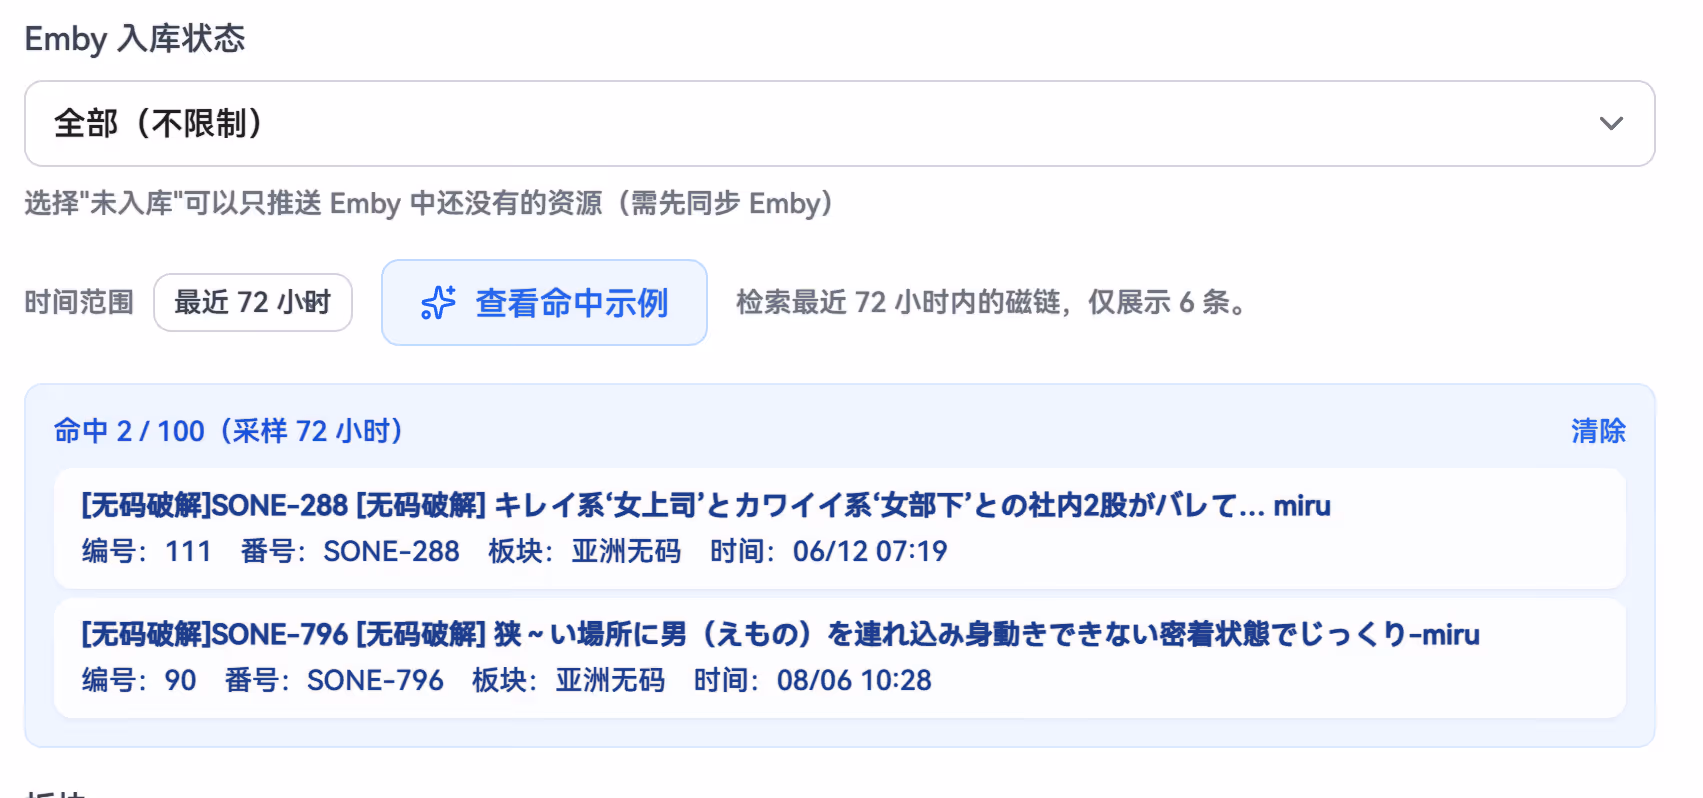
You can click the Match Samples at the bottom to verify whether the captured items meet your expectations.
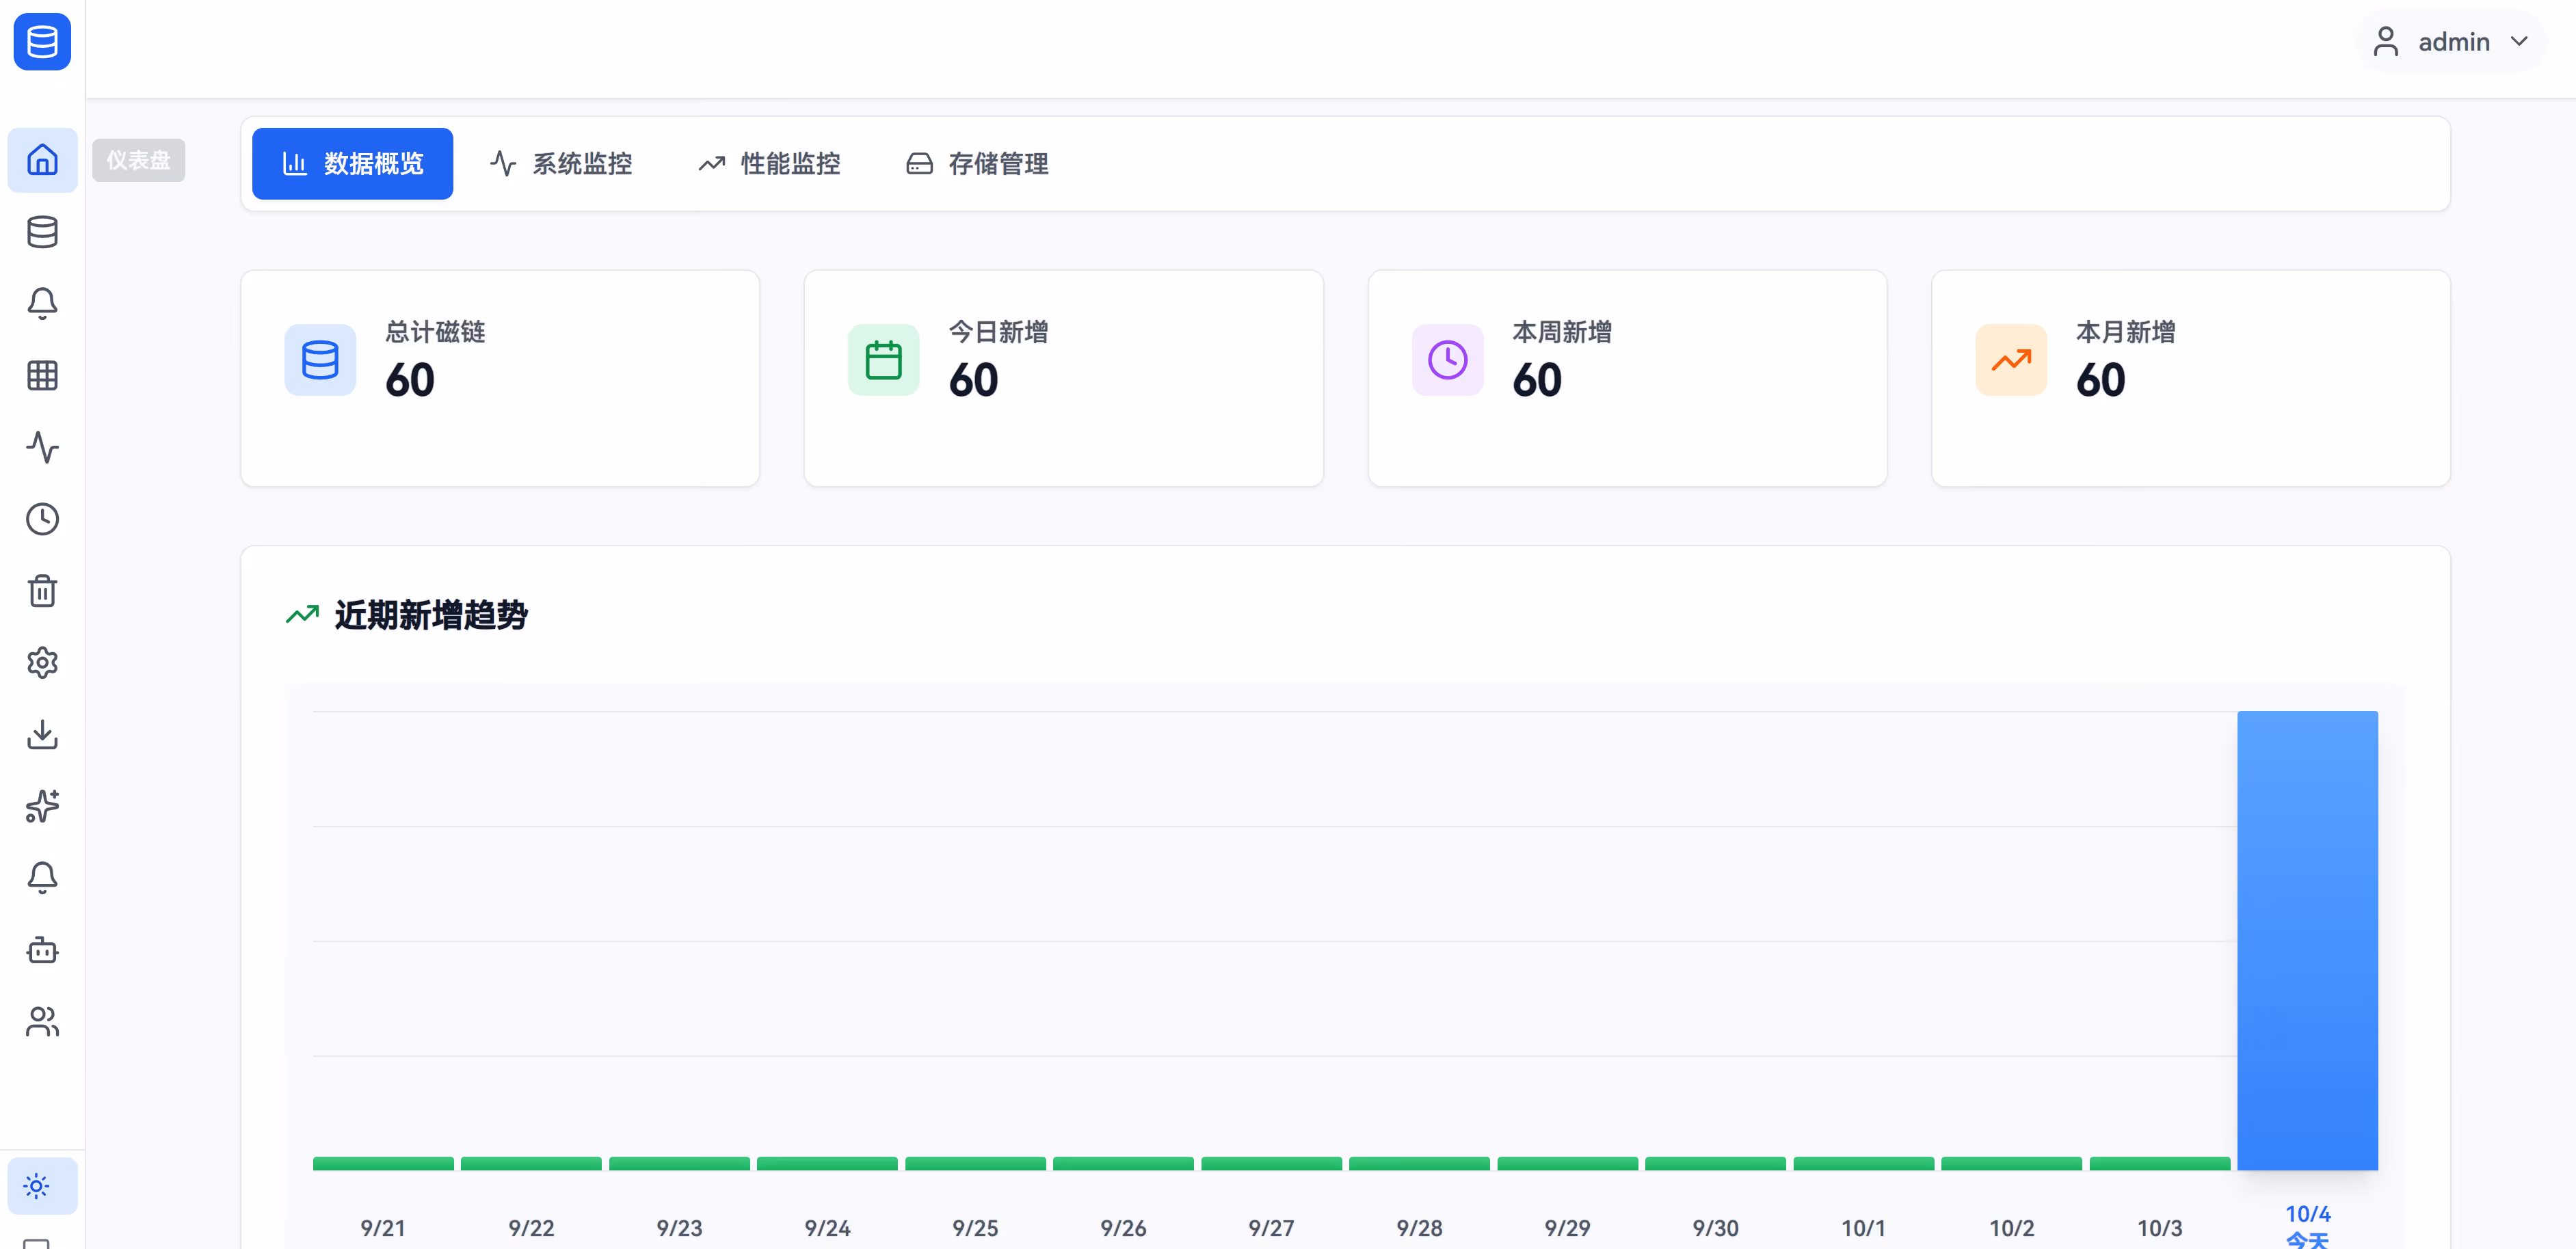
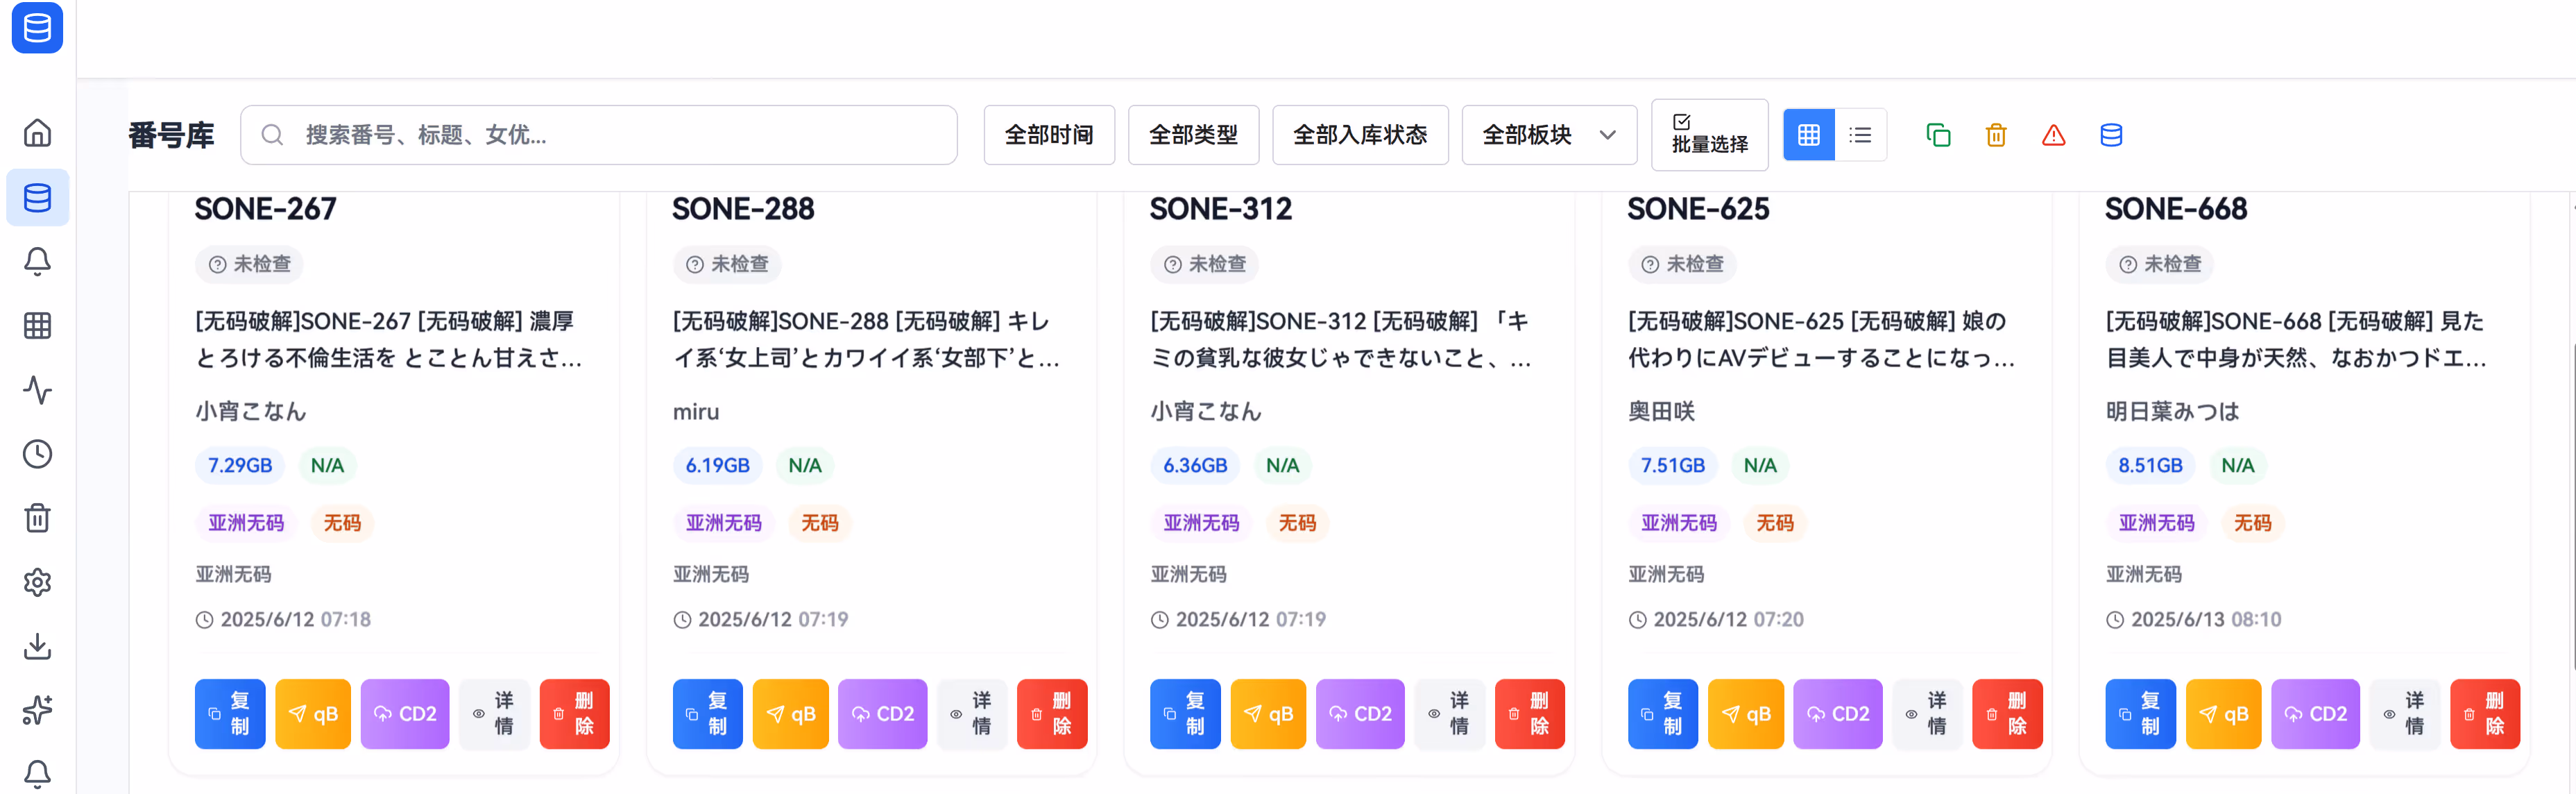
Data Overview
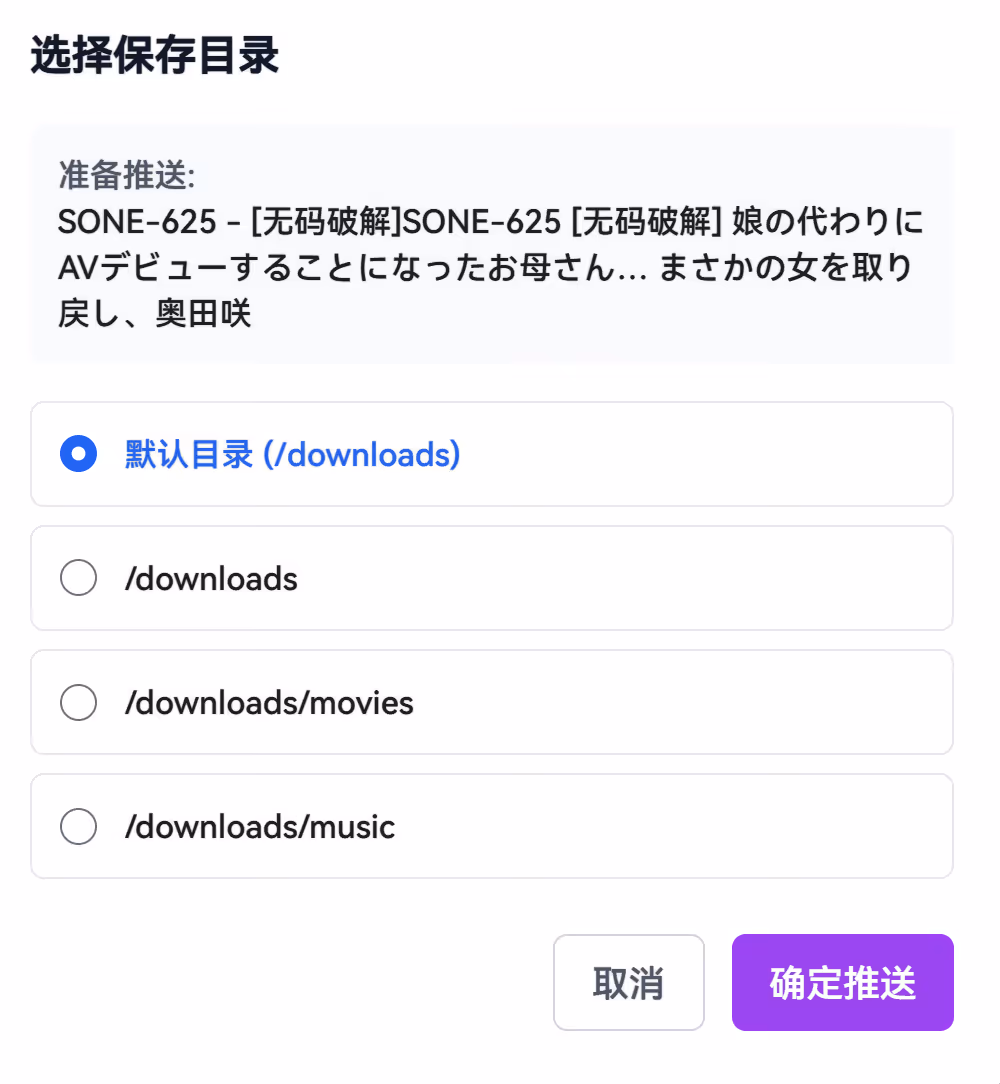
Of course, you can also choose to manually push items from the Data Overview page. Before you fully understand how it works, I recommend using manual pushing first.
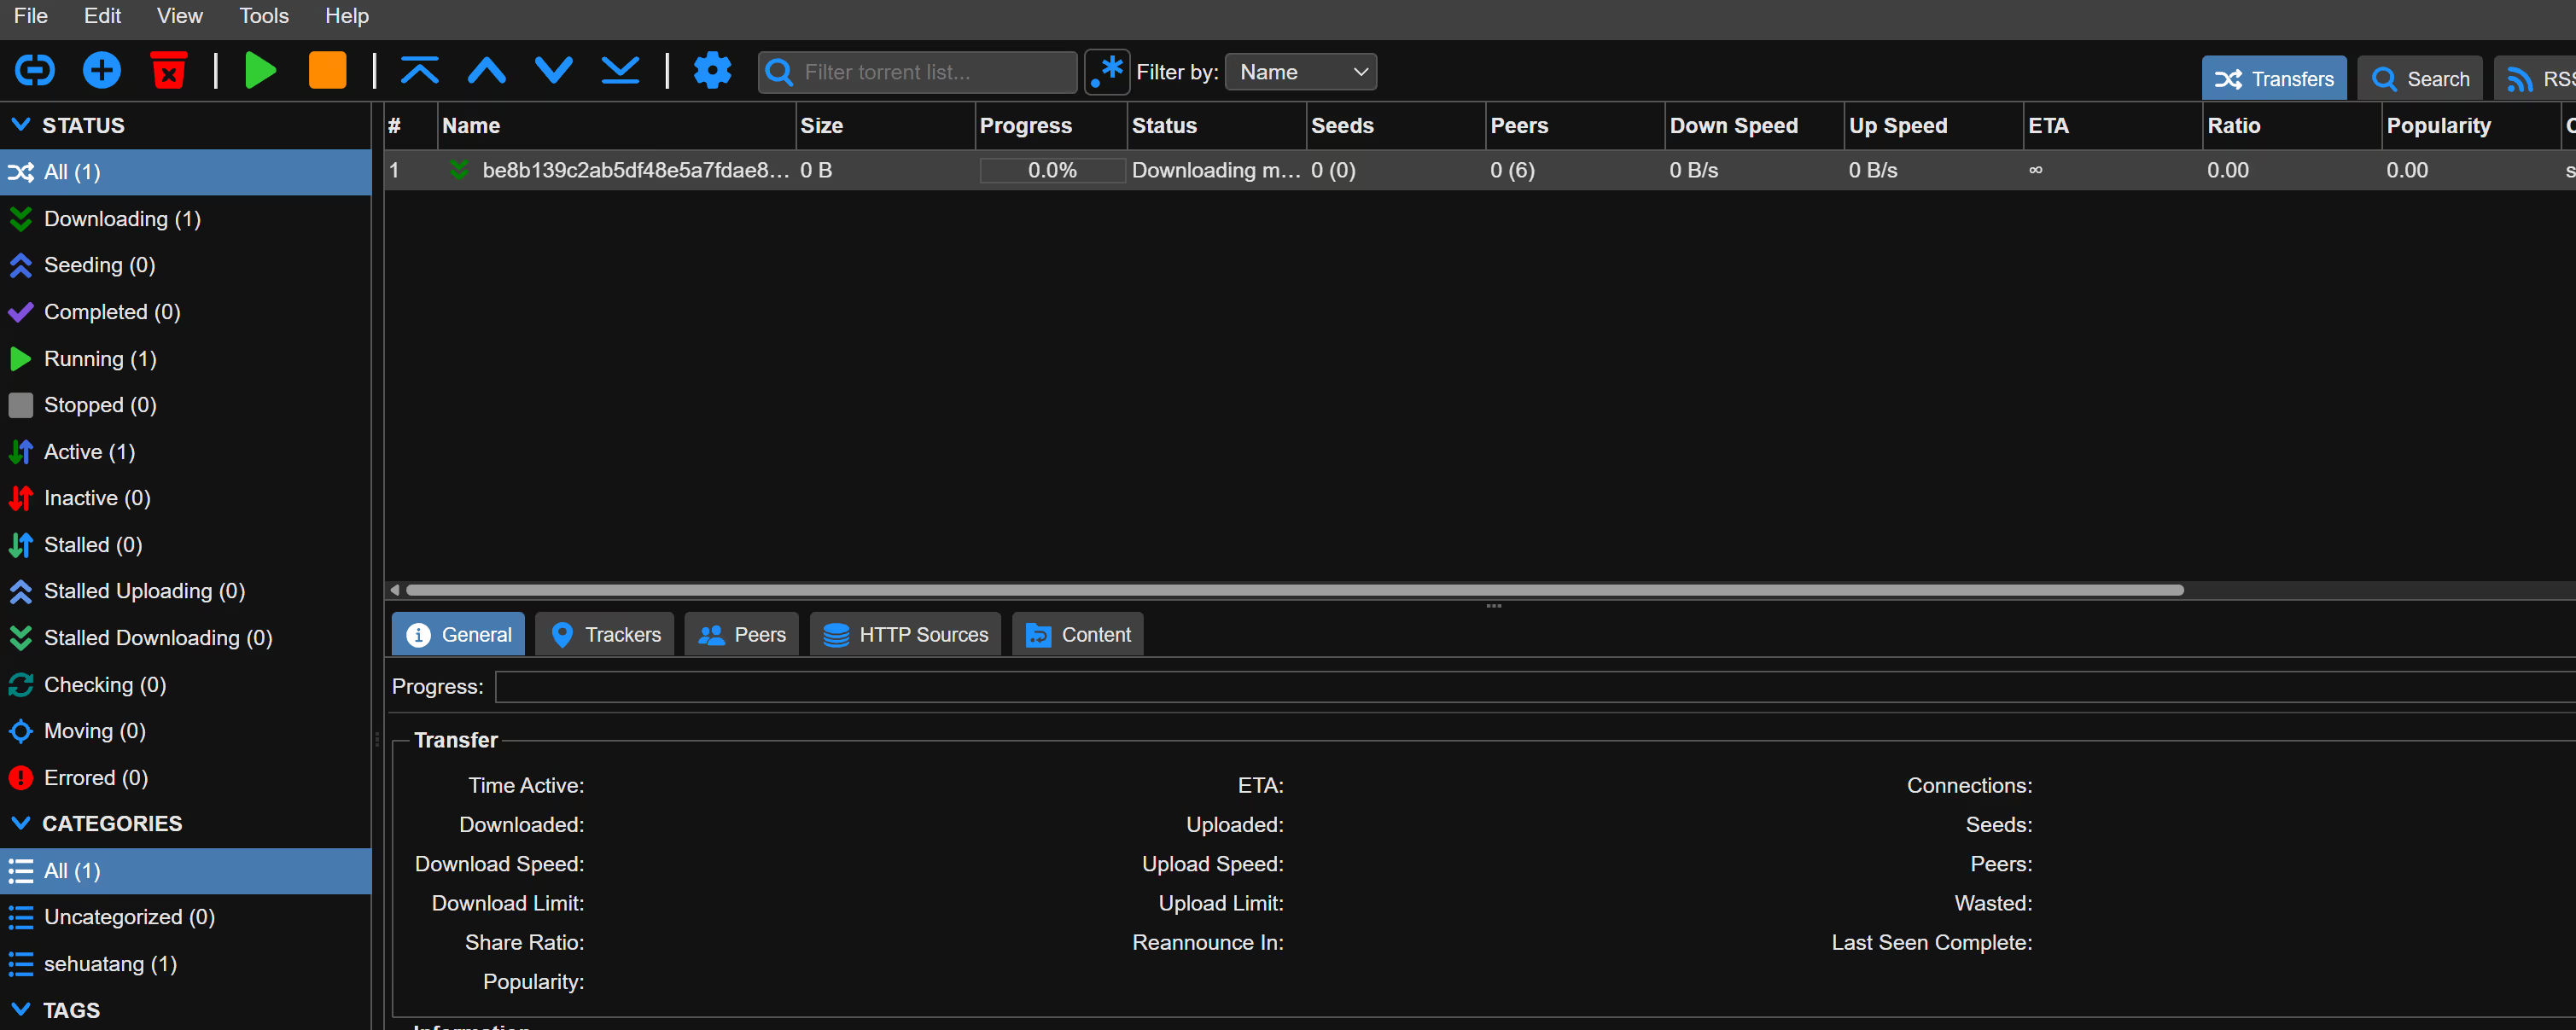
Just click Push to qB to start downloading. Your Emby/other scraper services only need to watch the download directory used here.
Scheduled Jobs
This essentially turns your crawler into a scheduled job that continuously refreshes content. If you have a Sehuatang account, you can experiment with its auto check-in feature. You’ll need to provide your account’s Cookie. (Sites like Sehuatang may not allow this kind of behavior—assess the risk yourself.)