Dokploy Deployment and Usage Guide
Dokploy Usage Guide
Introduction
Dokploy is an open-source, all-in-one deployment platform and a solid alternative to Vercel and Netlify. It supports deploying various pre-packaged containers and provides automation features such as automatic deployment, automatic updates, and automatic backups, making it very suitable for individual developers or small teams.
Feature Overview
- Application deployment: Supports multiple languages including Node.js, PHP, Python, Go, and Ruby.
- Database management: Supports MySQL, PostgreSQL, MongoDB, MariaDB, Redis, and more.
- Docker management: Easily deploy and manage Docker containers.
- Traefik integration: Automatically integrates with Traefik to provide routing and load balancing.
- Real-time monitoring: Monitor CPU, memory, storage, and network usage.
- Database backups: Supports multiple storage targets for automated backups.
Deployment Guide
Server Requirements
- Memory: at least 2GB
- Disk: at least 30GB
This is to ensure Docker doesn’t consume excessive resources when building and running containers, preventing system crashes.
Docker Configuration
Make sure Docker is installed, then edit /etc/docker/daemon.json to optimize logging and enable experimental features:
{ "log-driver": "json-file", "log-opts": { "max-size": "20m", "max-file": "3" }, "experimental": true, "data-root": "/root/docker_data"}Installing Dokploy
Dokploy provides an official one-liner installation script:
curl -sSL https://dokploy.com/install.sh | shOnce finished, visit http://your-vps-ip:3000 for the initial setup.
Initial Setup
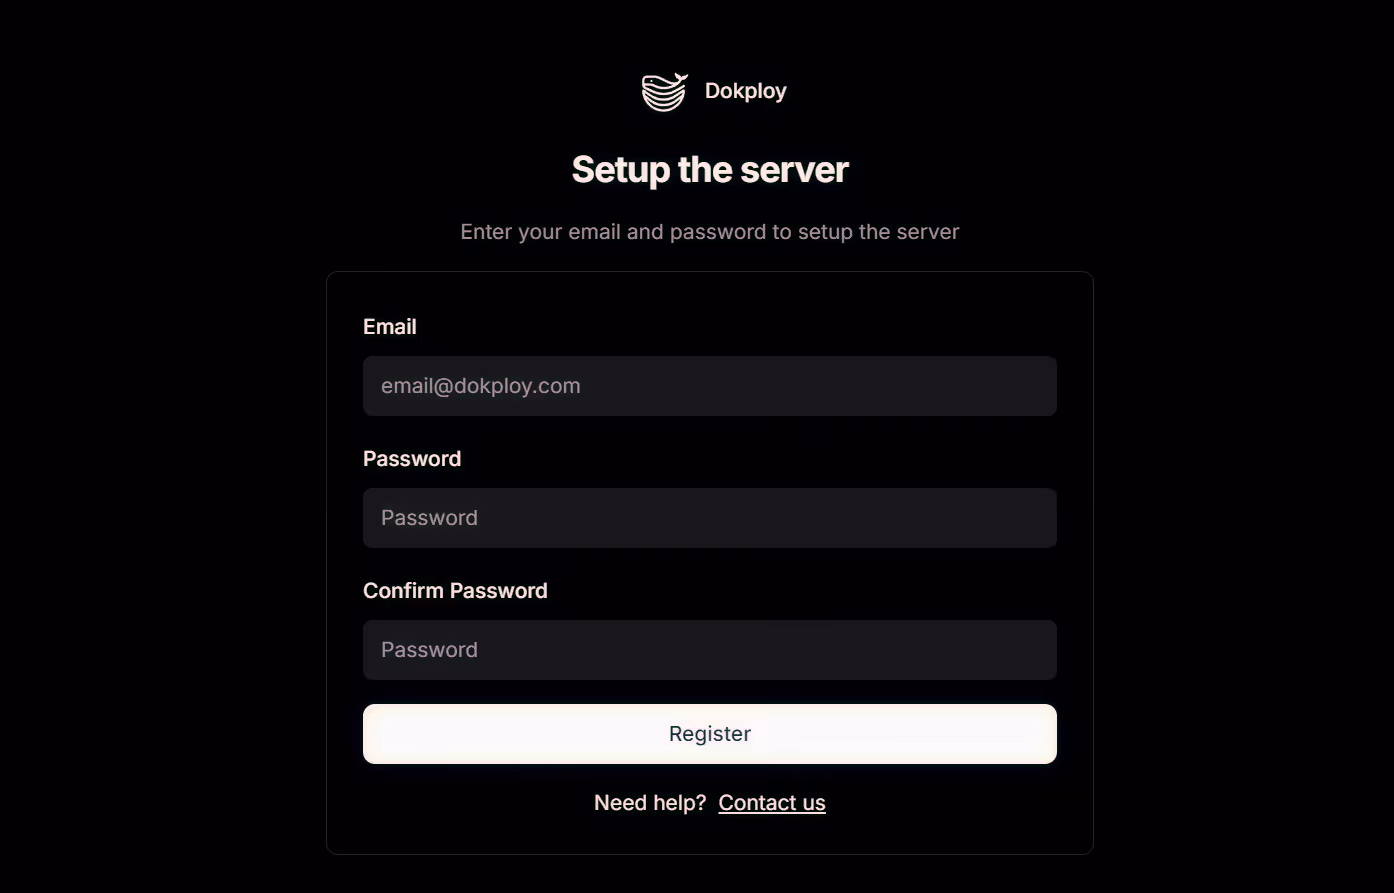
Admin Account
On the initial screen, create an admin account. This will be the main Dokploy account.
Security Settings
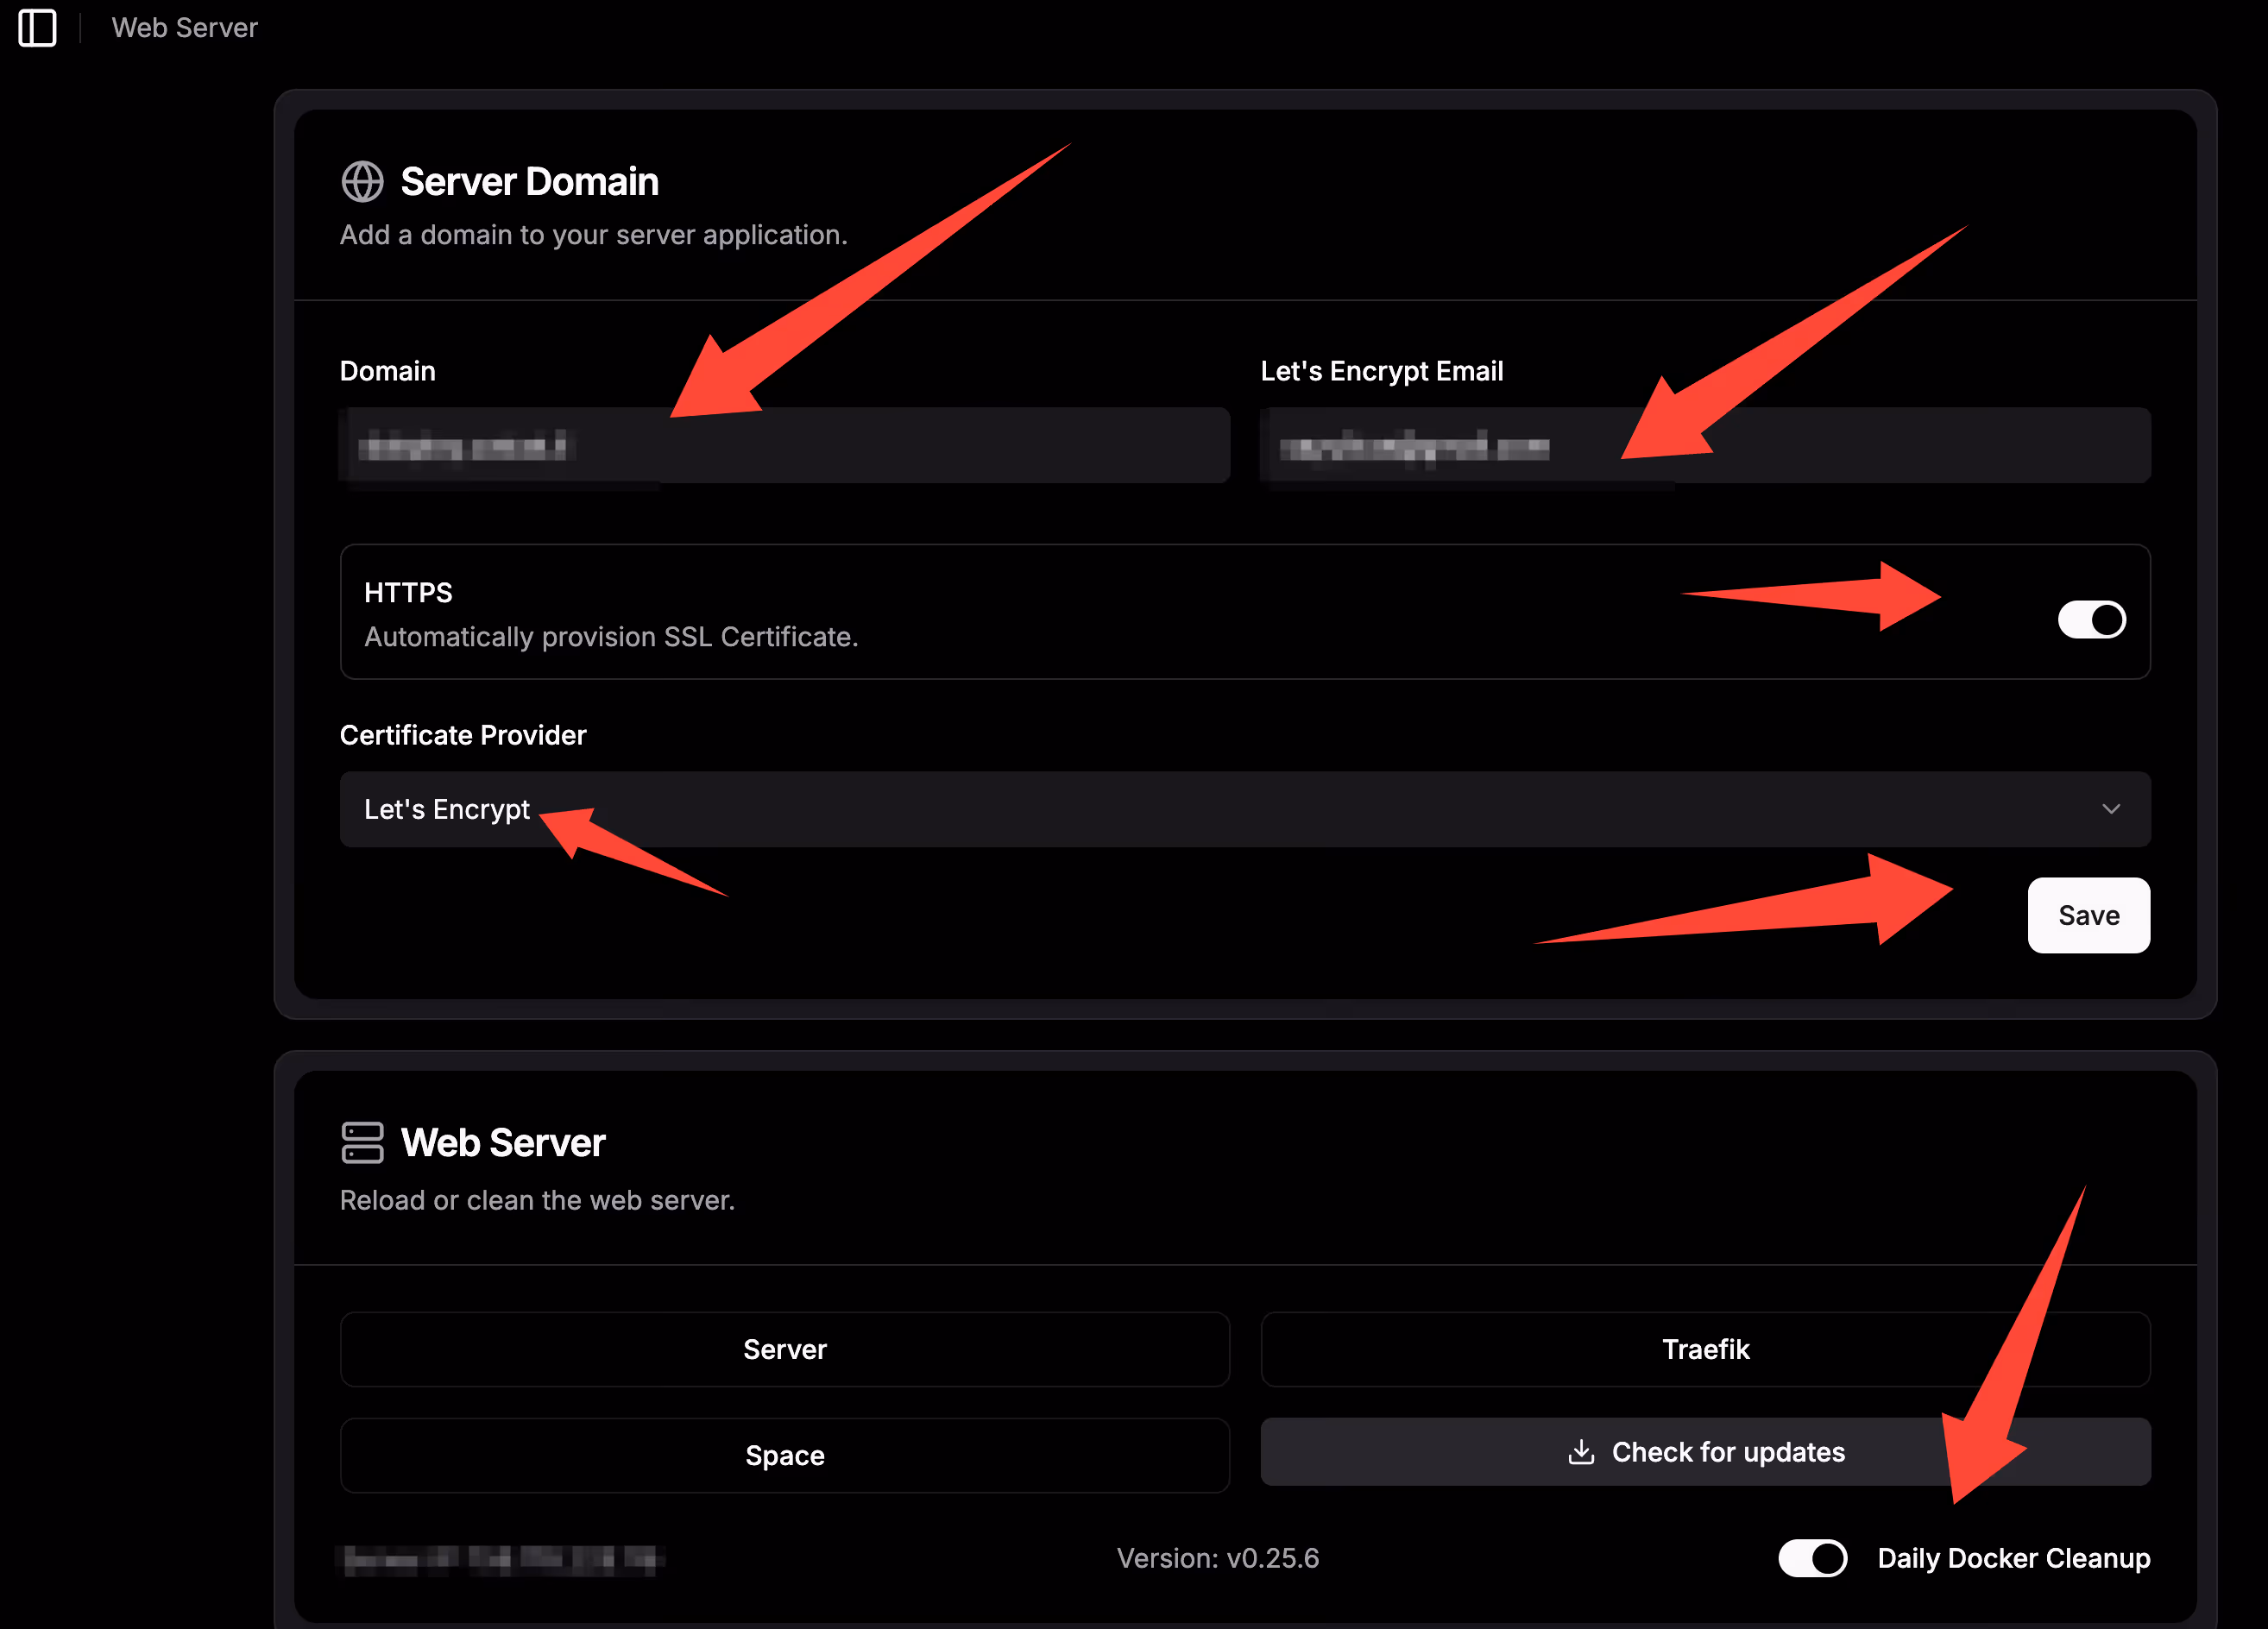
If you’re not on an internal network and are deploying on a public VPS, it’s recommended to configure a custom domain and then close port 3000 for security. You only need to open ports 80 and 443 and access Dokploy through Traefik.
docker service update --publish-rm "published=3000,target=3000,mode=host" dokploydocker service inspect dokploy --format '{{.Spec.EndpointSpec}}'Basic Panel Settings
- Enable SSL
- Enable automatic Docker cleanup to avoid filling up disk space
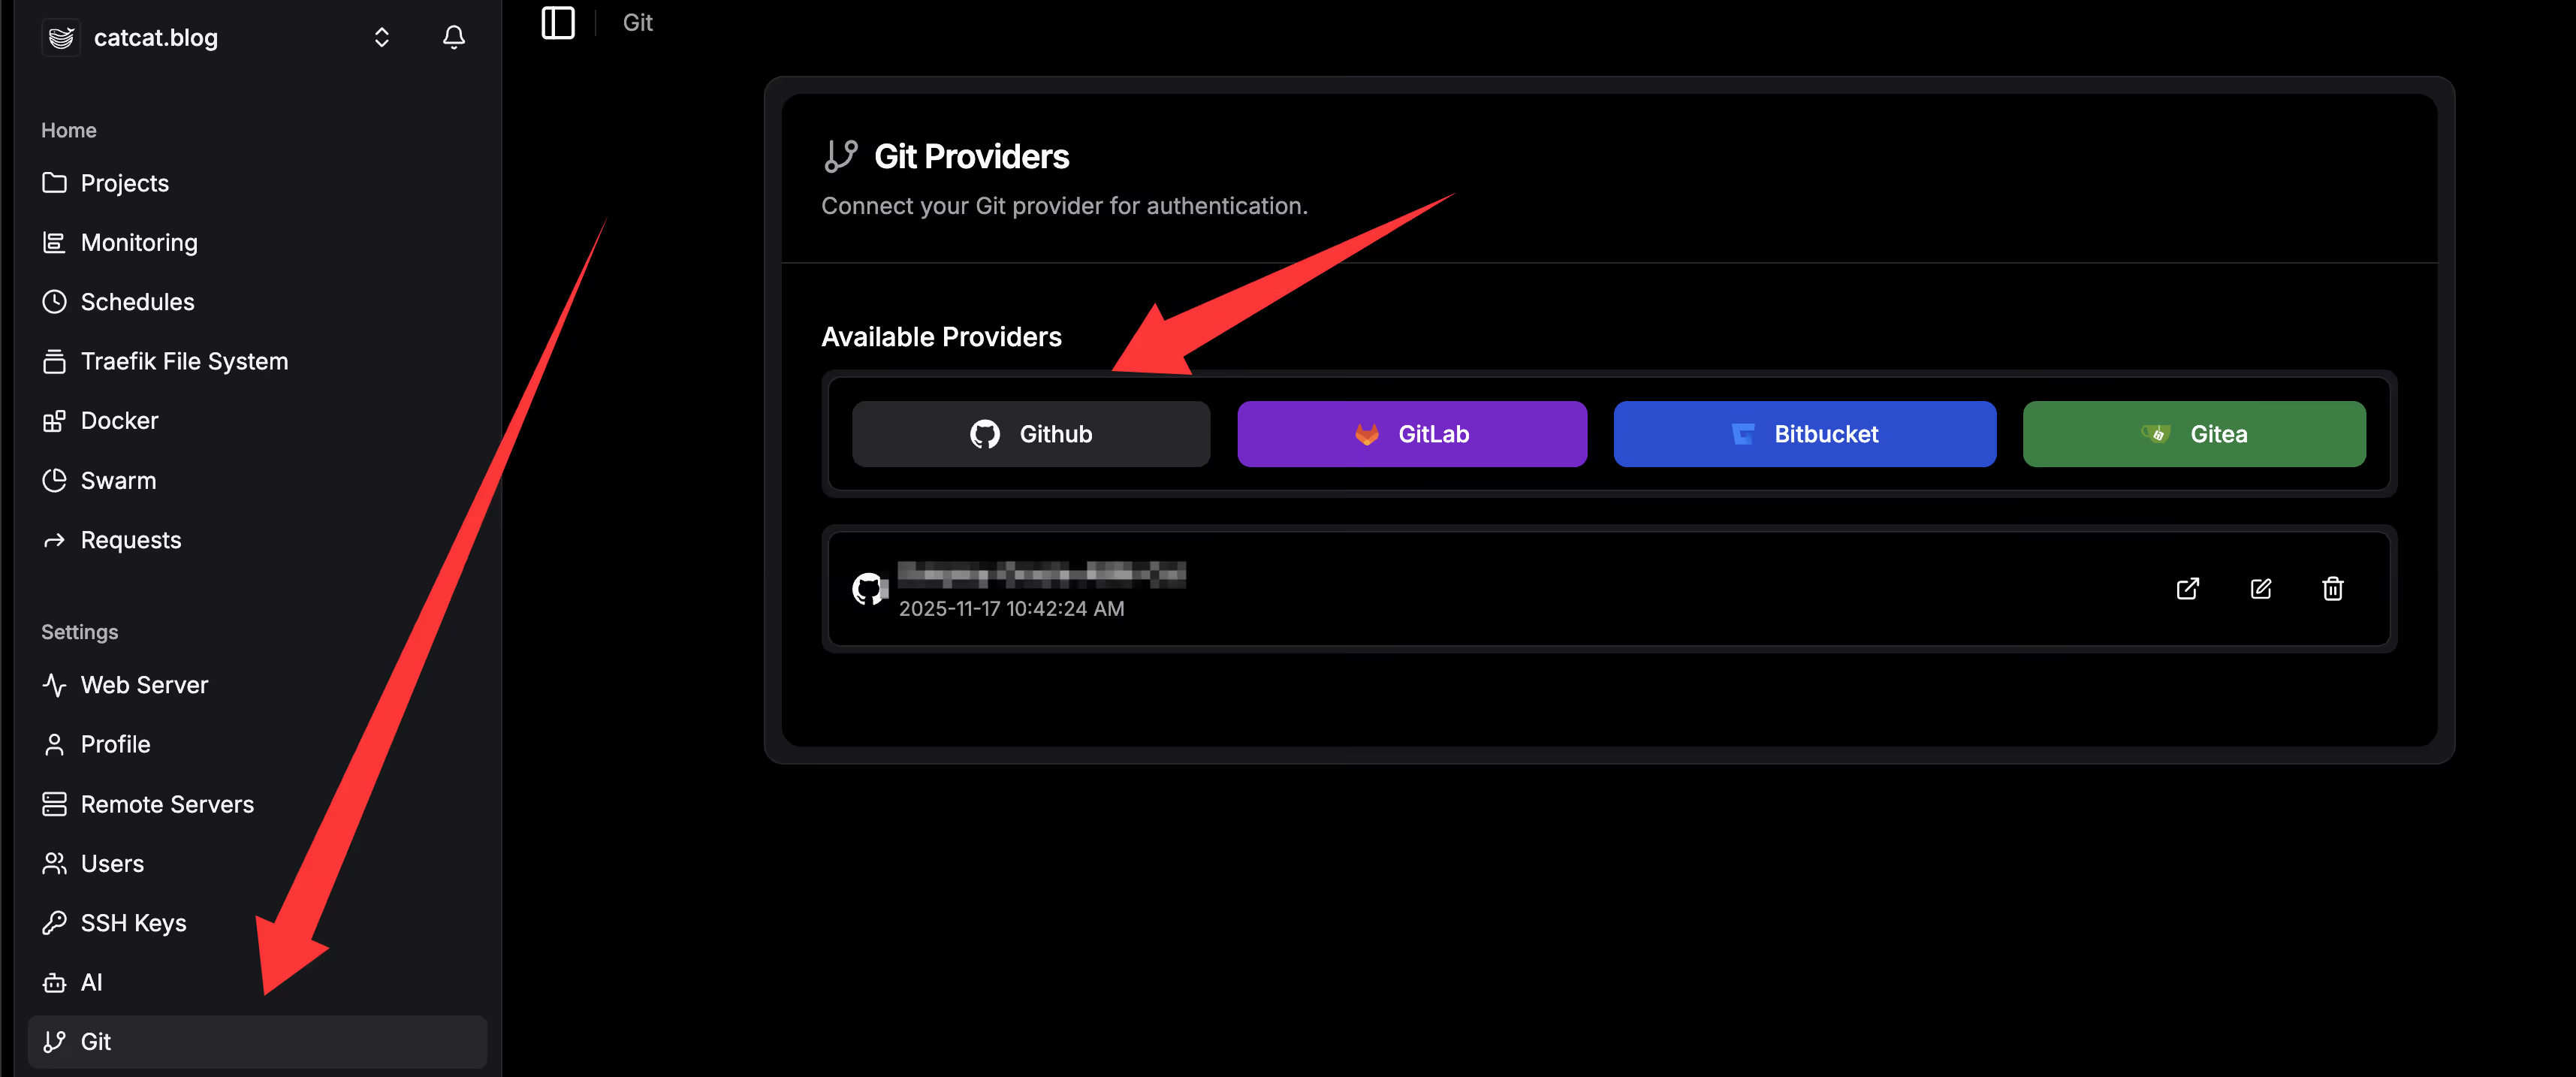
Git Integration (CI/CD)
Configure your Git account to enable automated deployments:
- Choose a Git platform (GitHub / GitLab / Bitbucket, etc.)
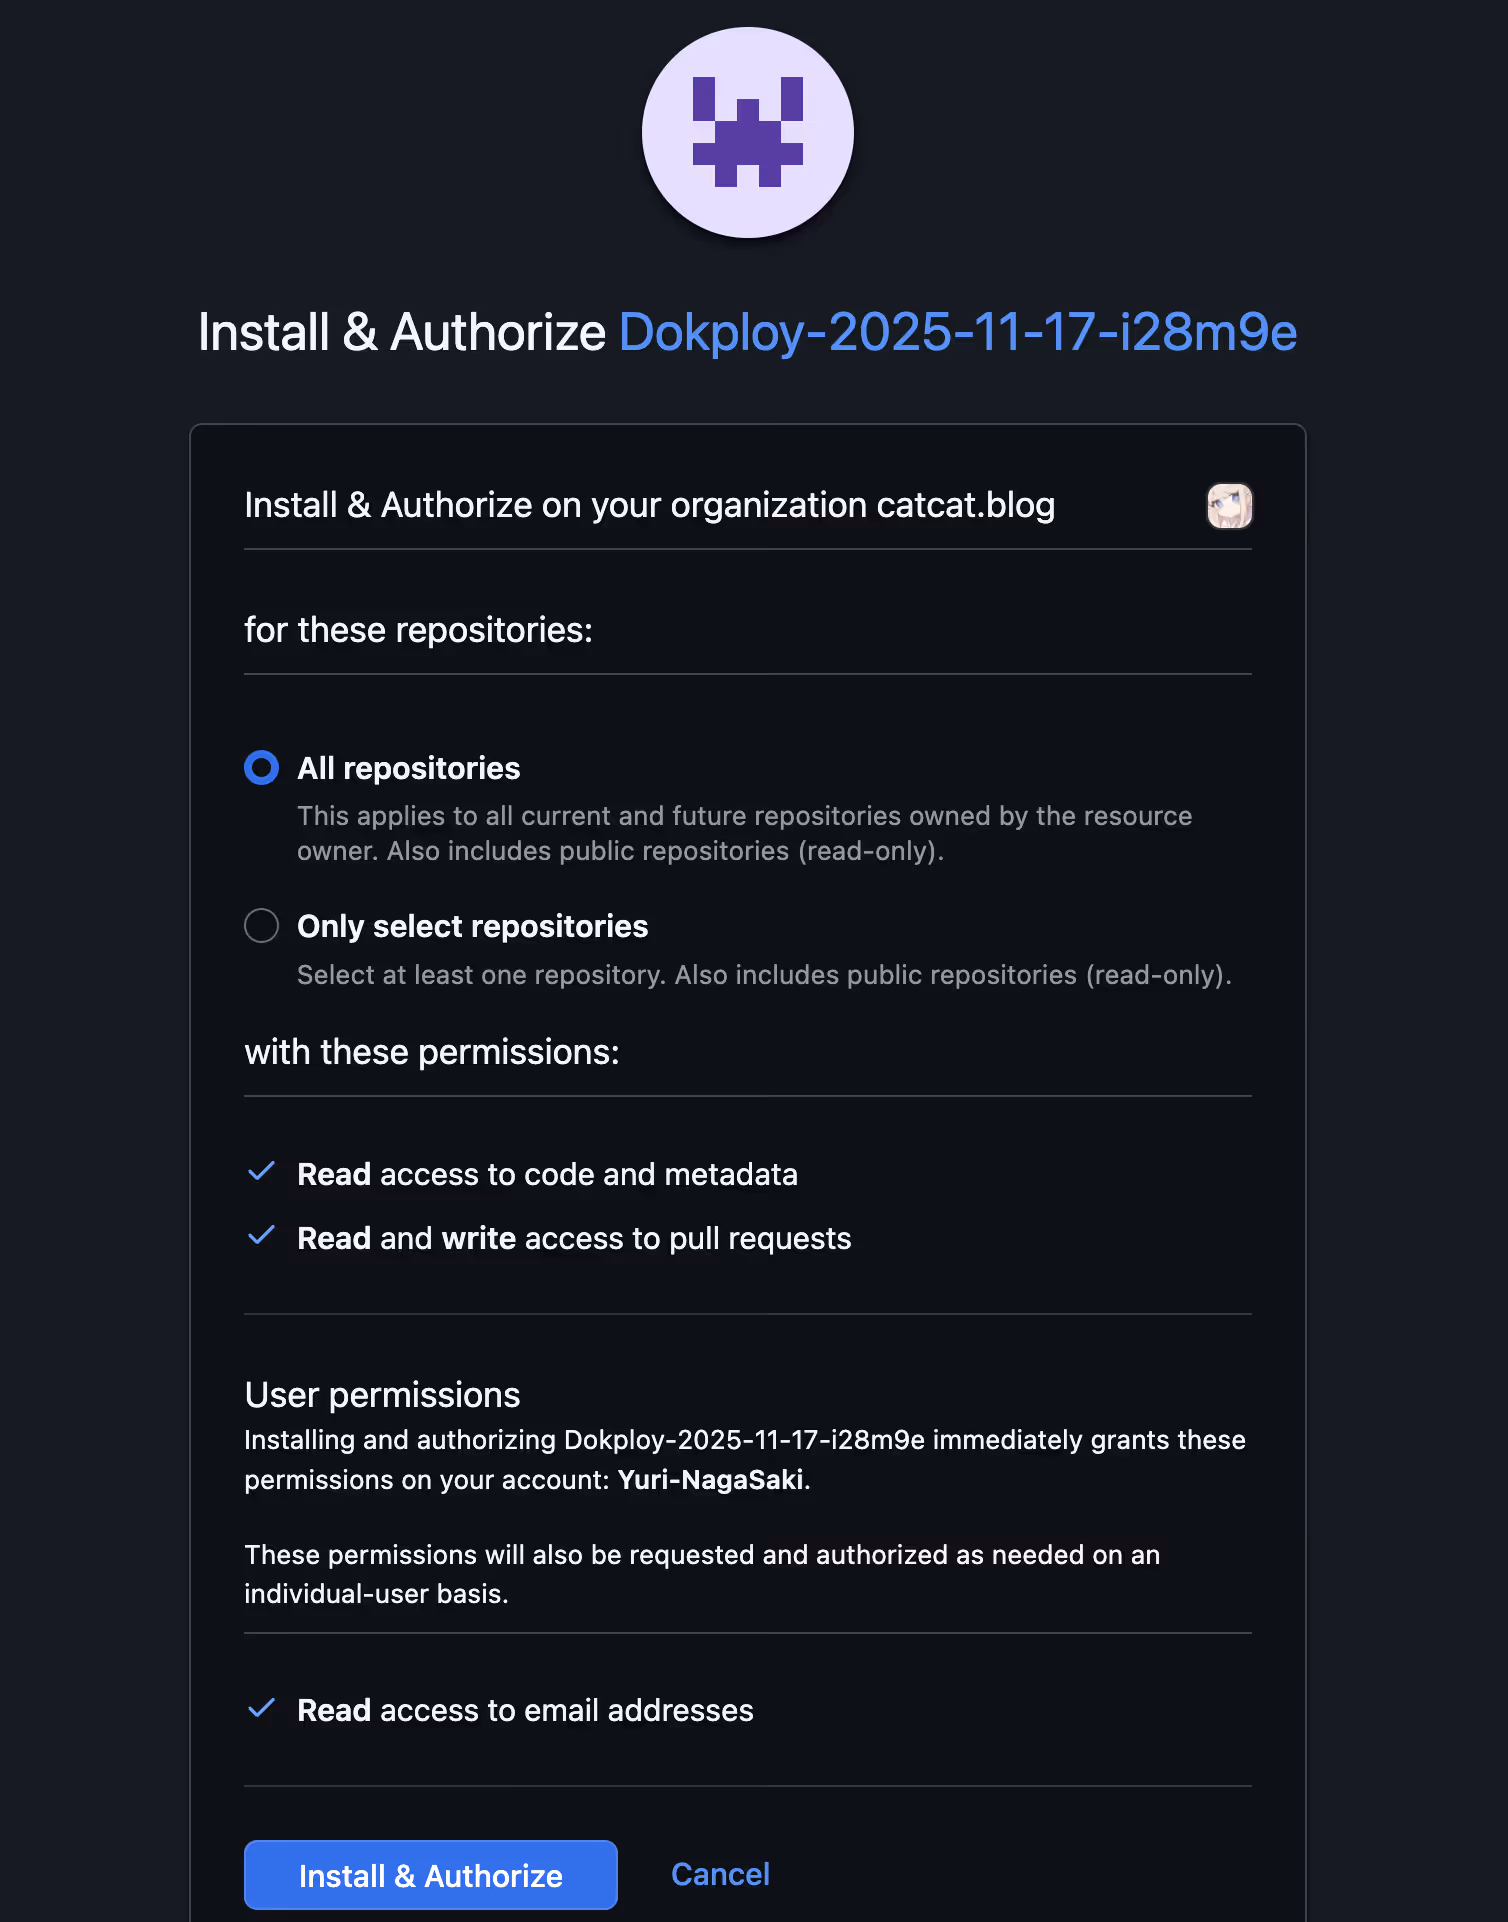
- Authorize Dokploy to access your repositories
- Select the repositories you want to deploy, or grant access to all
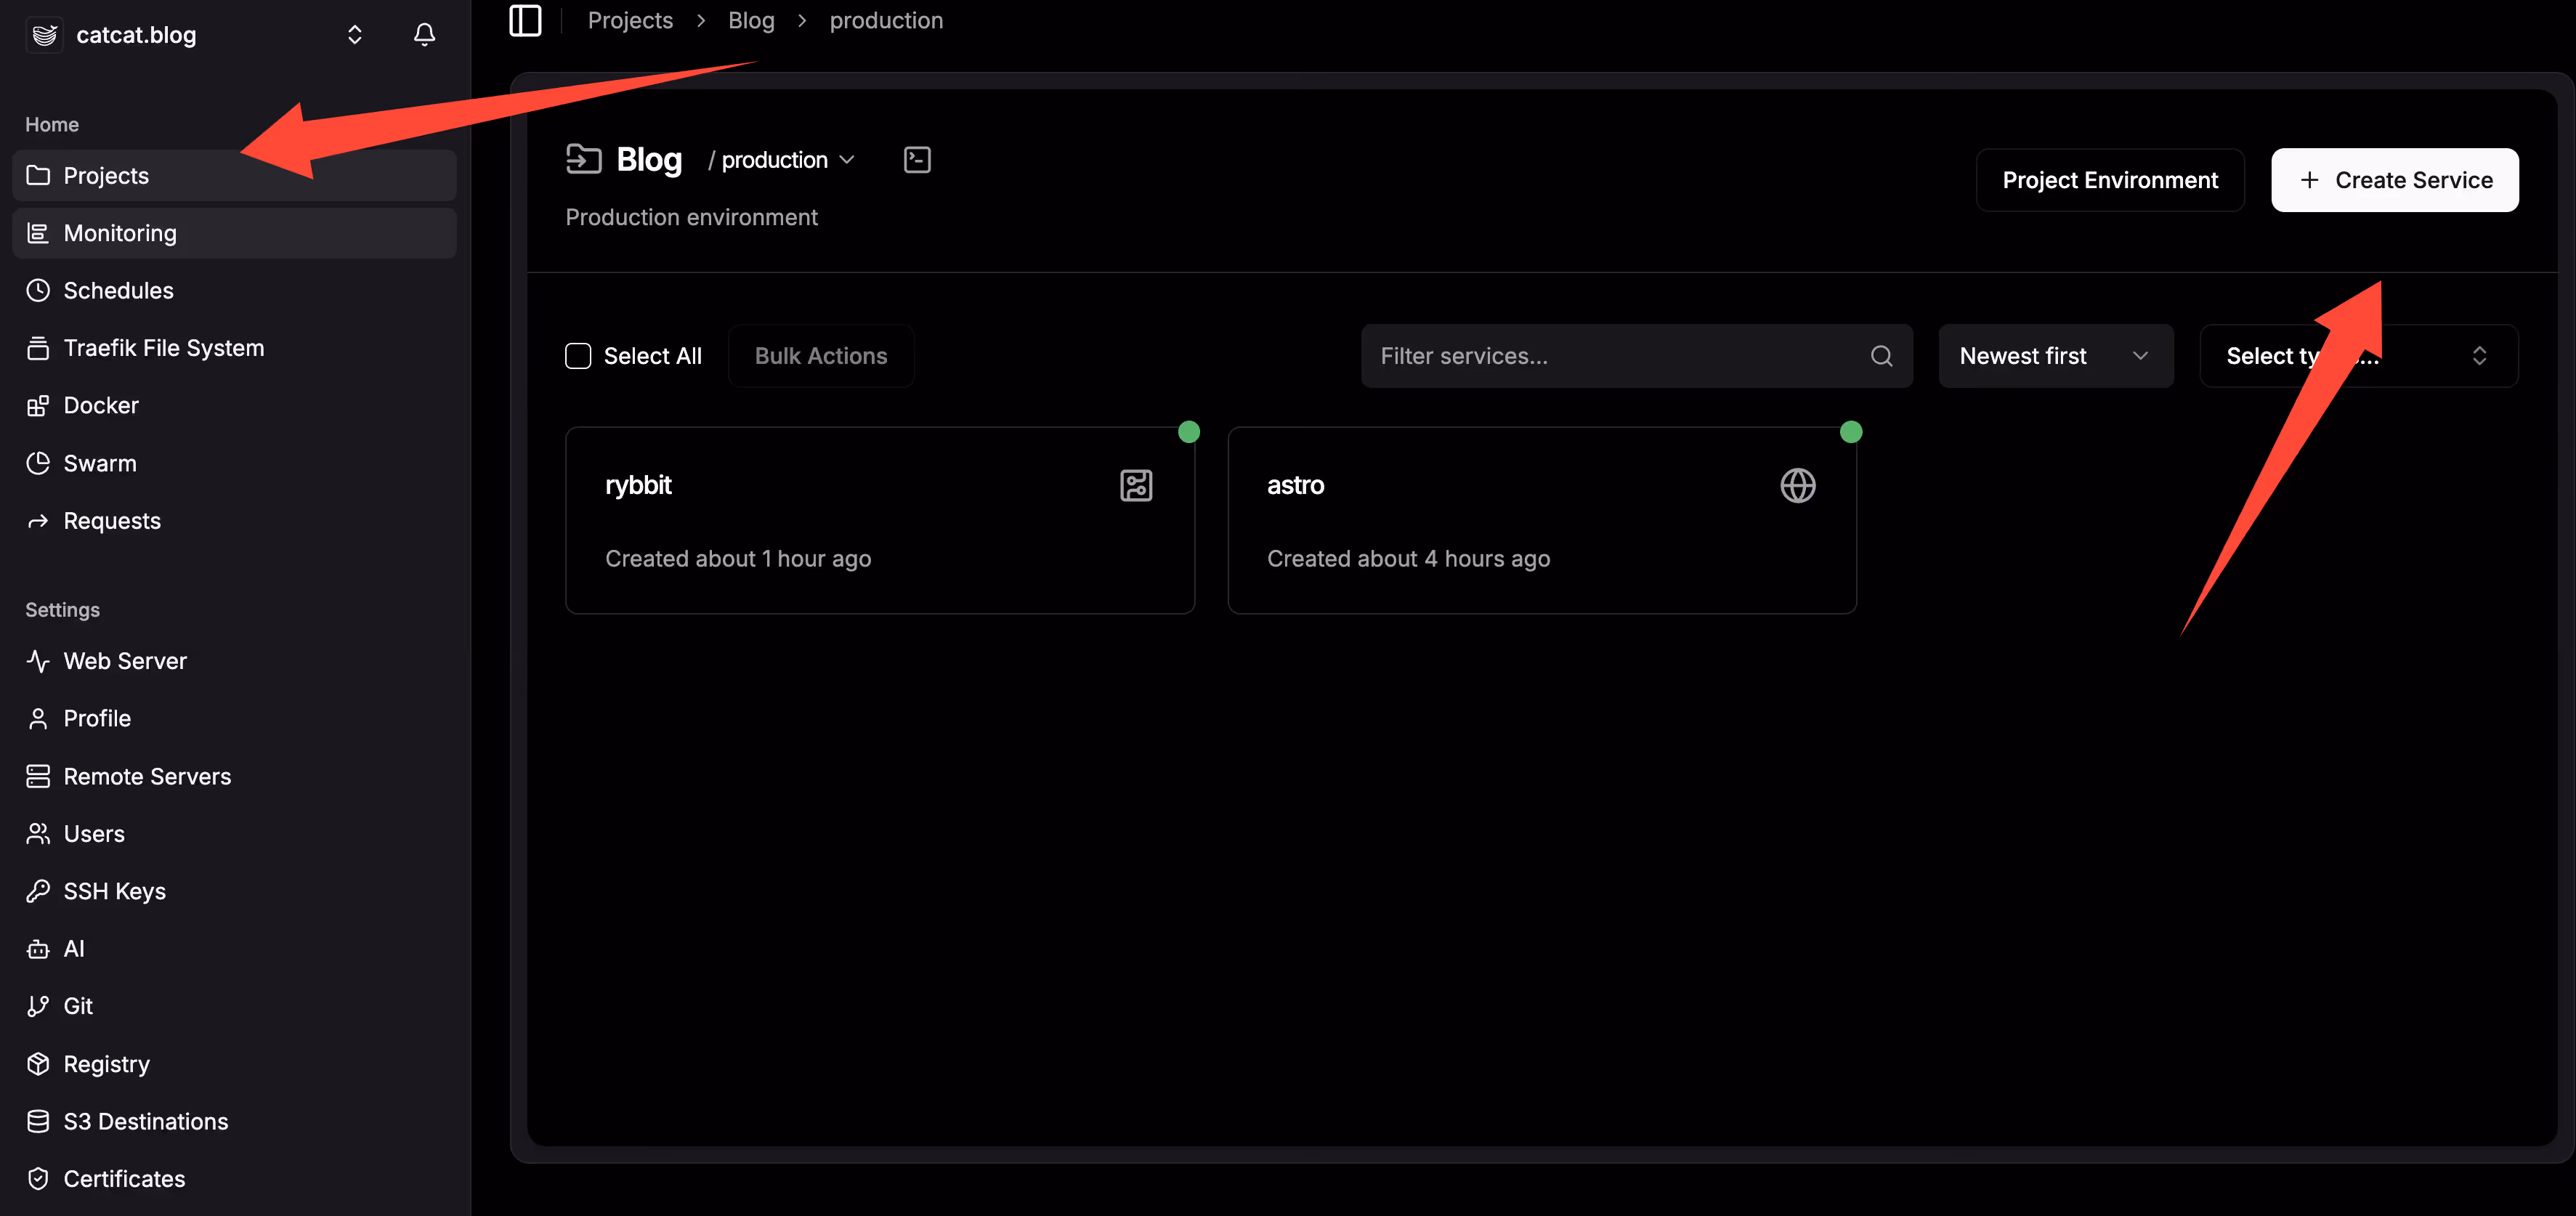
Project Deployment
Deploying from a GitHub Repository
- Create a project and select the Git repository and branch
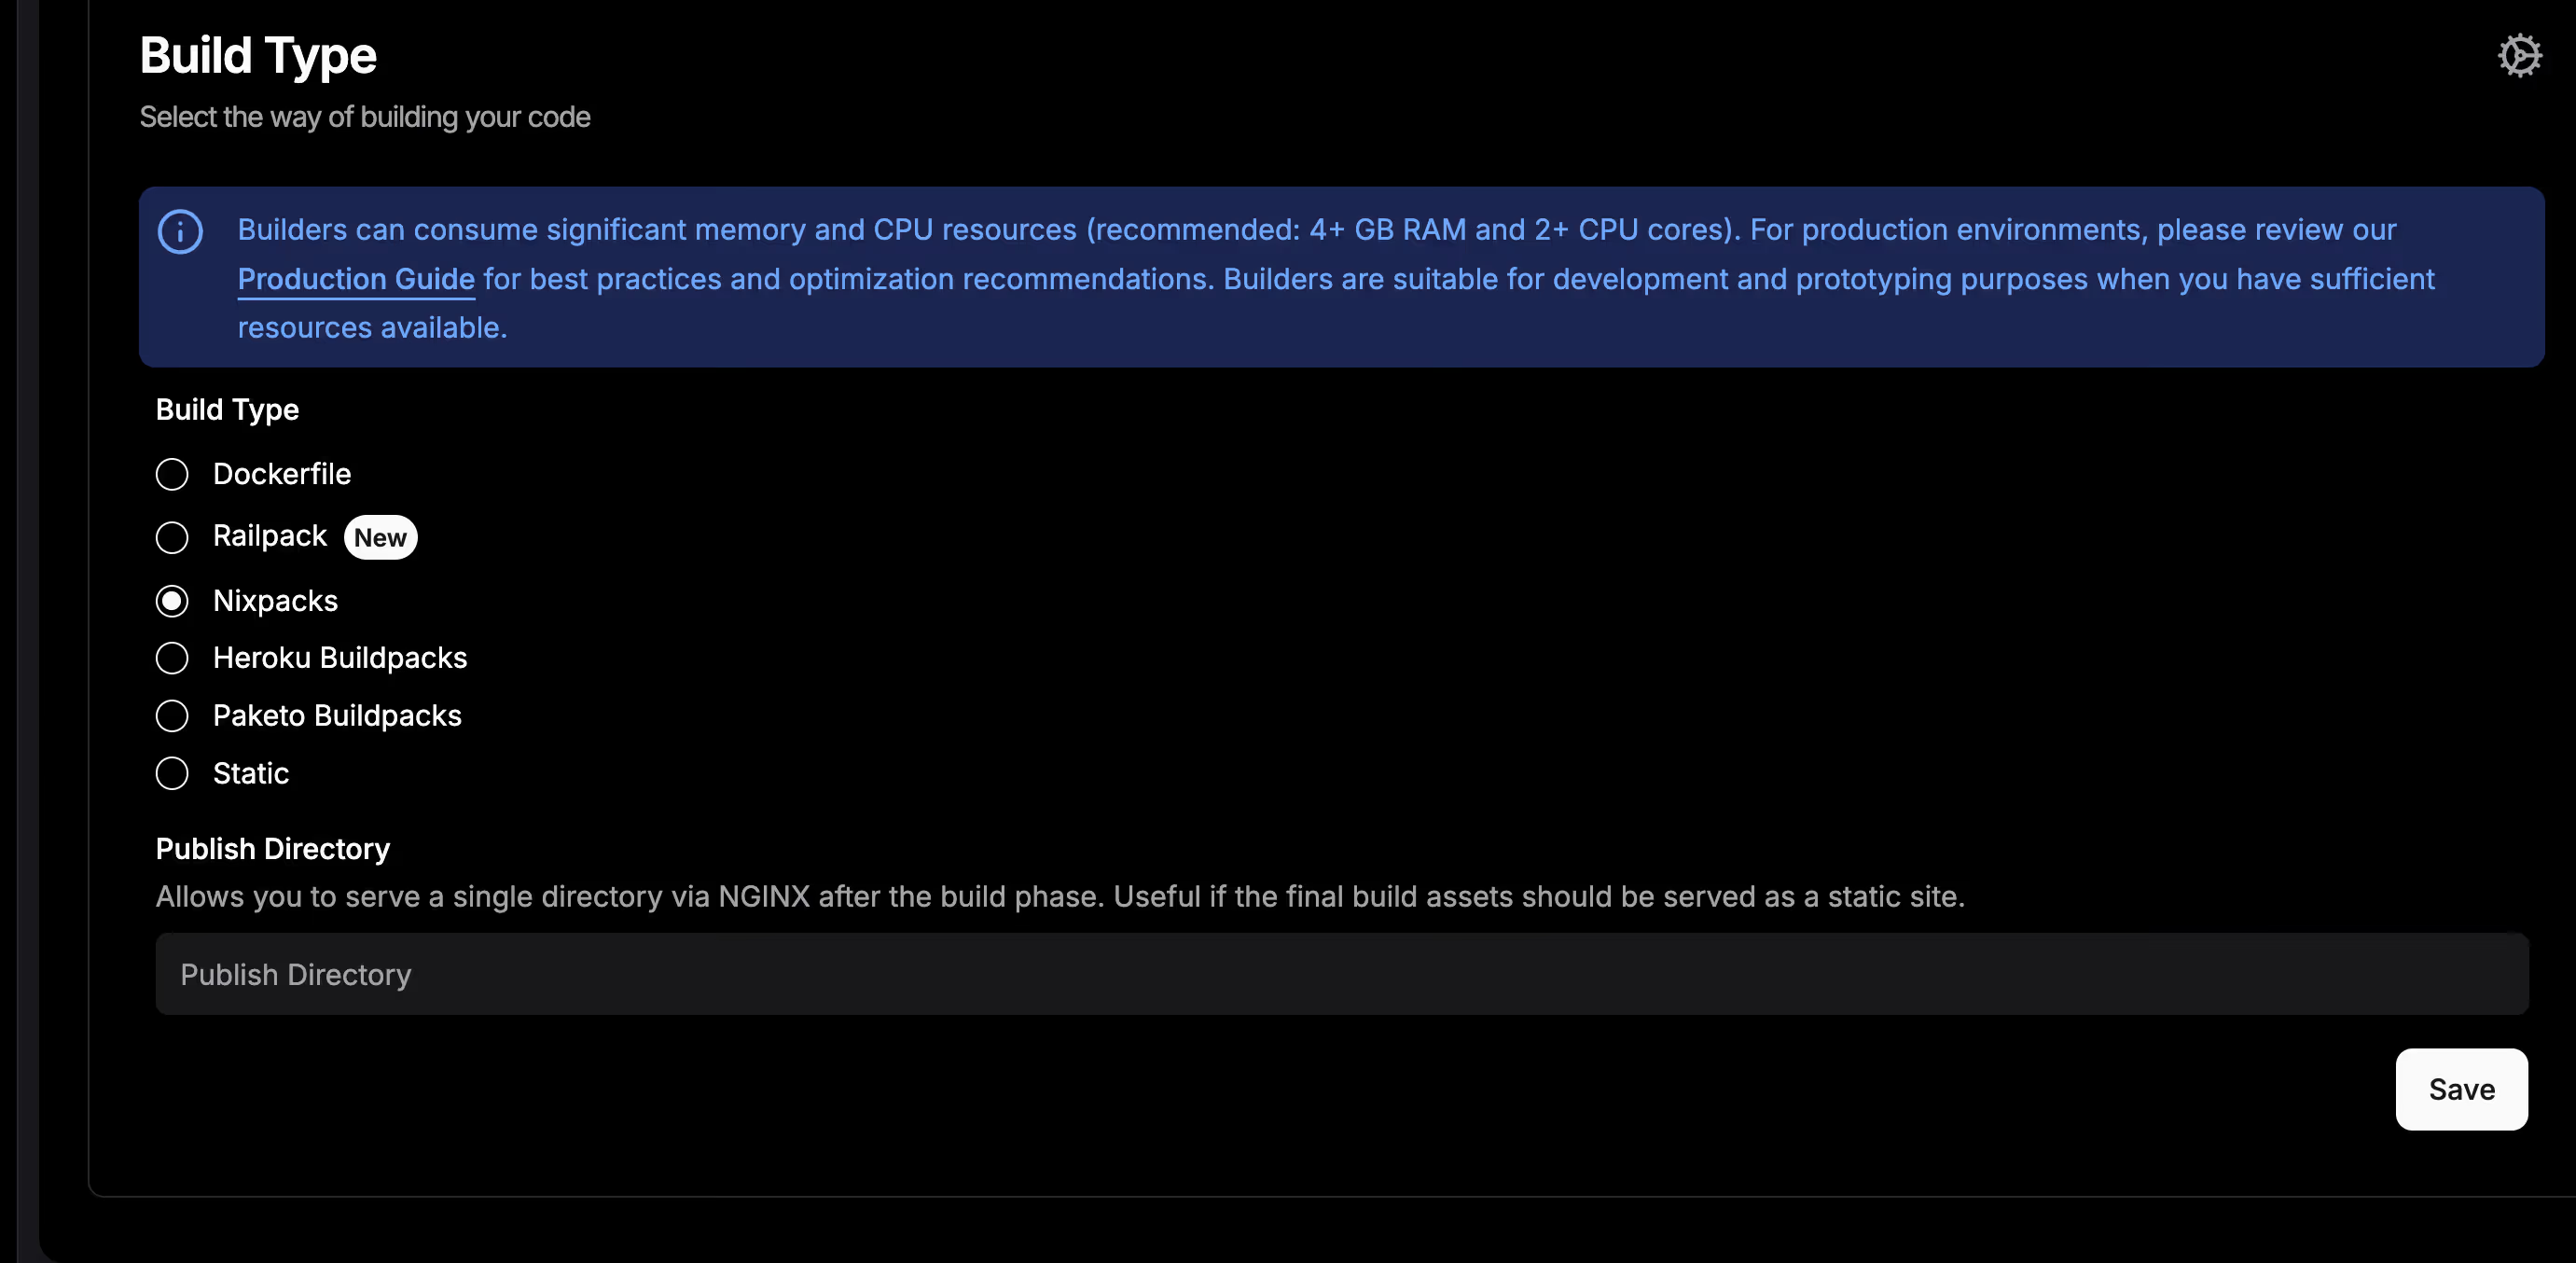
- Choose the build method (the default is usually fine)
- Configure additional parameters as needed
- On the Domain page, set up your domain; Traefik will automatically handle reverse proxying
After you’re done, your project will be available at the configured domain.
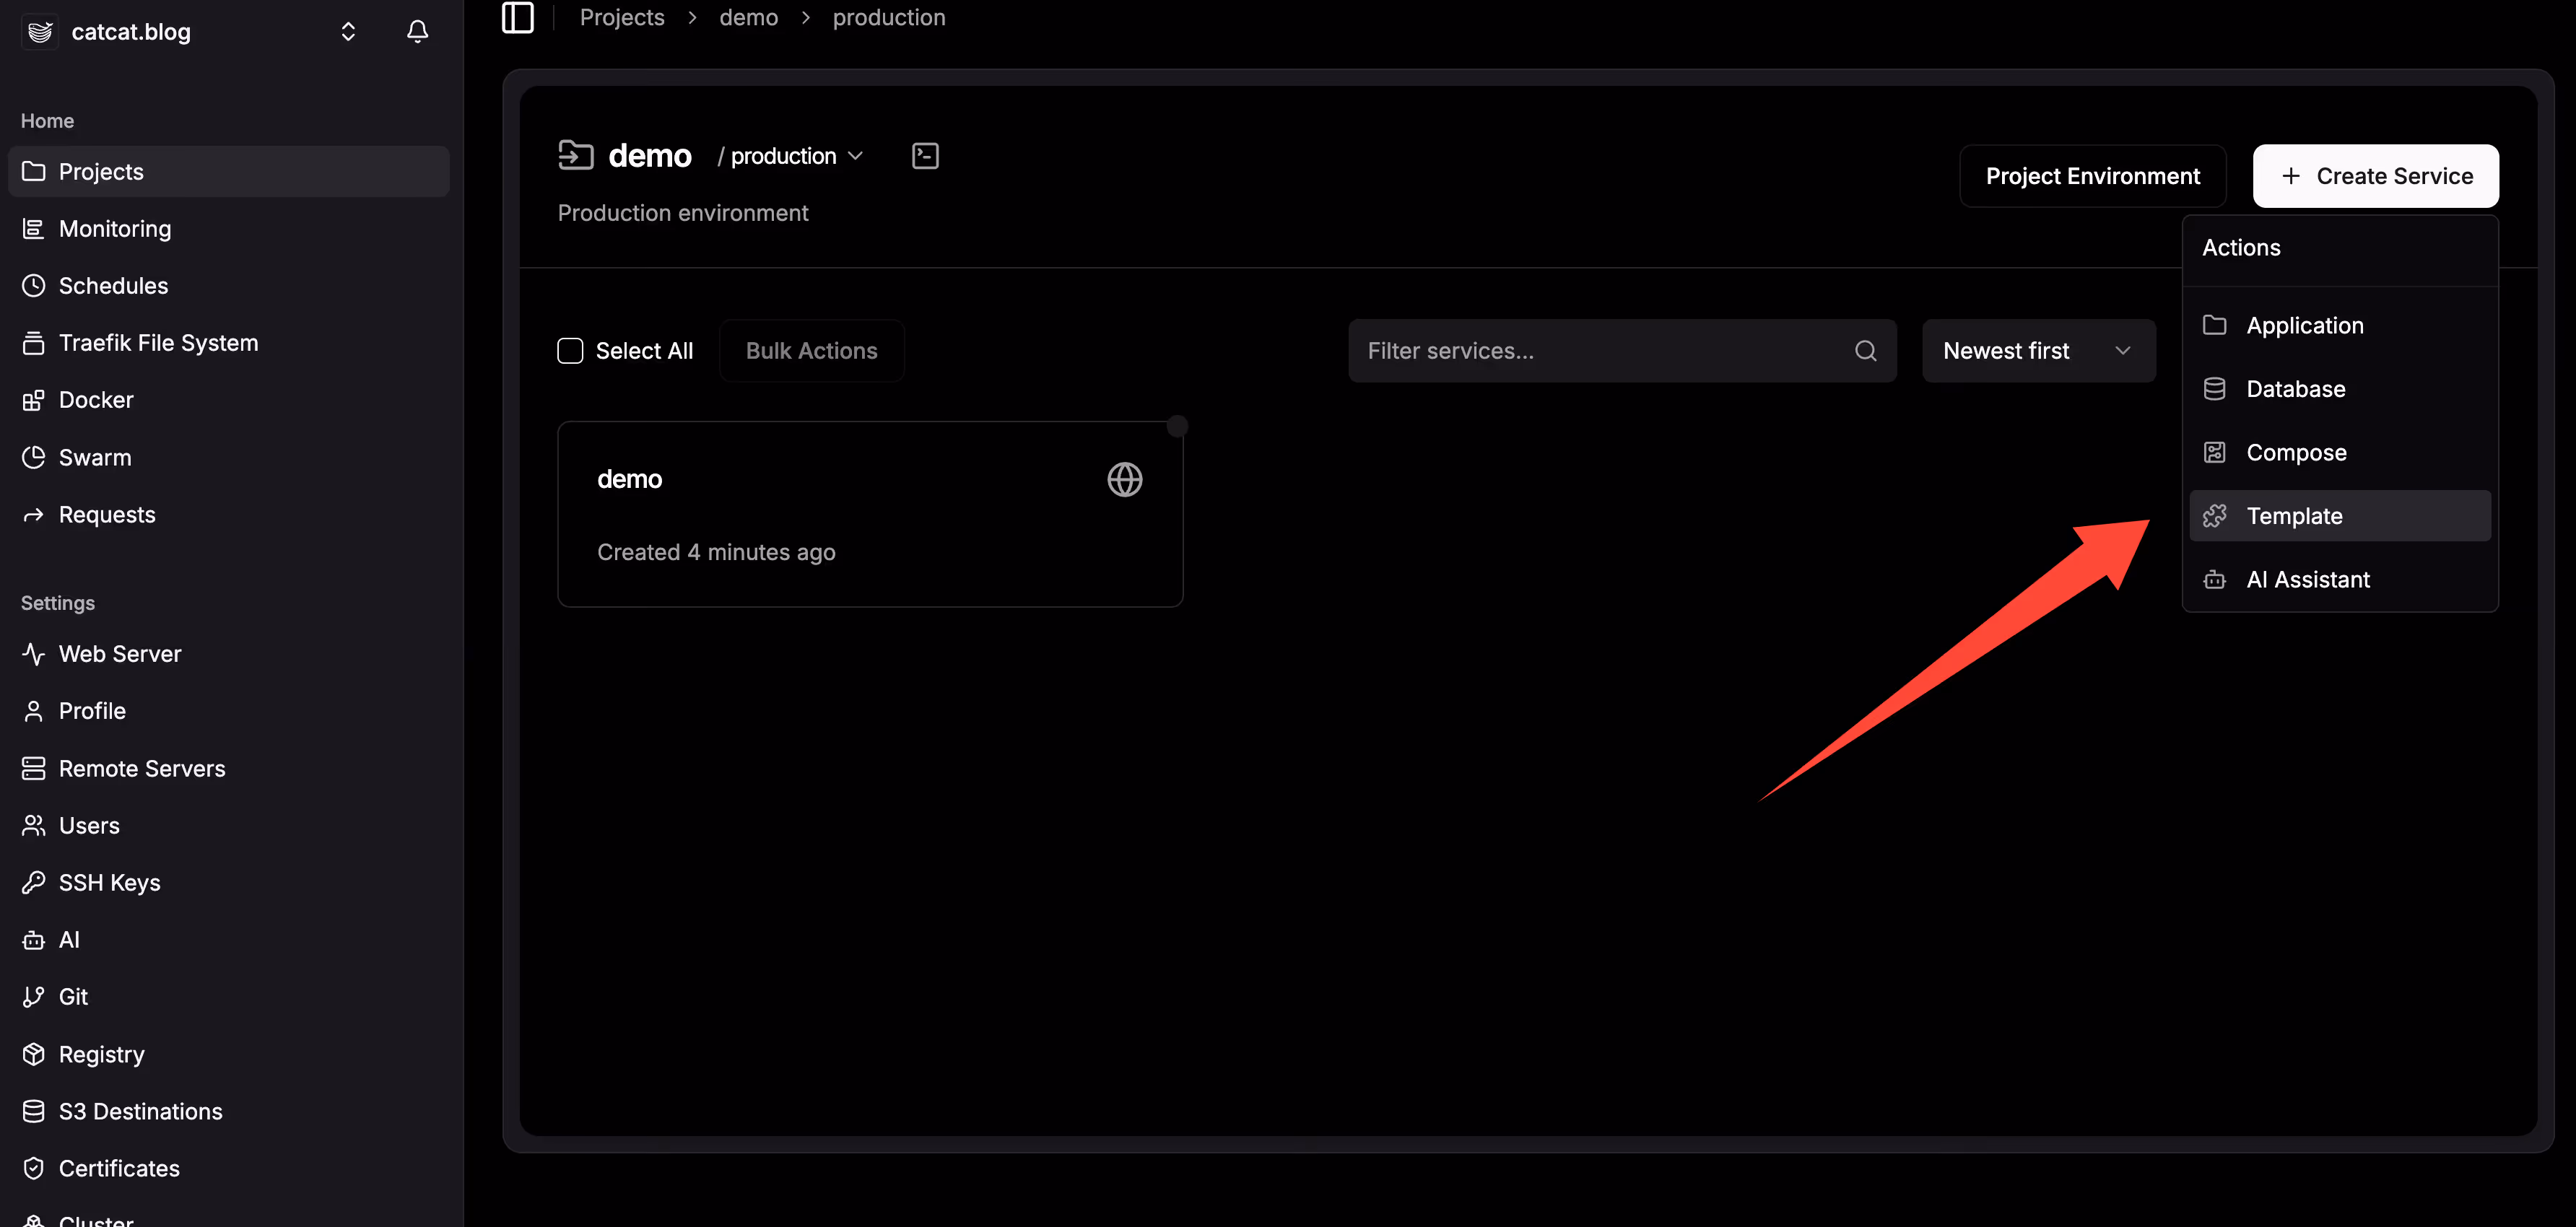
Template Deployment
The official templates are here: https://templates.dokploy.com/
- Choose a suitable template
- Review the
docker-compose.ymlor other configuration files - Click Deploy to complete the deployment
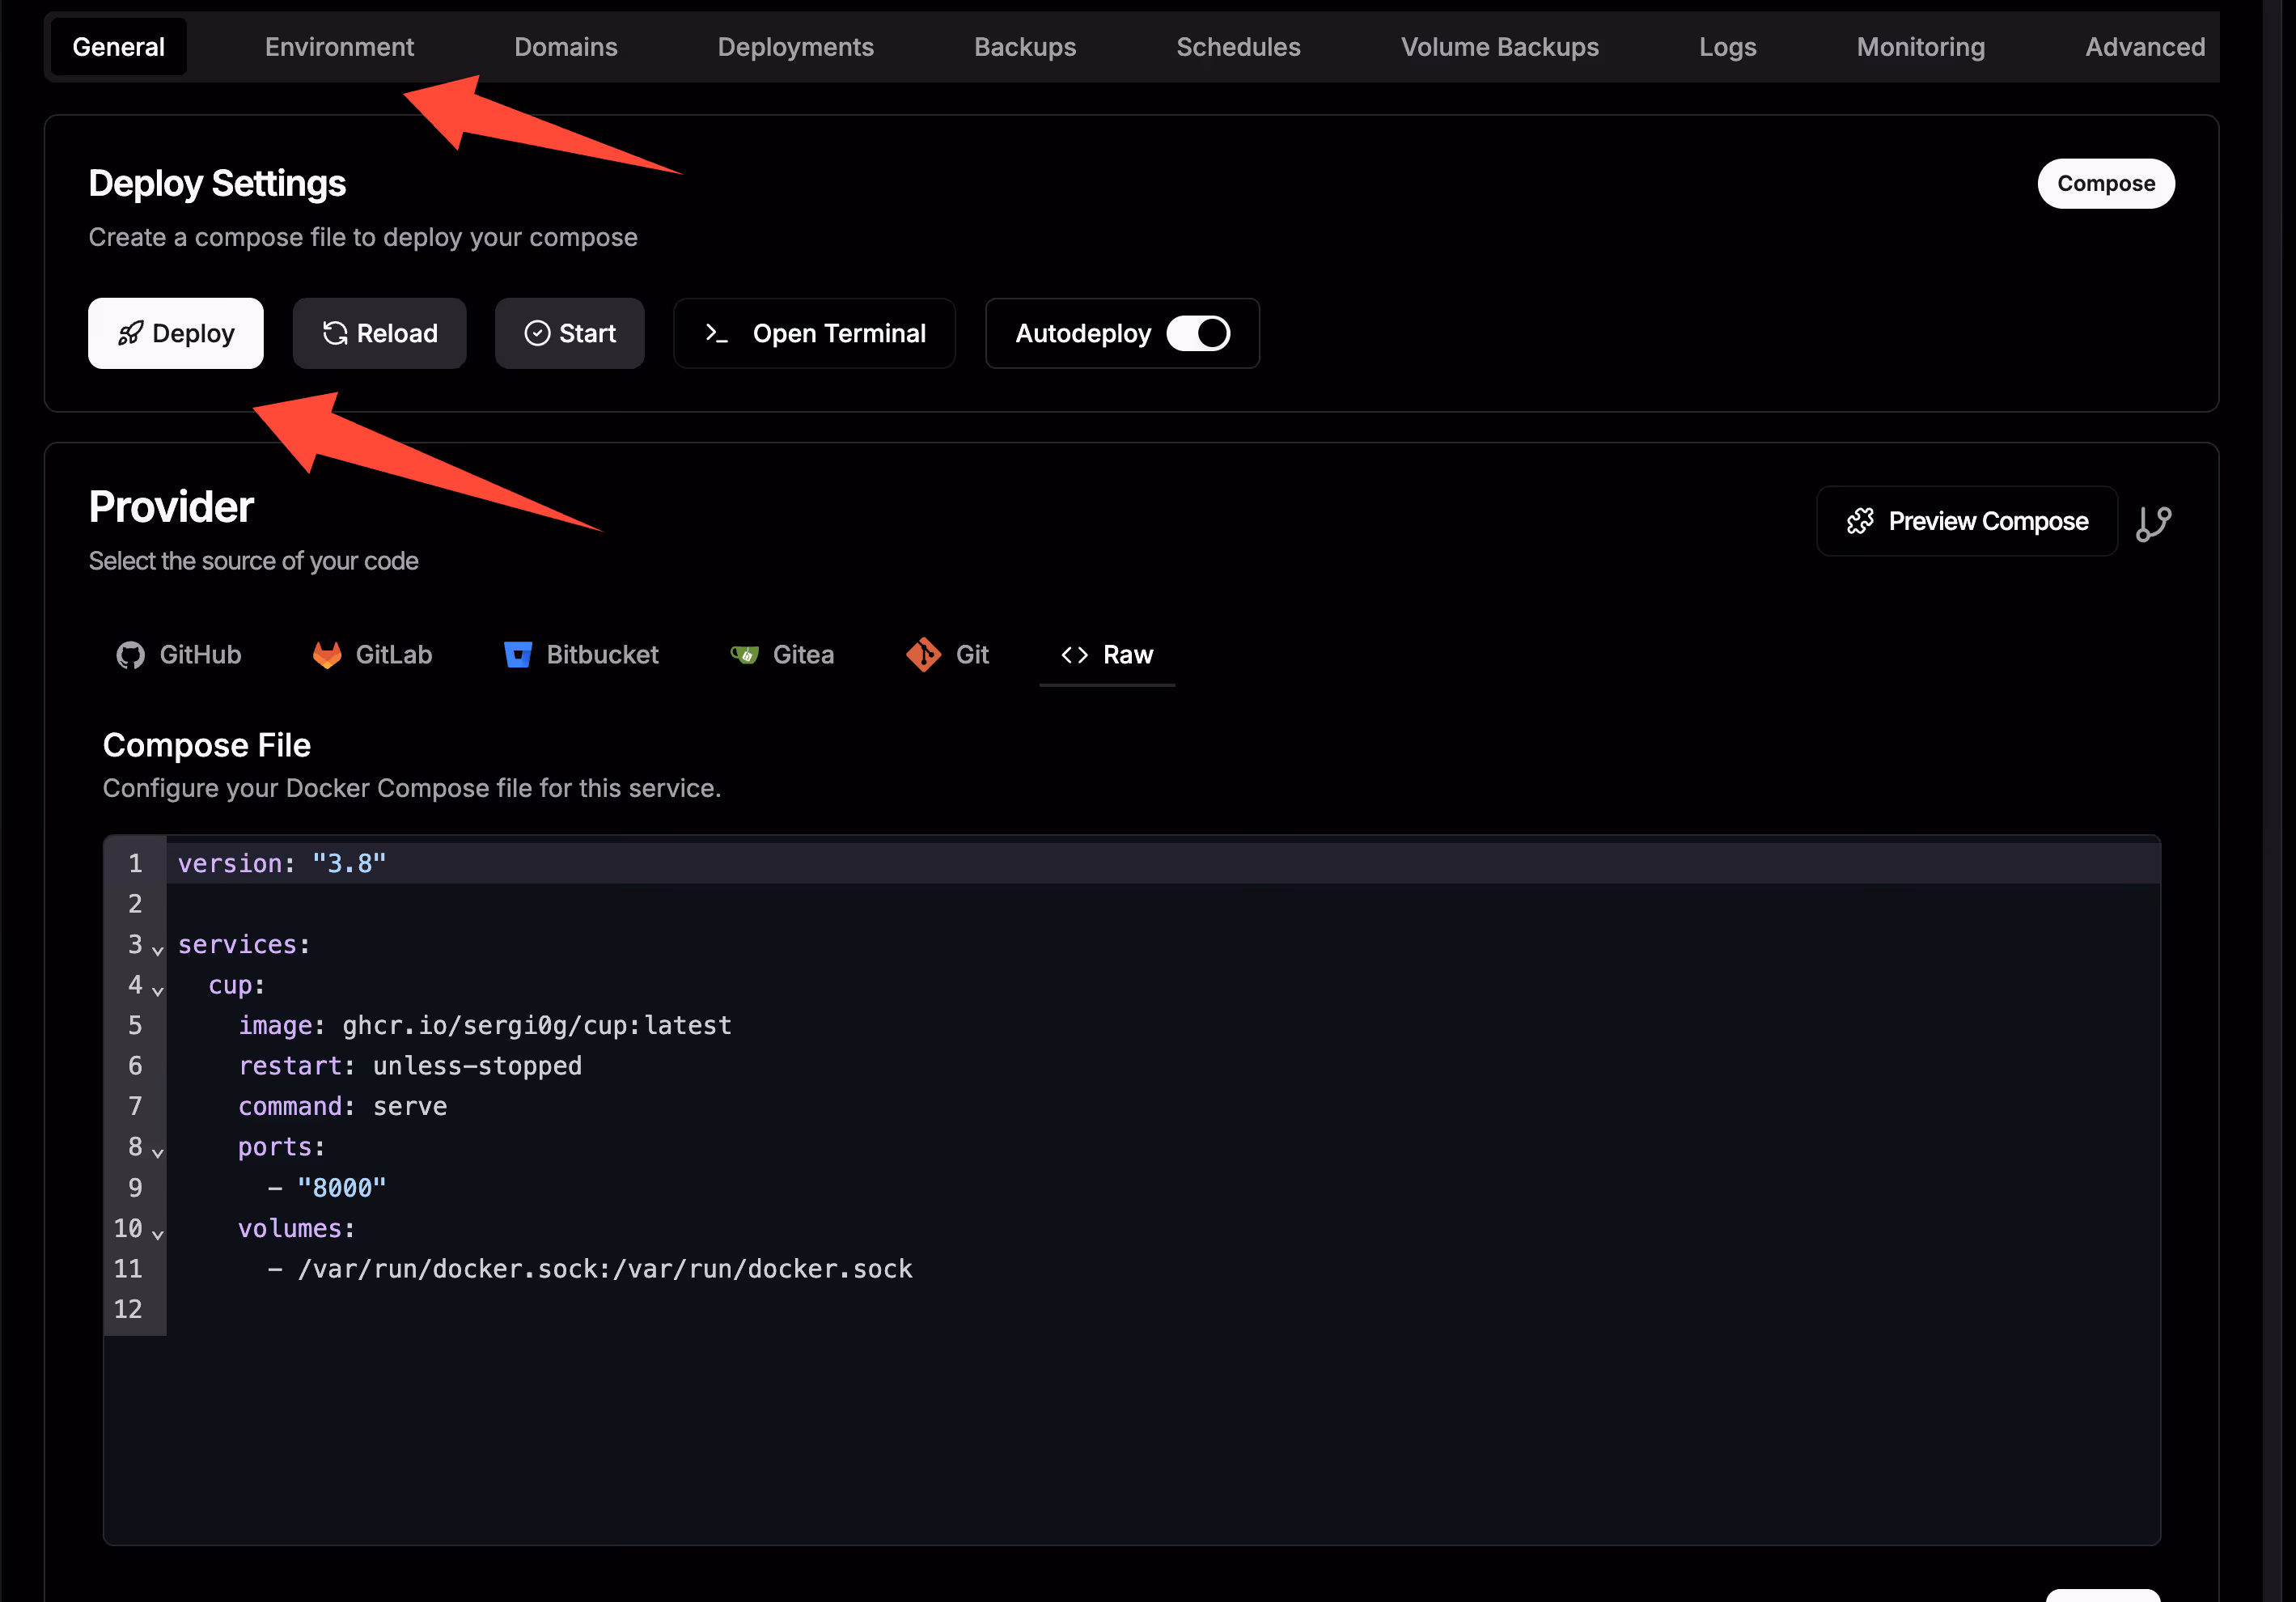
Domain configuration is also handled by Traefik’s automatic reverse proxy. All you need to do is point your DNS records to the server.
Summary
With a simple one-click installation and graphical UI, Dokploy significantly lowers the barrier to container-based deployment. It brings together Git-based CI/CD, database management, automated backups, monitoring, and more, making it an ideal choice for individual developers and small teams to deploy applications.