ImageFlow: An Image Host That Actually Fits Your Workflow
I’ve been using chevereto as my image host for a long time, but the author has taken it in a direction I really can’t stand. The project keeps getting bloated with pointless social features, which makes it heavier and slower. As for other projects on the market, most of them are designed for multi-user scenarios, which is the opposite of what I want, so I wasn’t interested in trying more.
Since nothing really fit my needs, I decided to build my own and add features I actually care about, such as automatic compression to AVIF and WebP, and an API that can adapt image orientation (landscape/portrait) automatically. That’s how ImageFlow was born.
Repo: https://github.com/Yuri-NagaSaki/ImageFlow/ — feel free to drop a star.
✨ Main Features
-
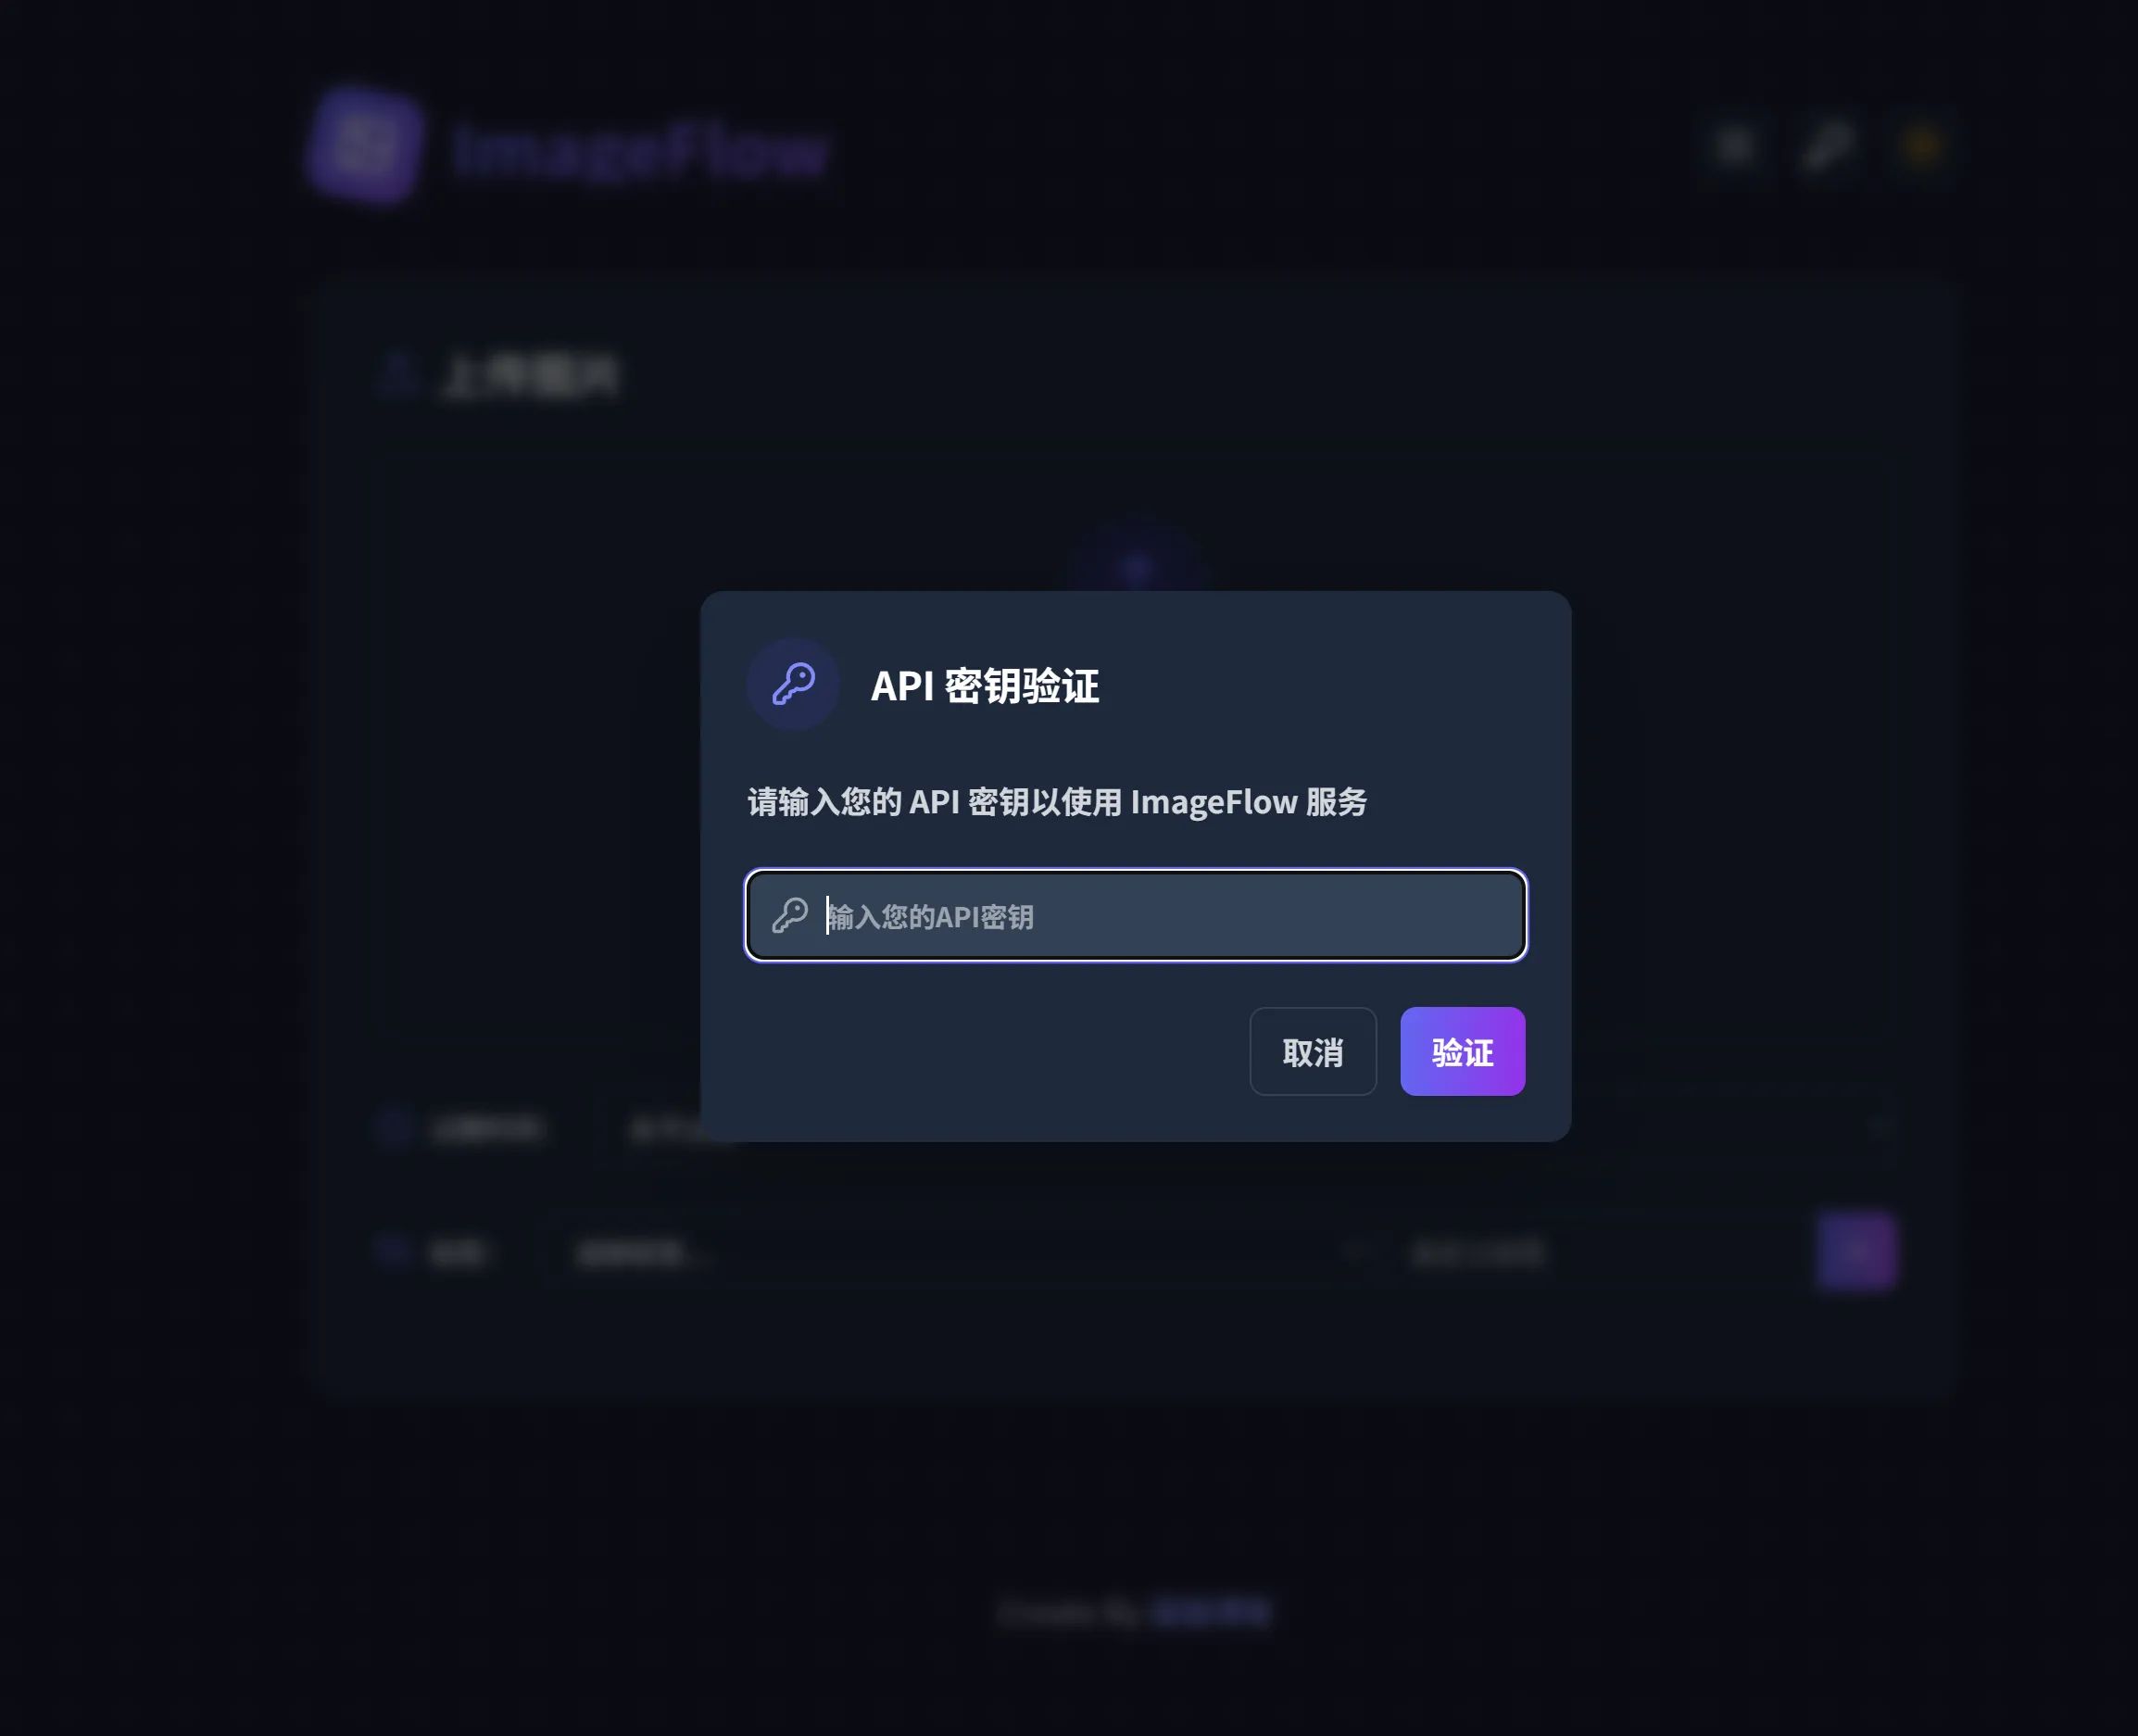
API key authentication: secure API key-based auth to protect your upload endpoint
-
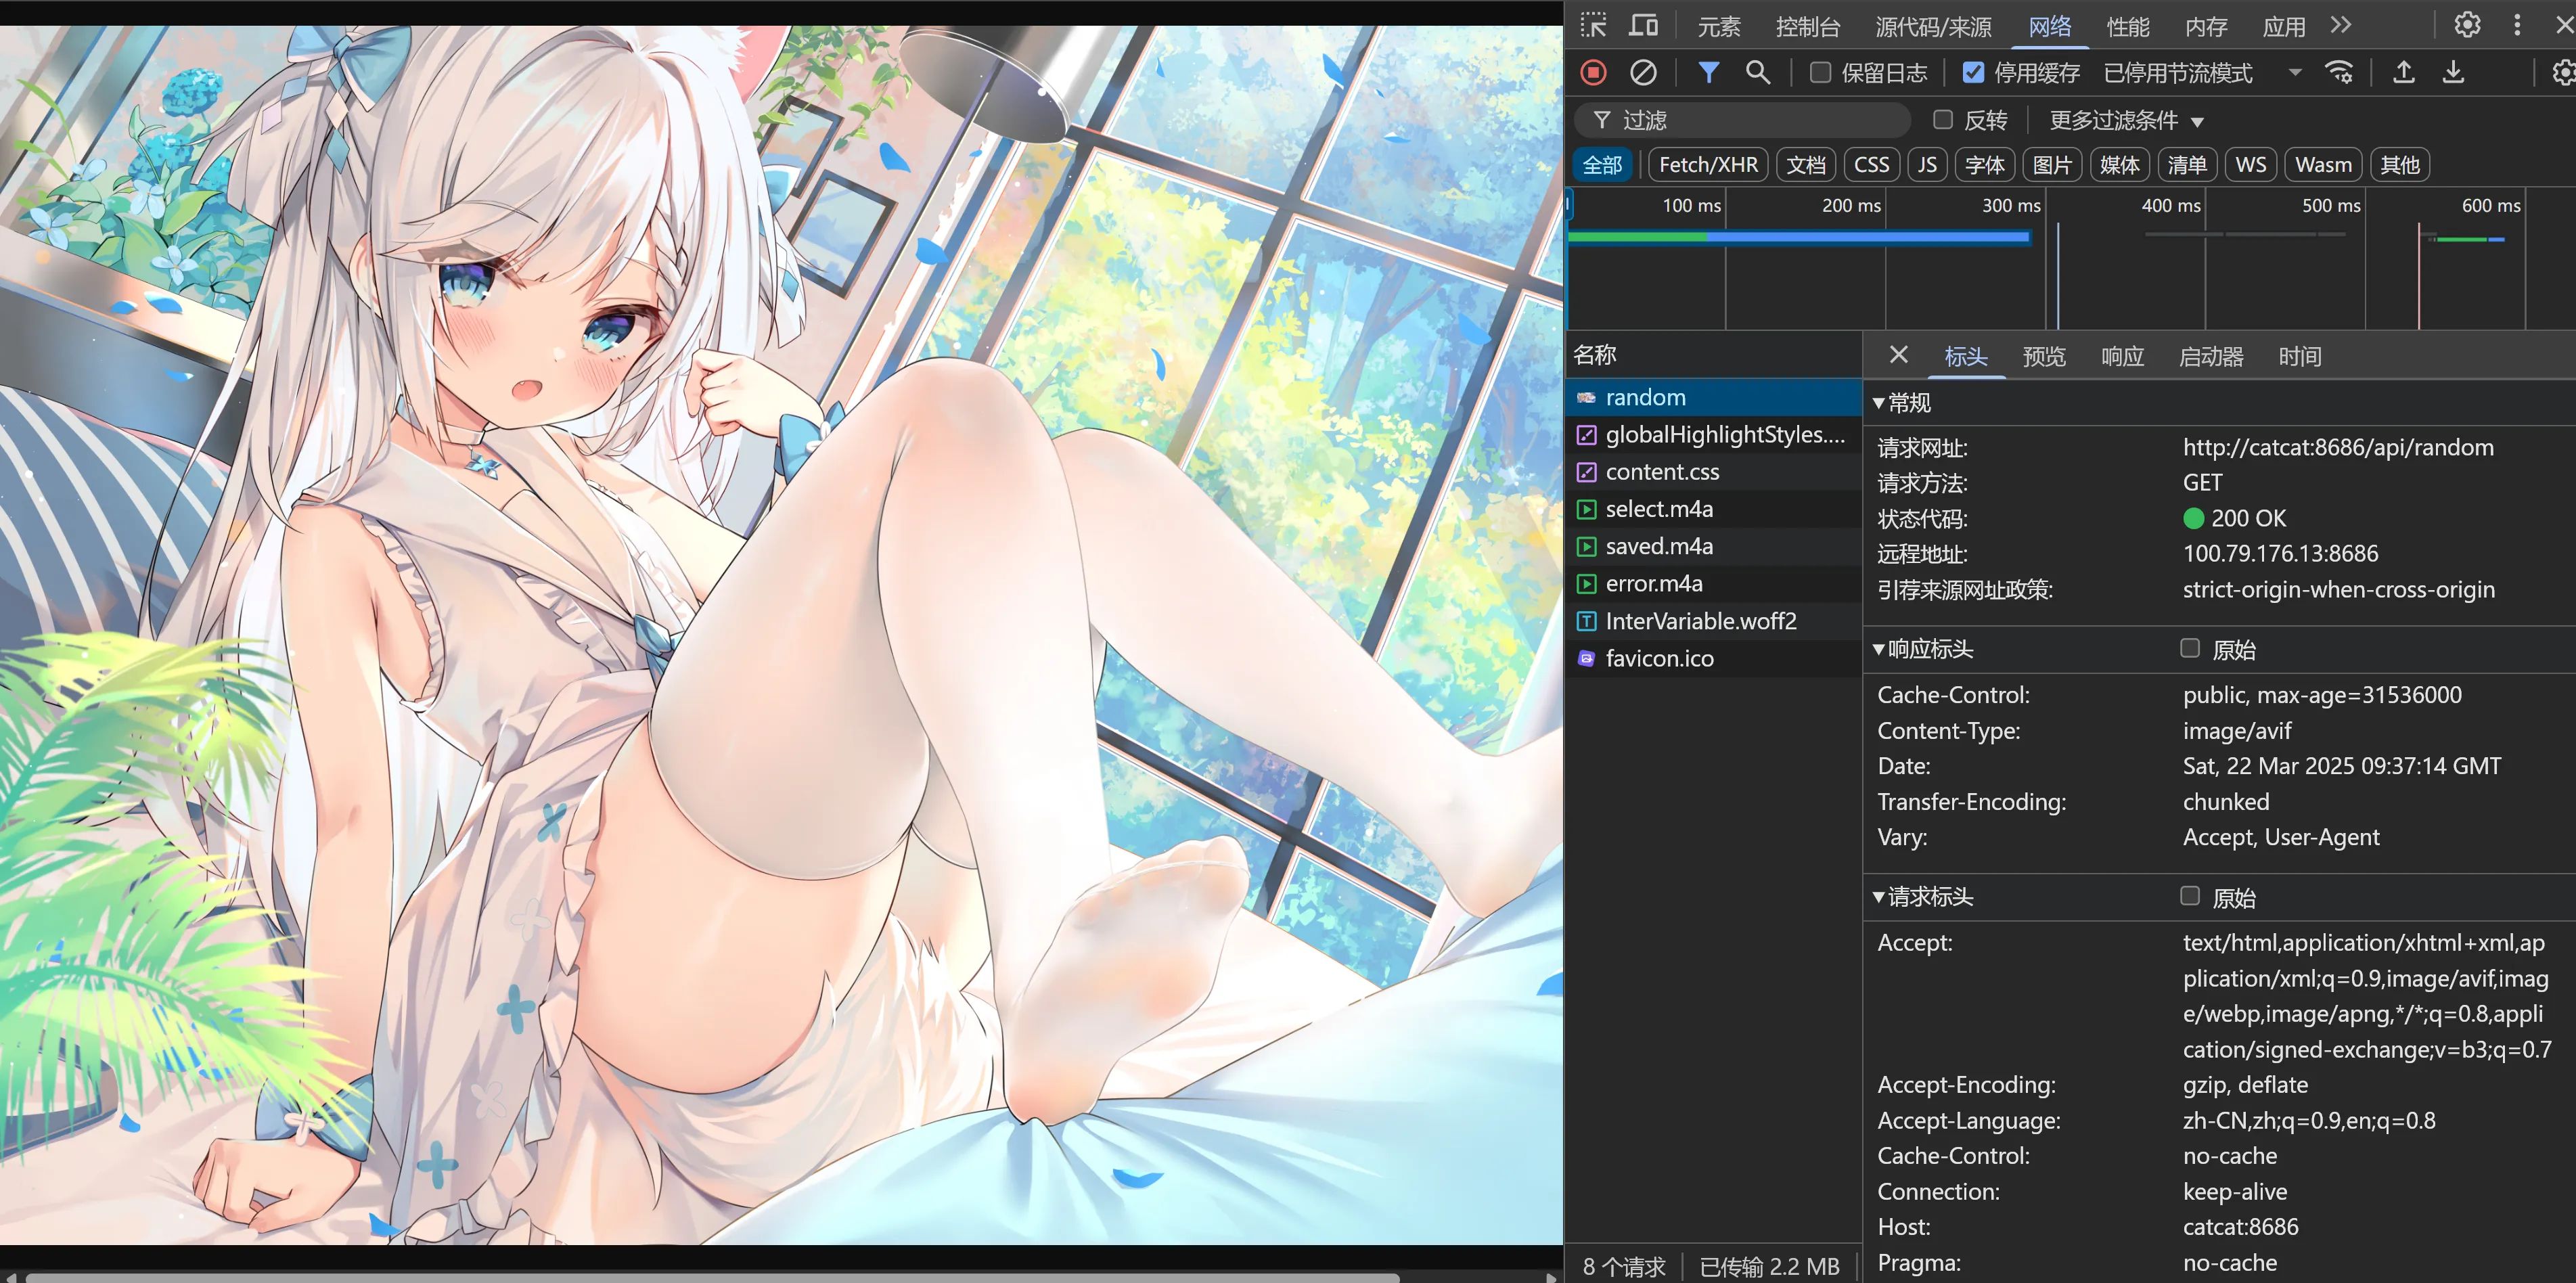
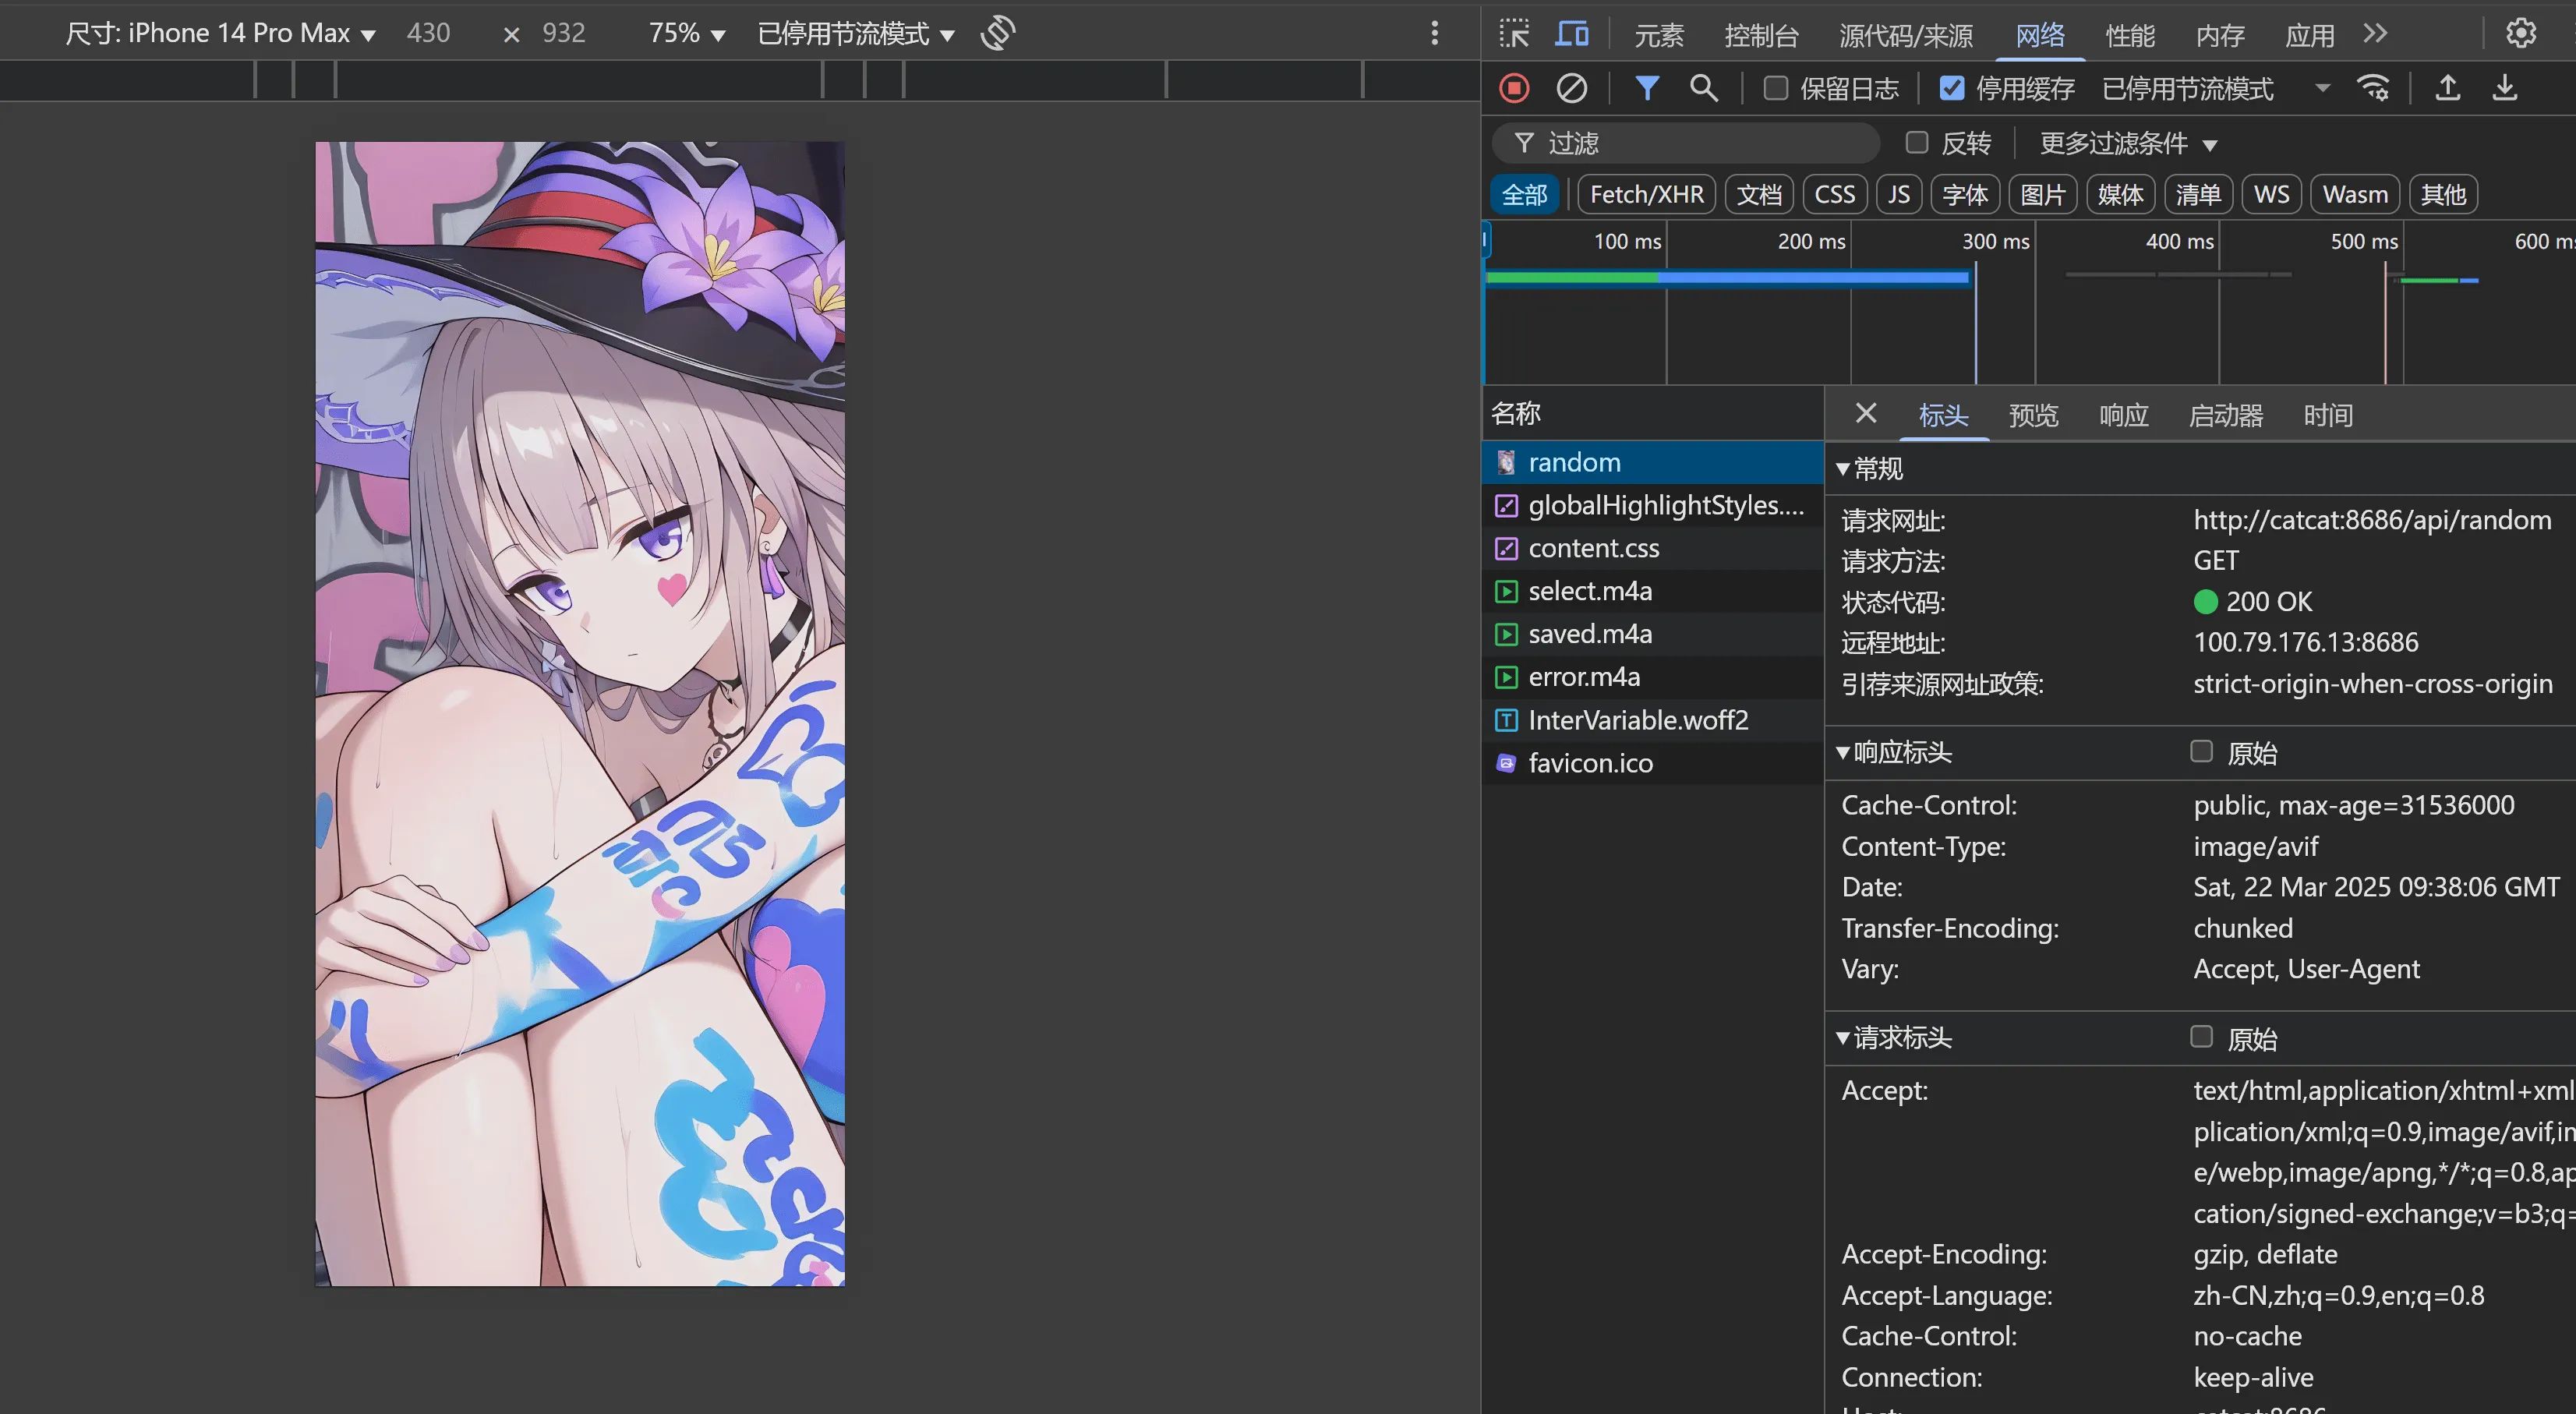
Adaptive image service: automatically serves landscape or portrait images based on device type (desktop/mobile)
-
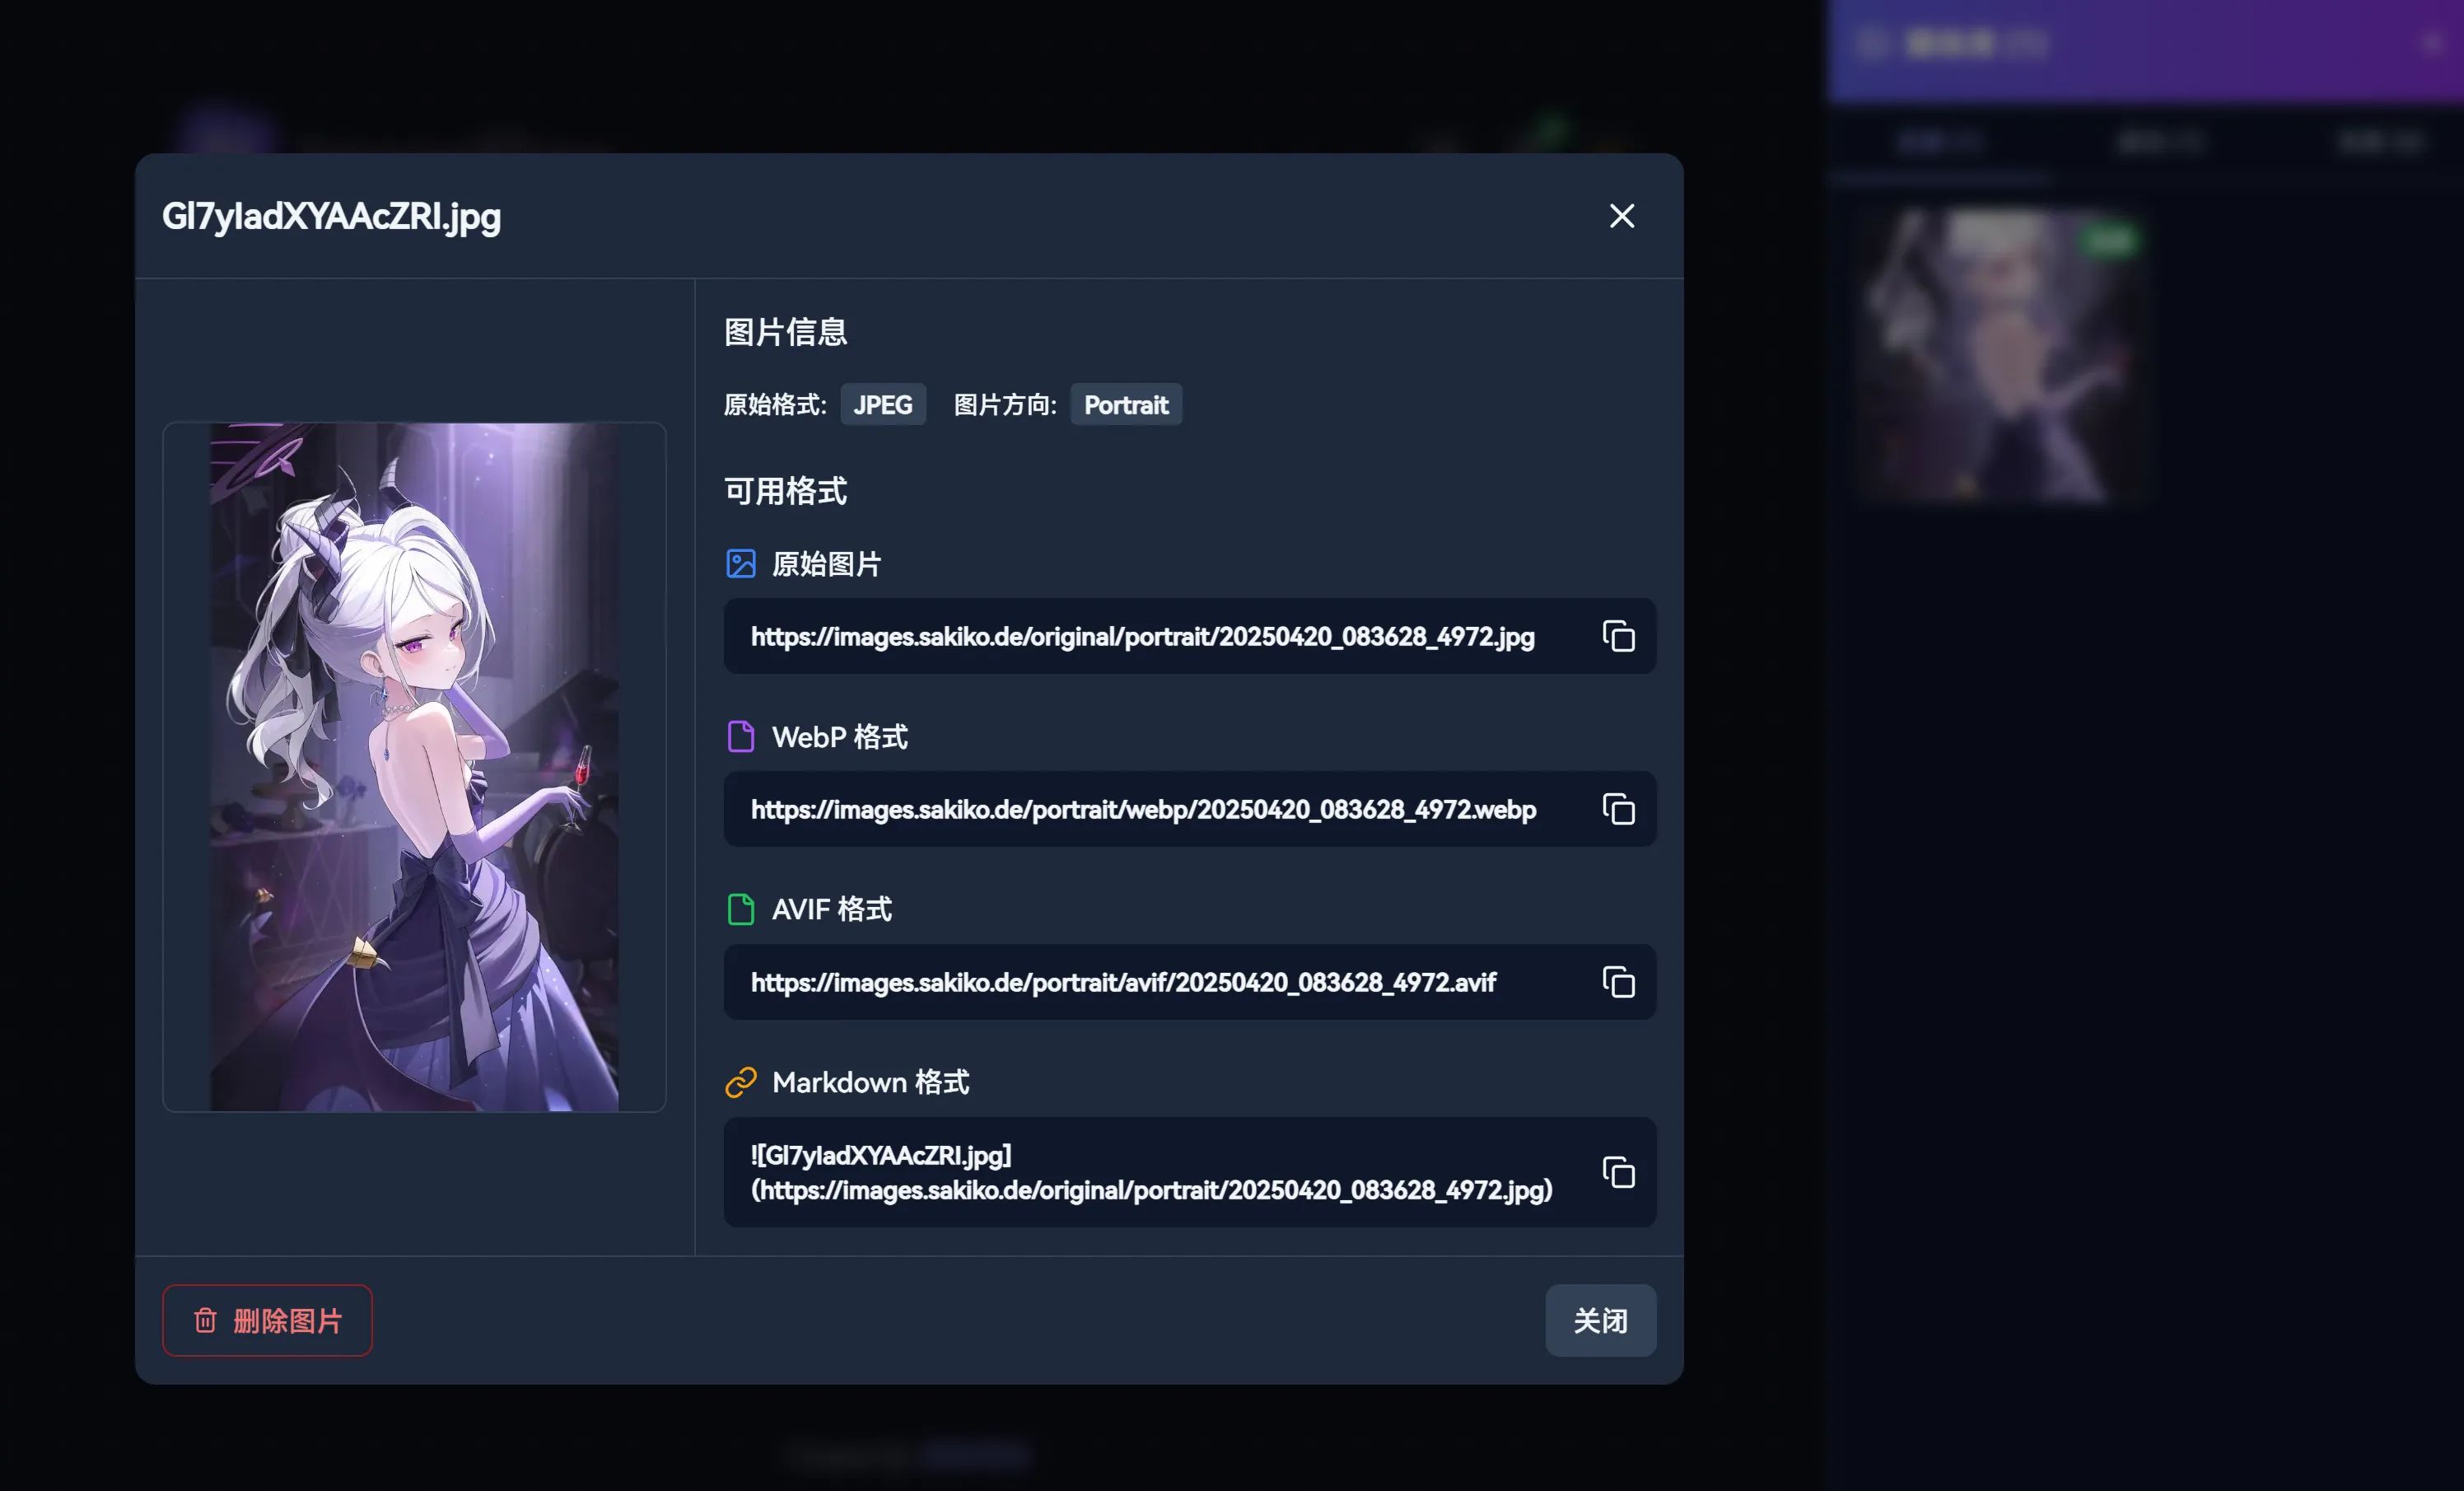
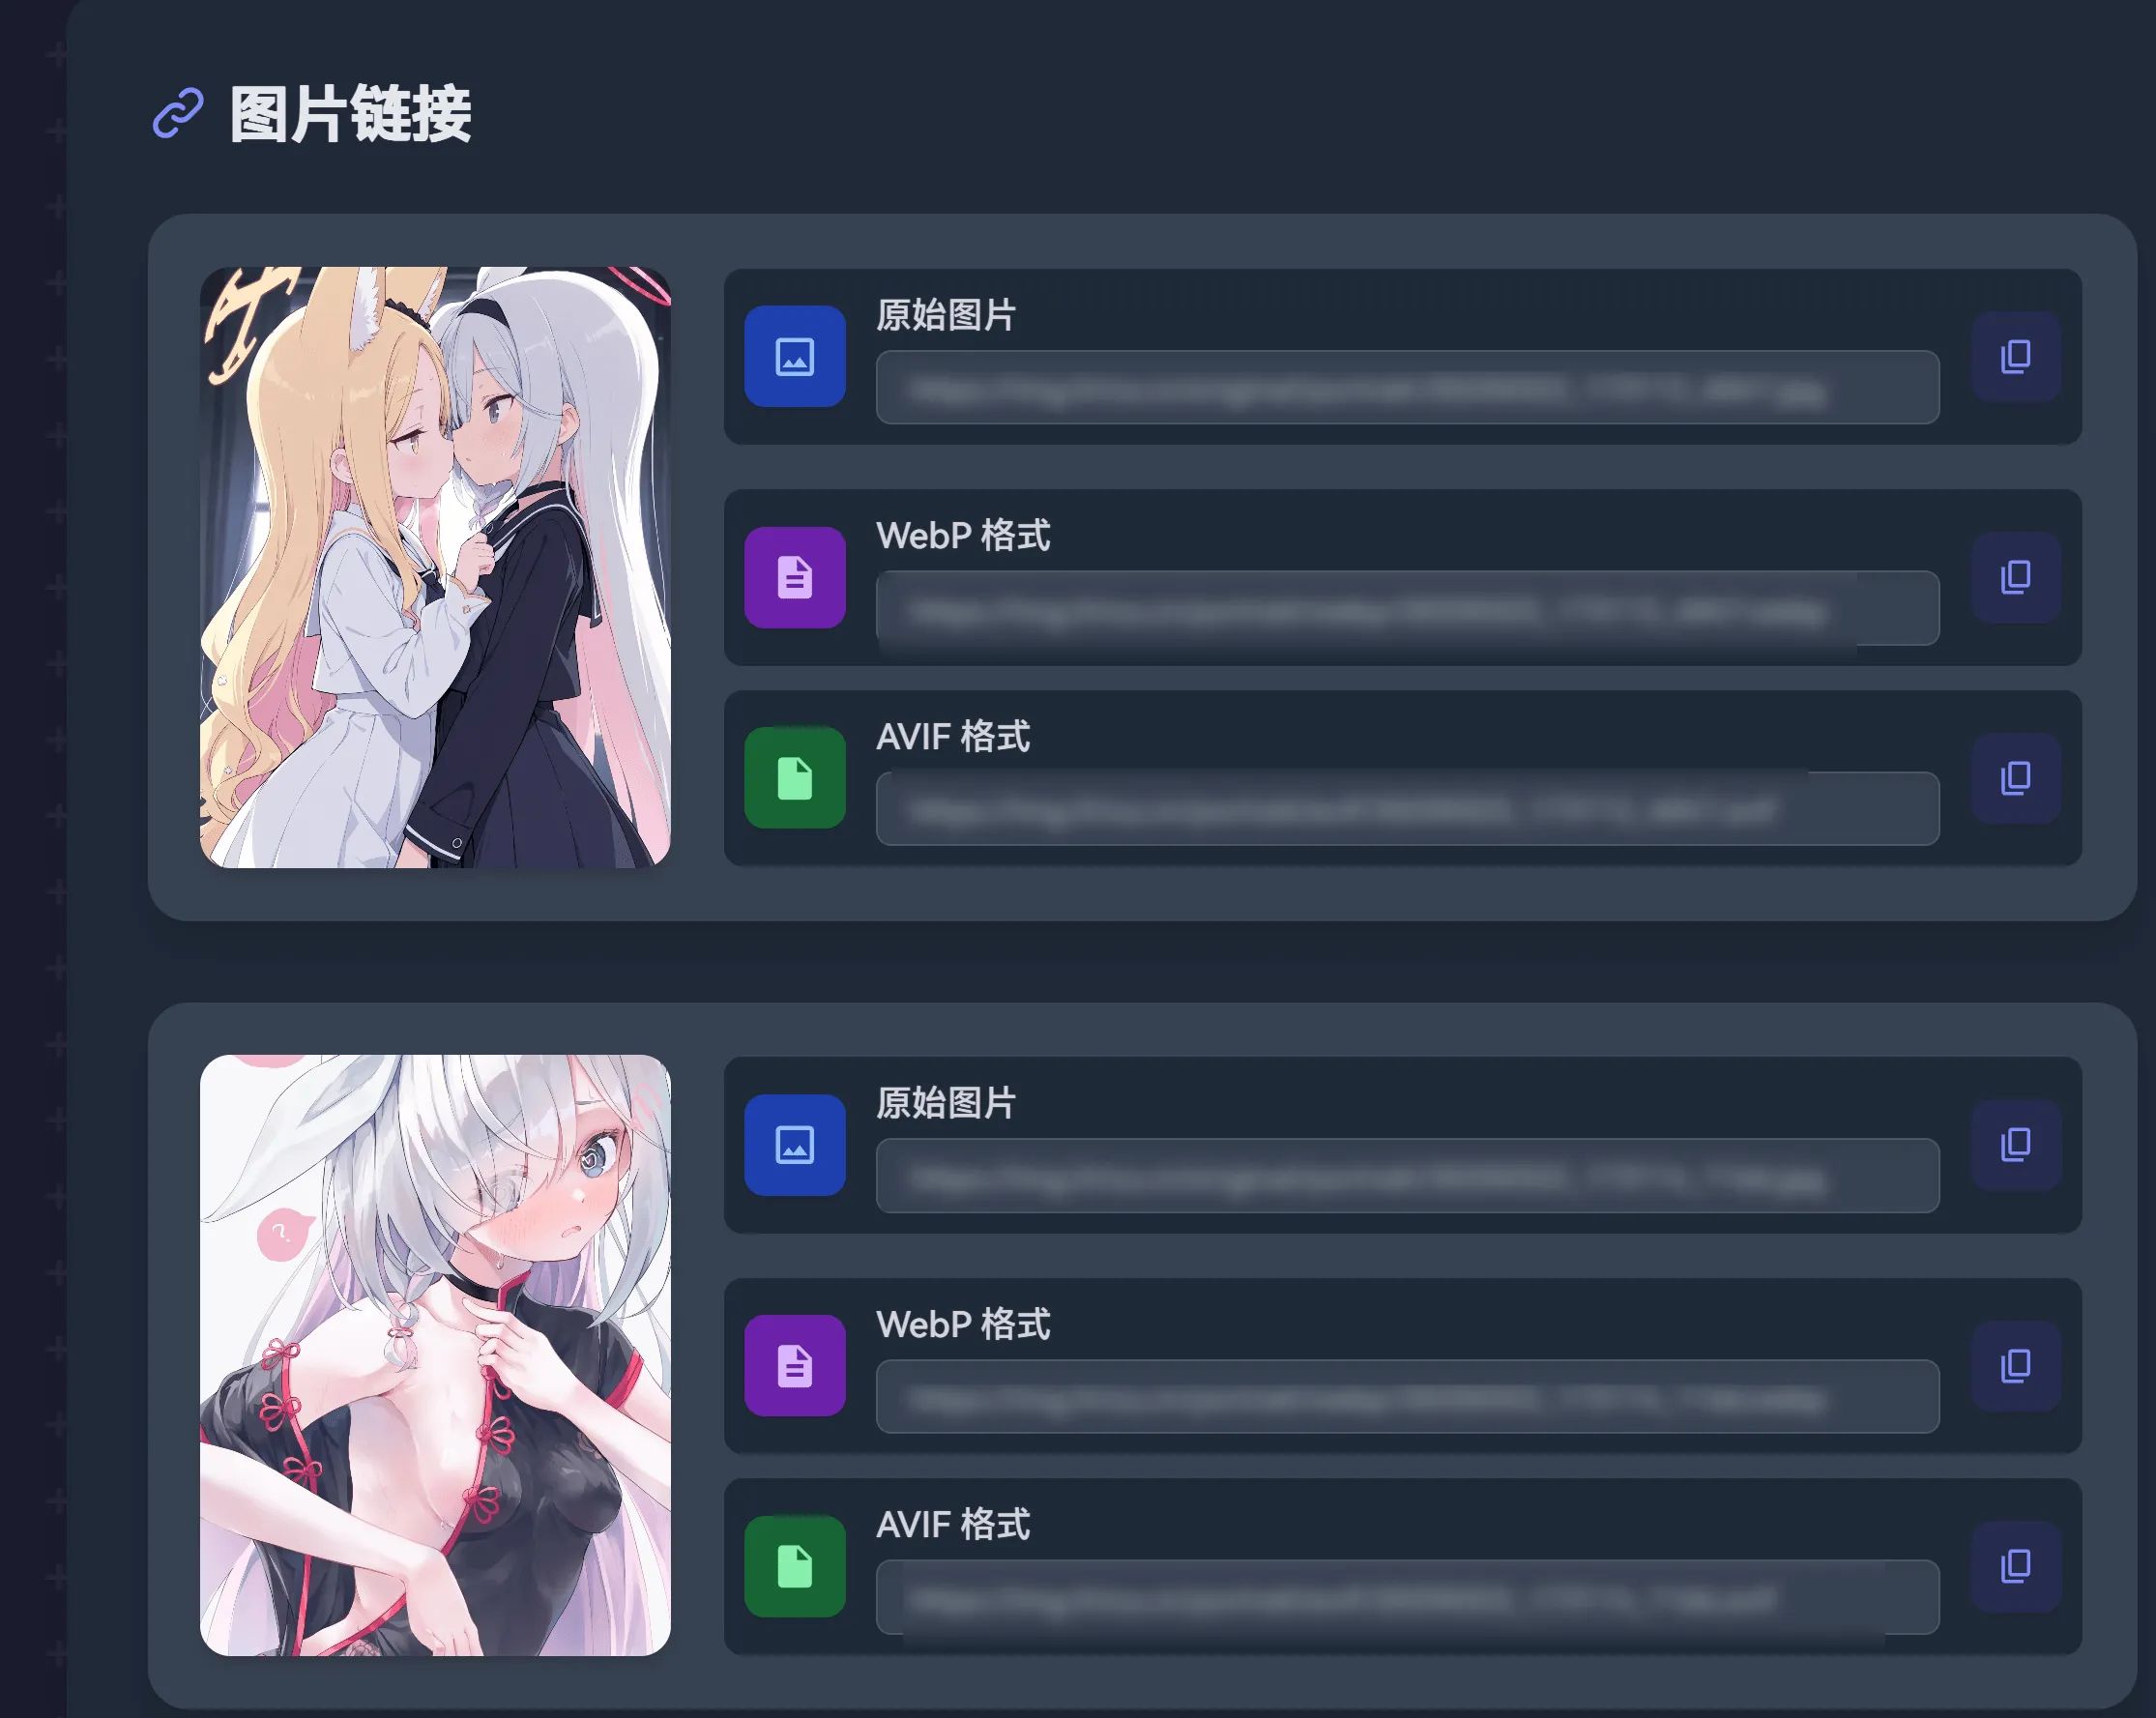
Modern format support: detects browser capabilities and serves images in WebP or AVIF
-
Simple API: fetch random images through a straightforward API call
-
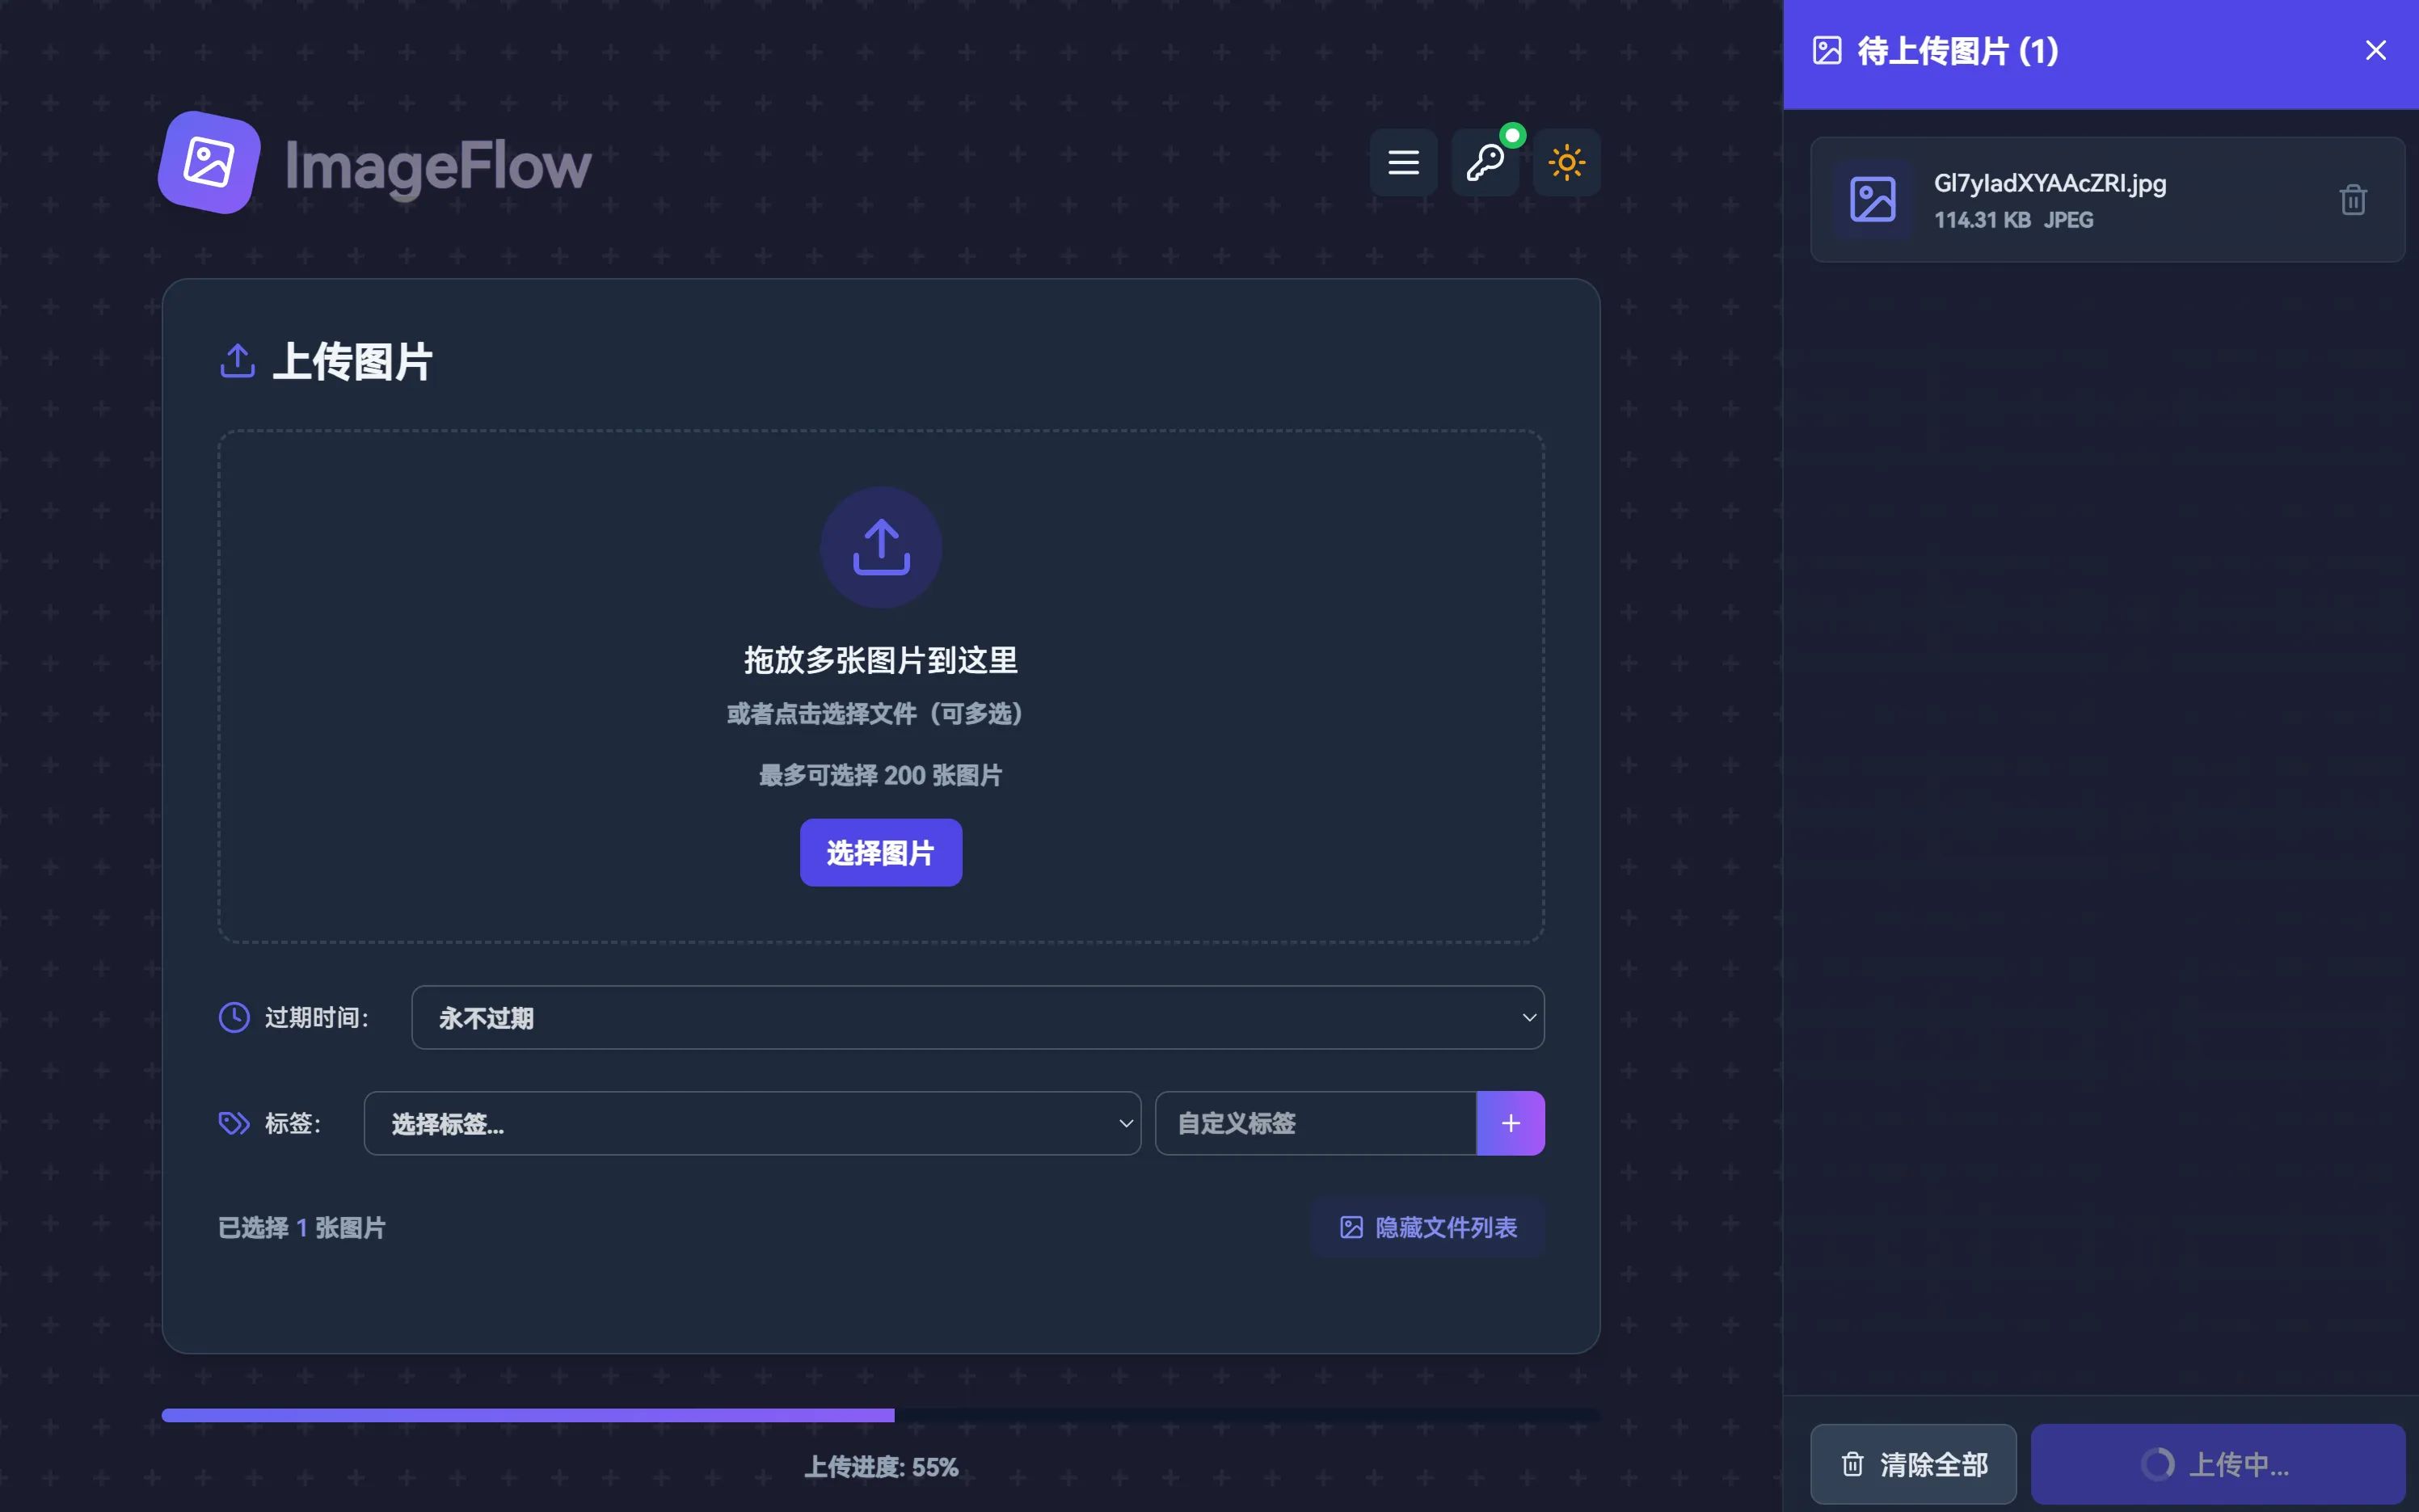
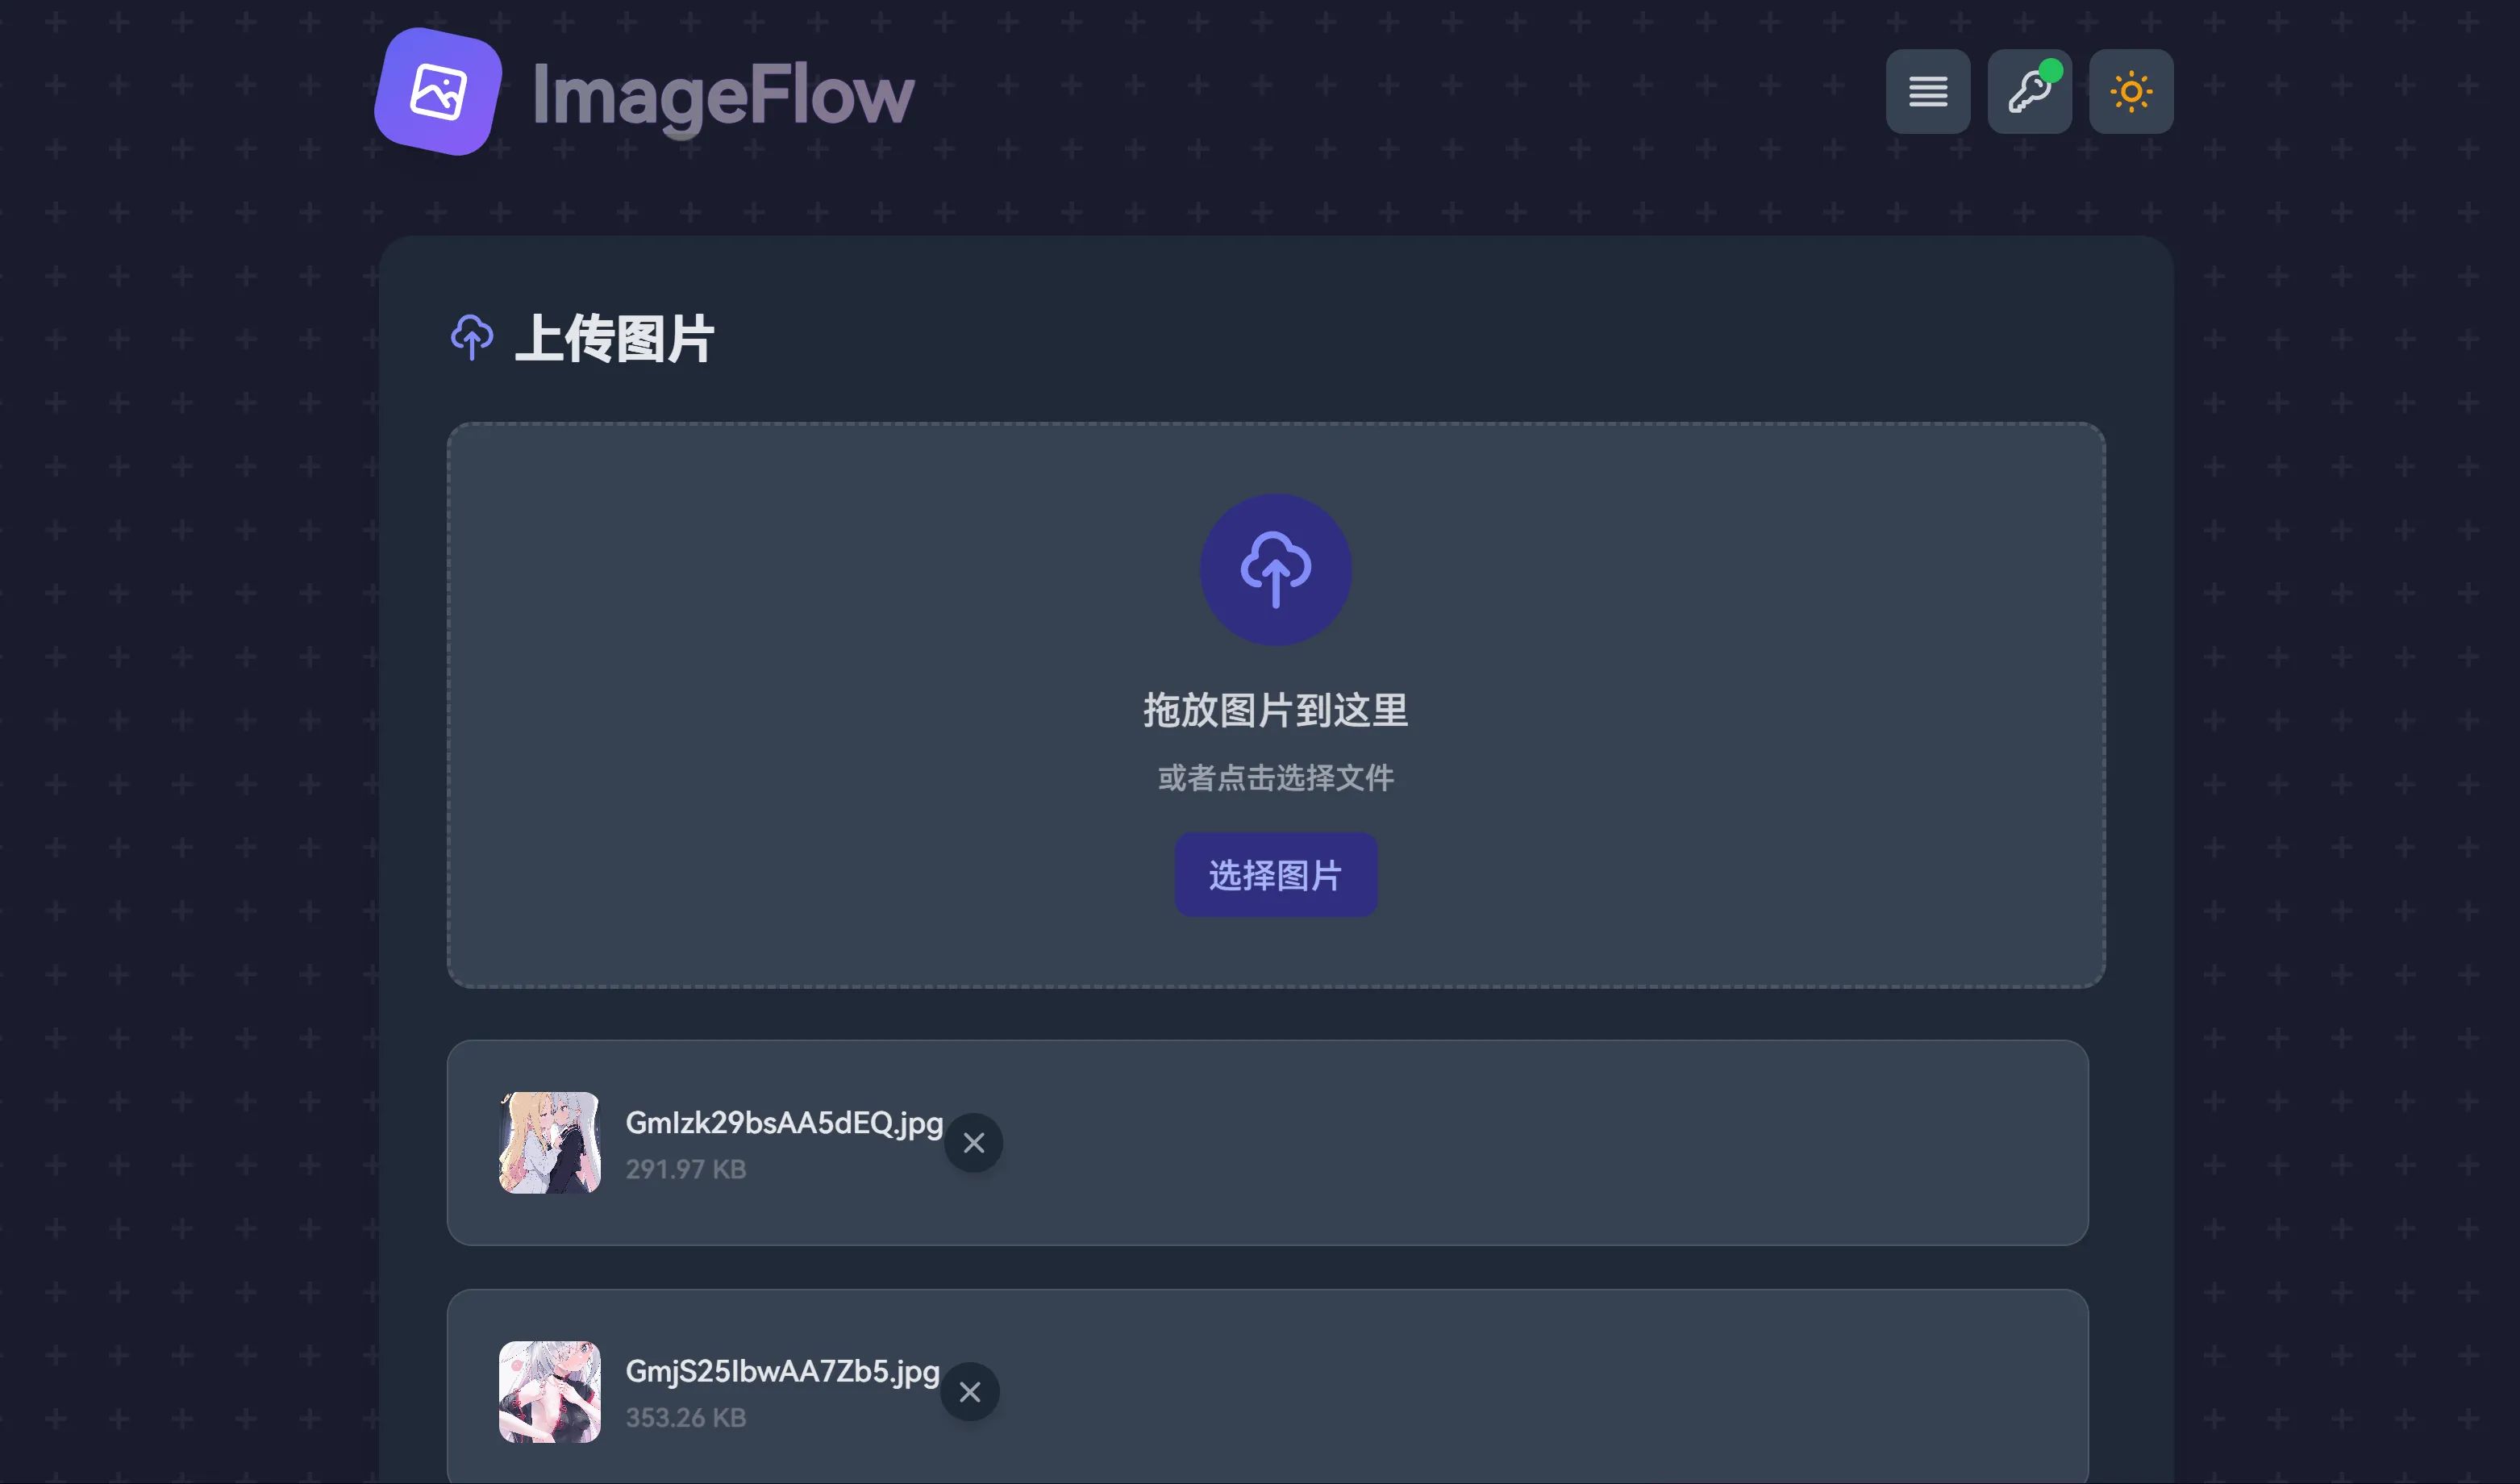
User-friendly upload UI: drag-and-drop upload, dark mode, and real-time preview
-
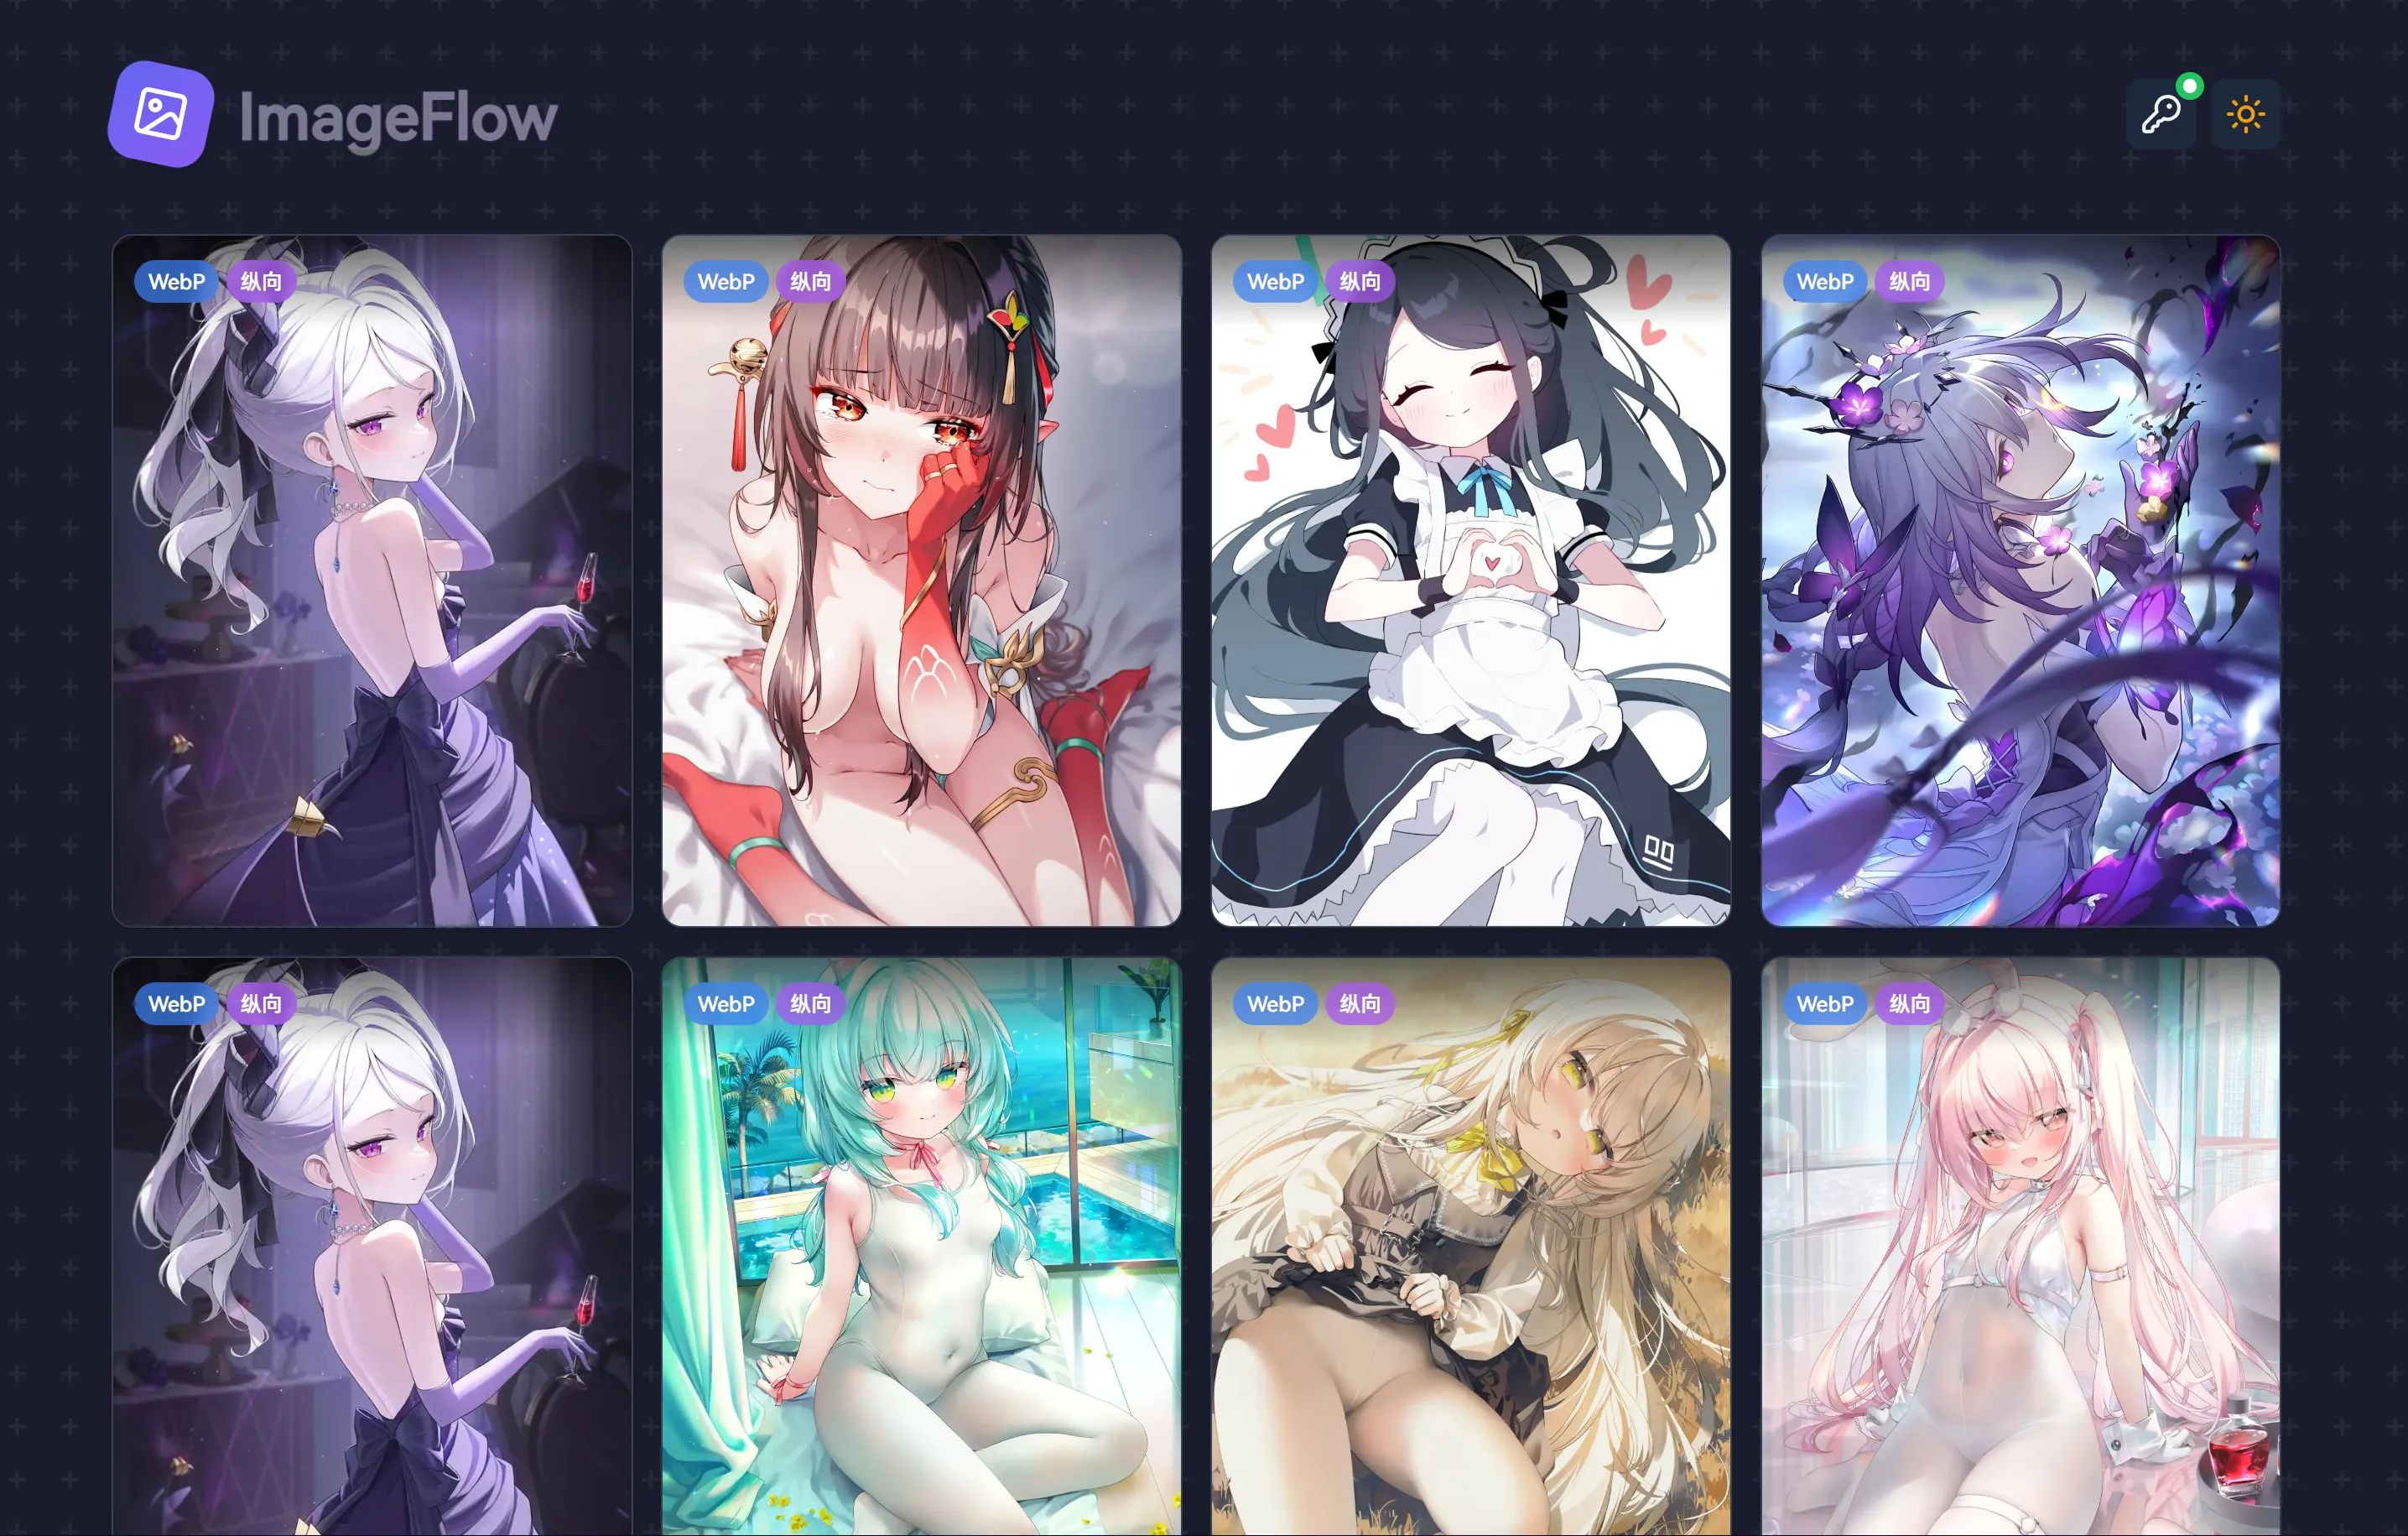
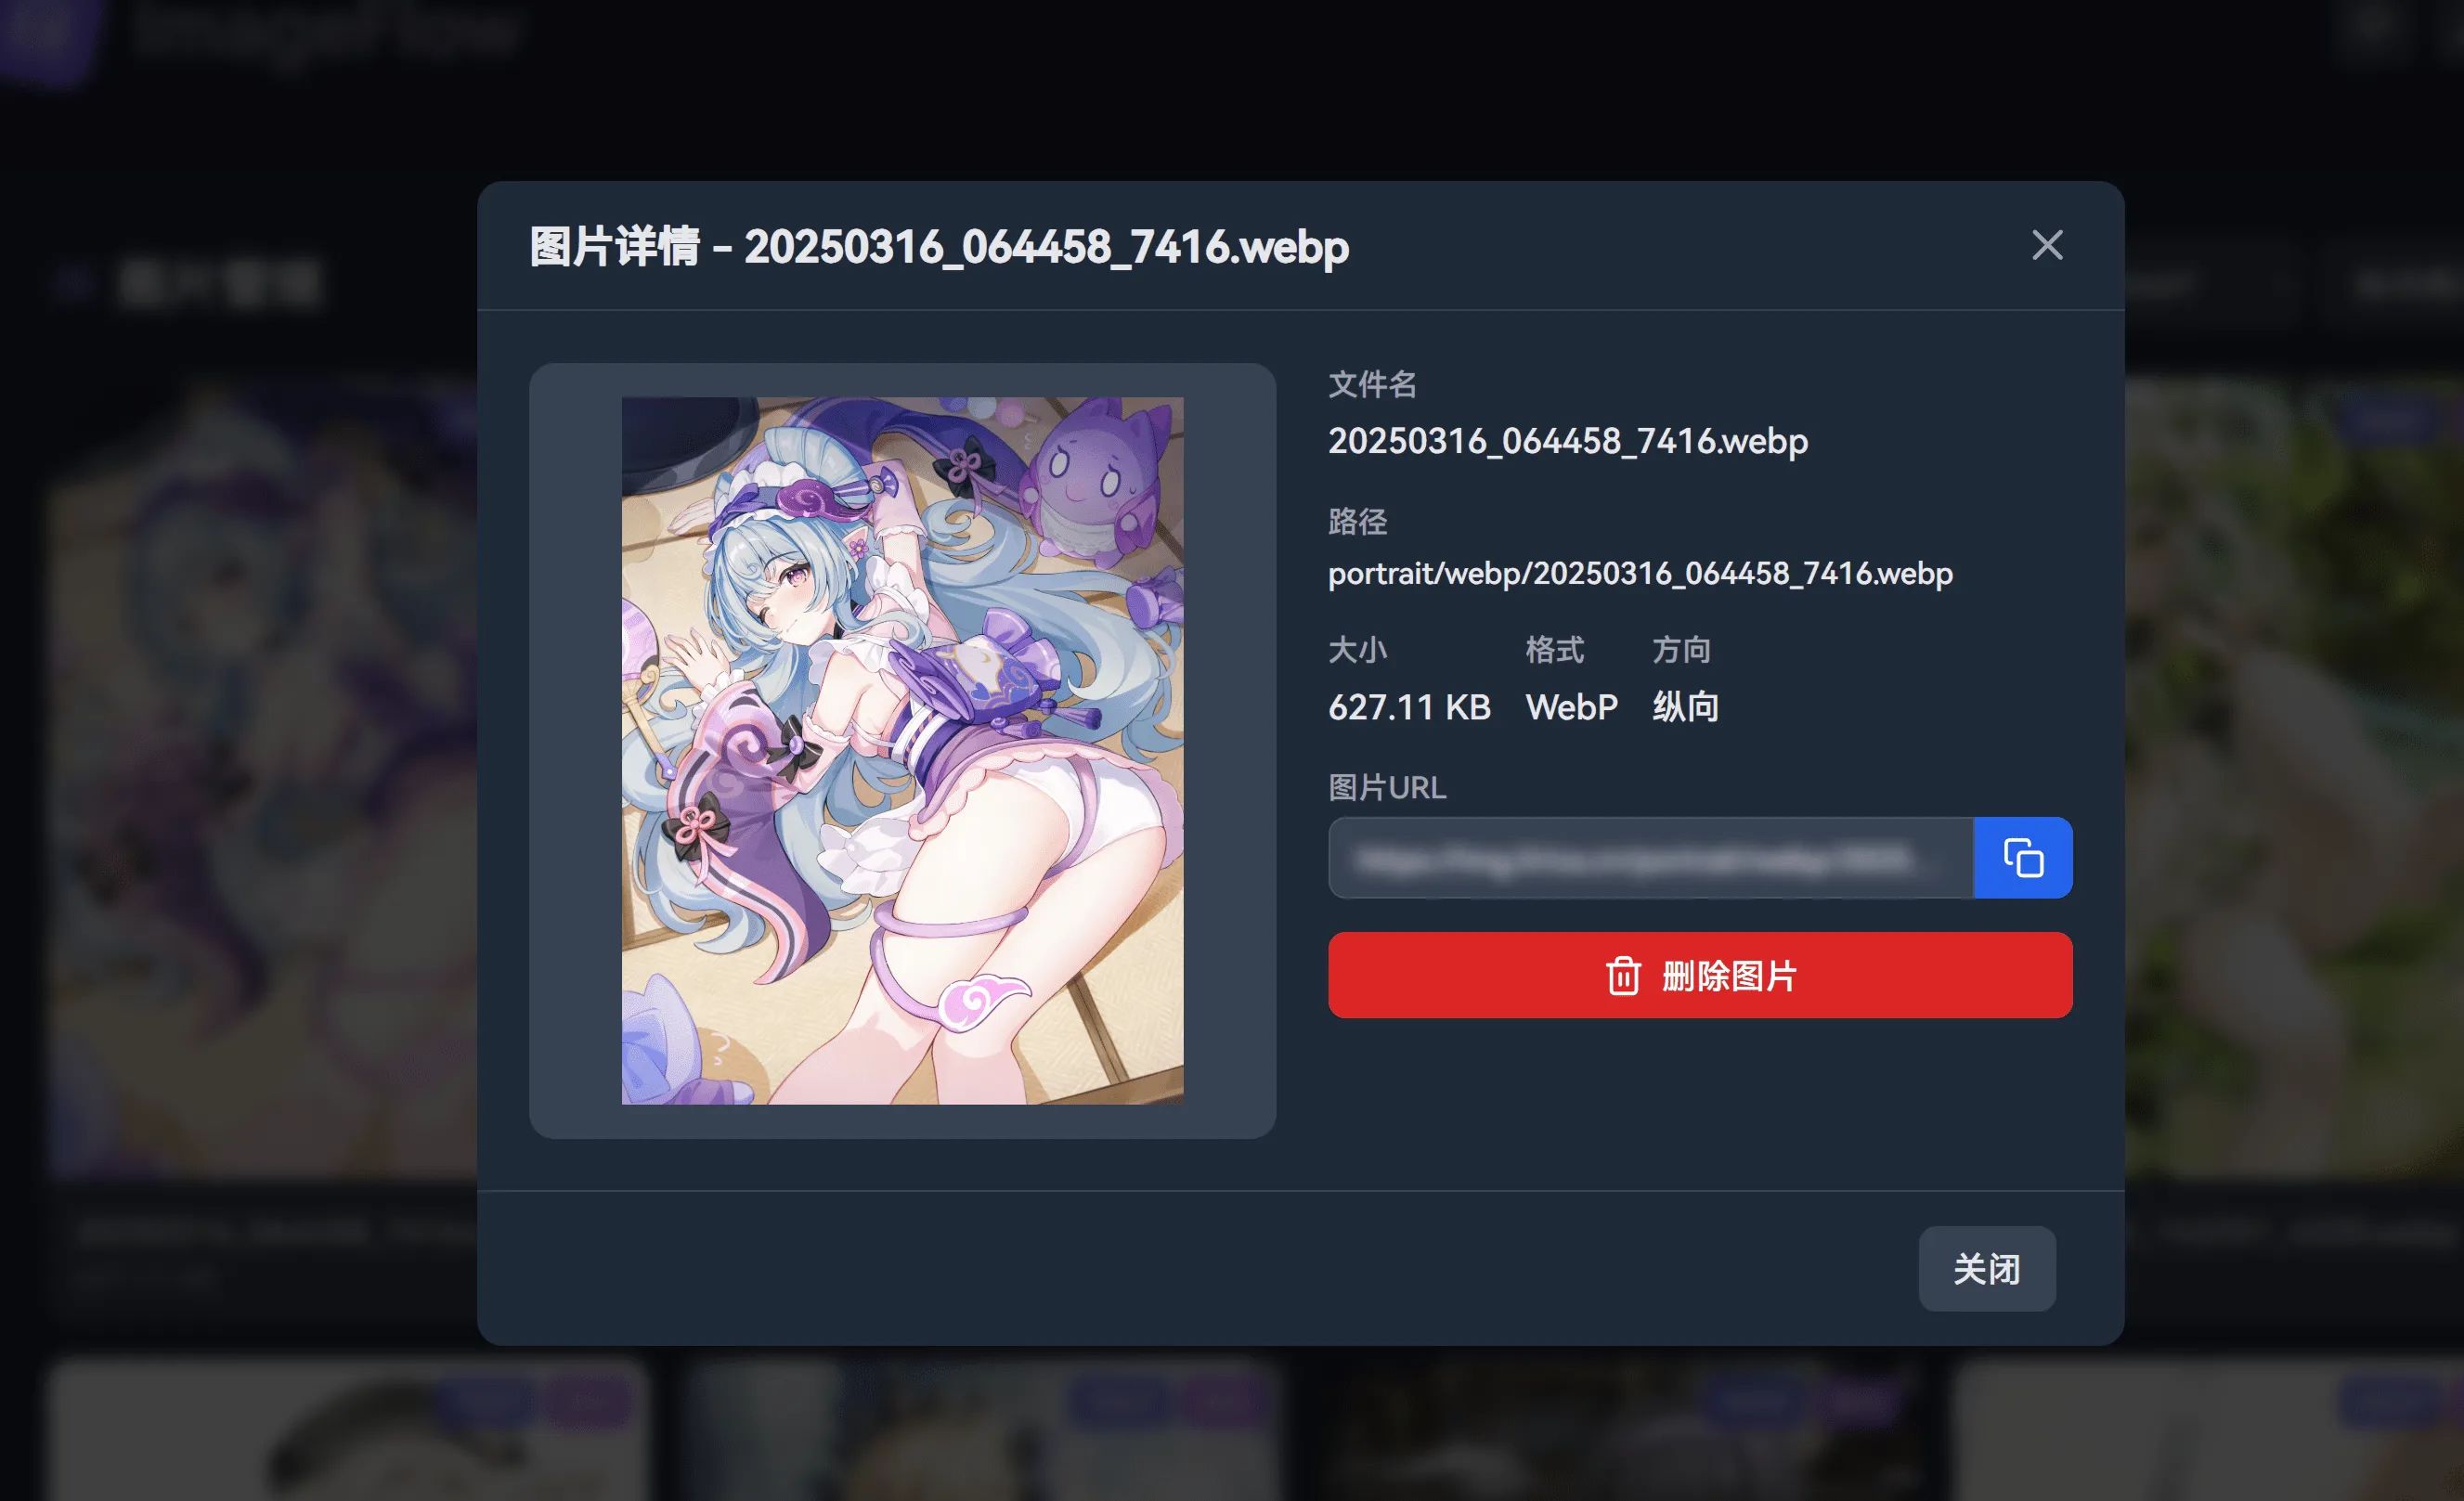
Image management: intuitive dashboard to view, filter, and delete images
-
Automatic image processing: automatically detects orientation on upload and converts to multiple formats
-
Multiple storage backends: supports local storage as well as S3-compatible storage
🚀 Technical Advantages
-
Security: API key verification ensures secure access to upload and management features
-
Format conversion: automatically converts uploaded images to WebP and AVIF, reducing file size by 30–50%
-
Device adaptation: serves the most suitable orientation for different devices
-
Hot reload: newly uploaded images are immediately available without restarting the service
-
Concurrent processing: leverages Go’s concurrency for efficient image conversion
-
Extensibility: modular design makes it easy to extend and customize
-
Responsive UI: works seamlessly on both desktop and mobile devices
-
Dark mode support: automatically follows the system theme
-
Flexible storage: supports both local and S3-compatible storage, easily configured via the .env file
📸 UI Preview
Quick Start
You can pick one of two equally convenient deployment options: Docker, or running the binary directly.
Let’s start with the easiest: Docker.
Docker Deployment
Clone the repo and cd into it:
git clone https://github.com/Yuri-NagaSaki/ImageFlow && cd ImageFlow
Edit the .env file:
cp .env.example .envvim .env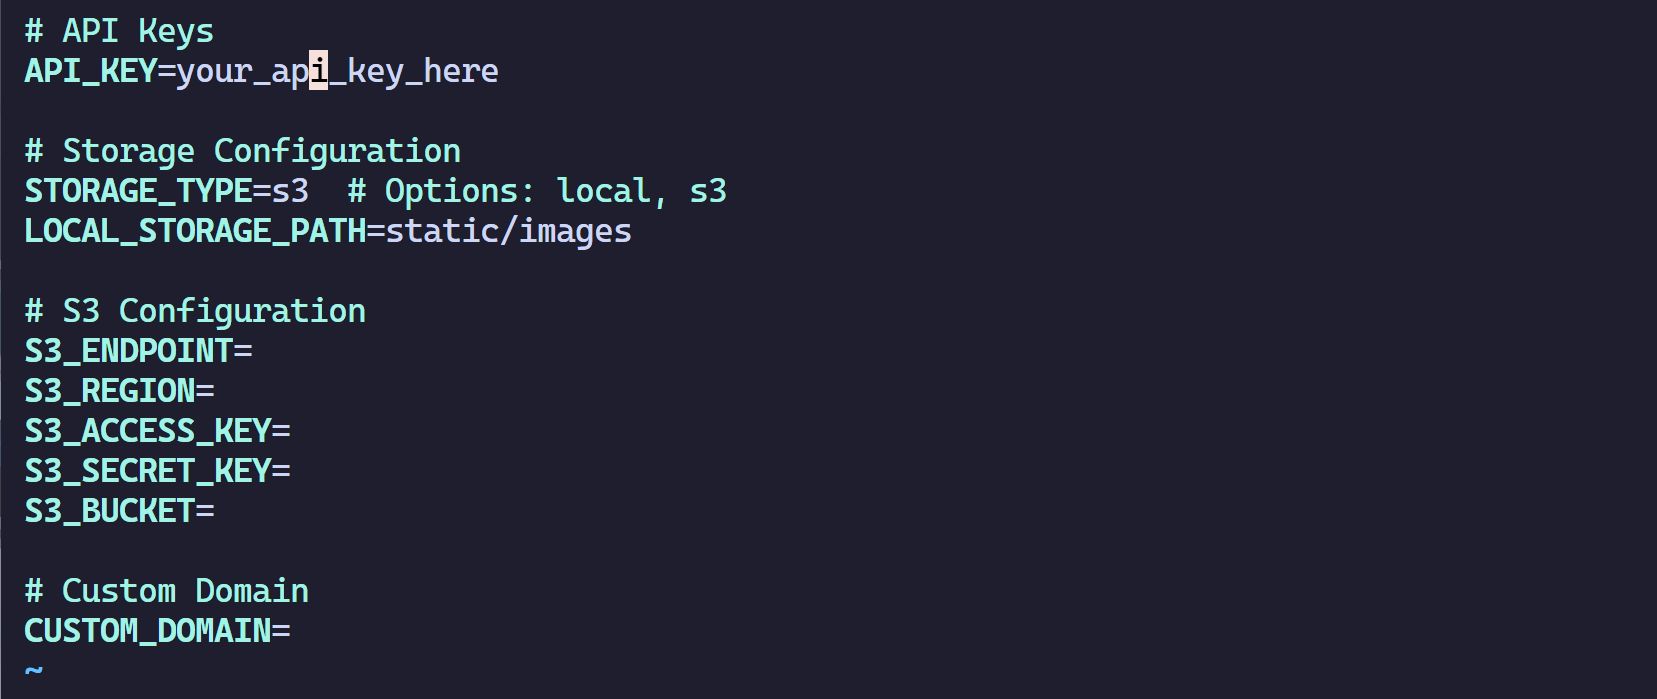
Adjust the parameters based on the deployment mode you choose. As for how to obtain the S3-related parameters below, I won’t go into detail here.
# API KeysAPI_KEY=your_api_key_here # This is your API key used for authenticated login
# Storage ConfigurationSTORAGE_TYPE=local # Options: local, s3 Choose according to your deployment modeLOCAL_STORAGE_PATH=static/images # Local
# S3 Configuration (required when STORAGE_TYPE=s3)S3_ENDPOINT=S3_REGION=S3_ACCESS_KEY=S3_SECRET_KEY=S3_BUCKET=
# Custom Domain (optional)CUSTOM_DOMAIN= # Custom domain usually provided when using S3.Pull the image and start the service:
docker compose up -d一般默认监听8686端口,如有必要,自行修改。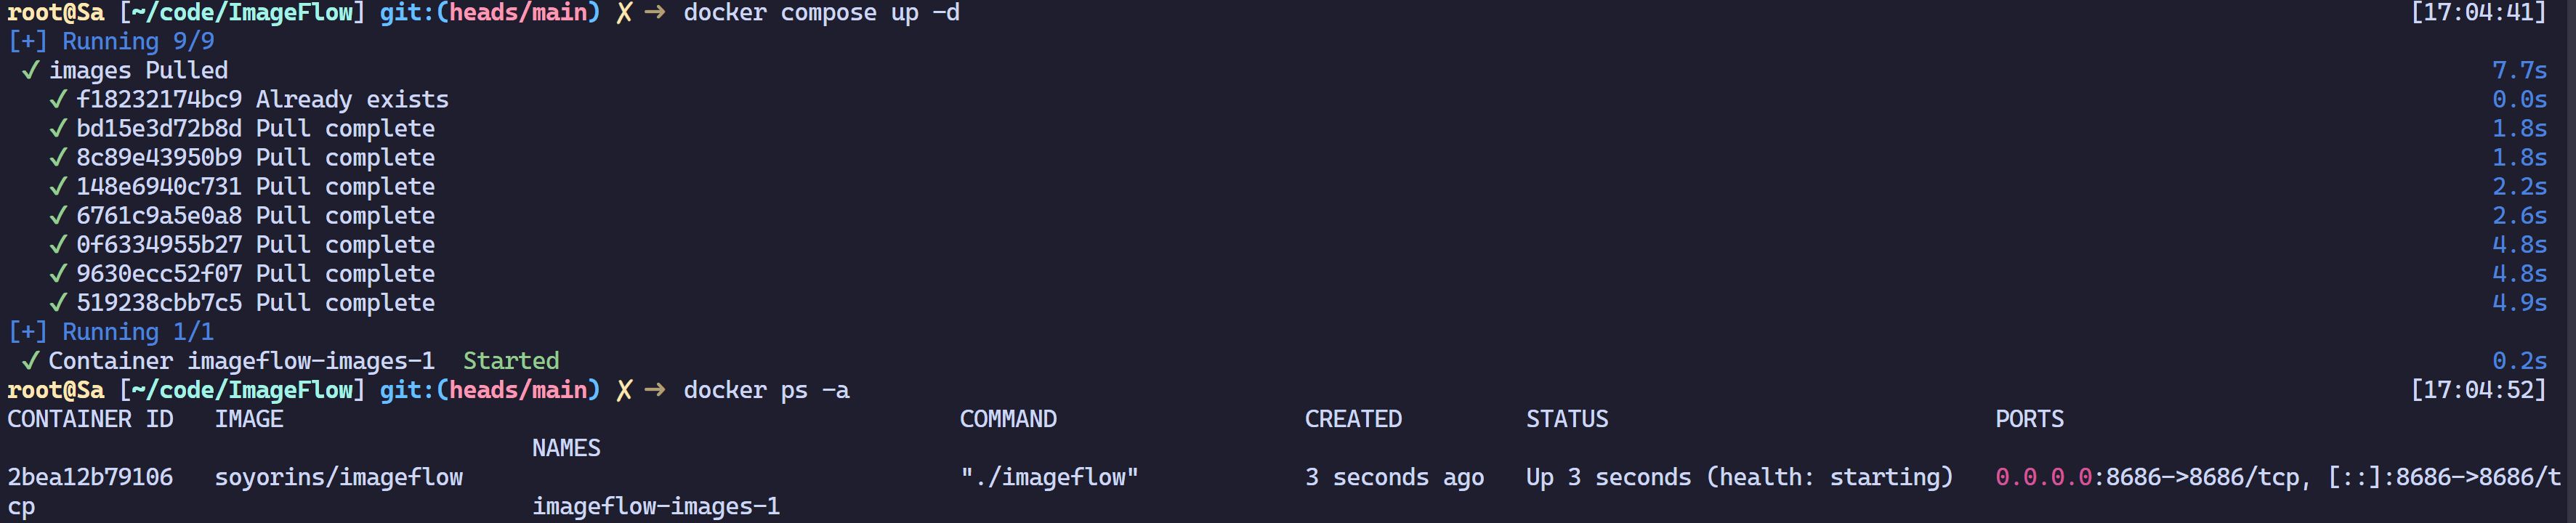
Local Deployment
Install dependencies
Install Go (1.22+)
Install WebP tools: sudo apt-get install webp (Ubuntu/Debian)
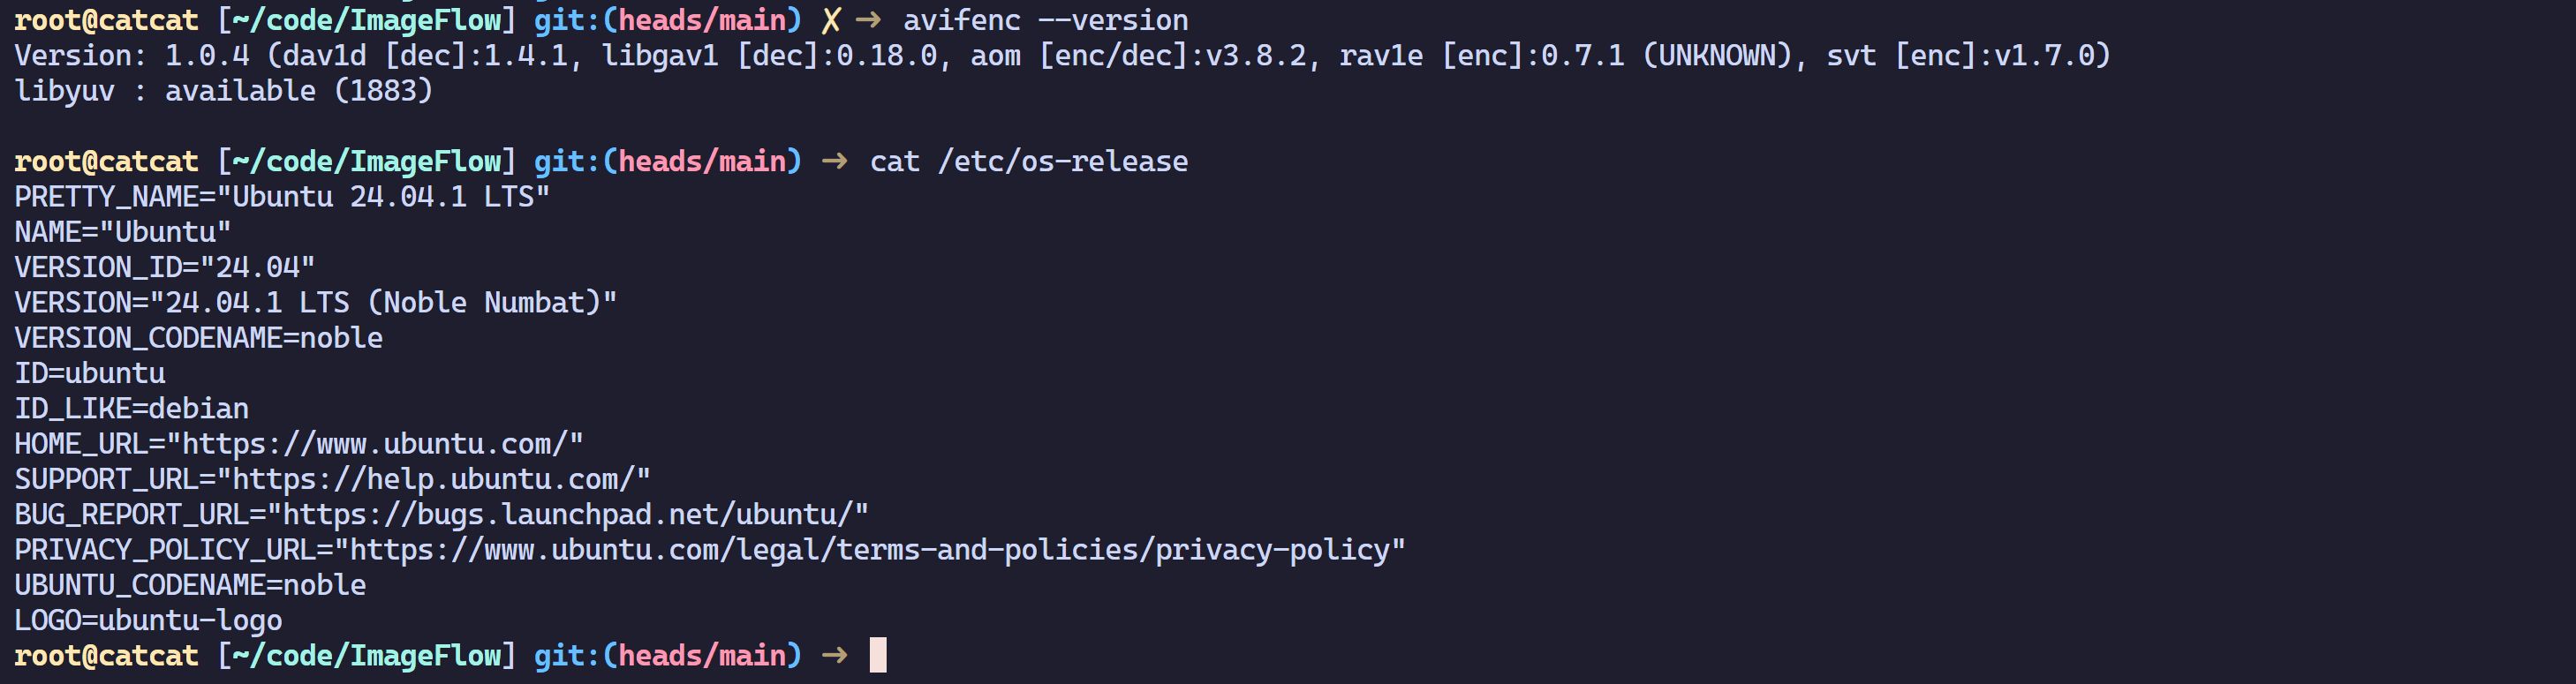
Install AVIF tools: sudo apt-get install libavif-bin (Ubuntu)
Note: AVIF needs to be version 1.0 or higher. On Debian, the default package is 0.9, so you’ll need to build from source.
On Ubuntu 24.04 you can install the latest version directly from the repos.
Download the binary and edit env
Binaries are provided for both x86 and ARM — pick the one you need.
git clone https://github.com/Yuri-NagaSaki/ImageFlow && cd ImageFlowhttps://github.com/Yuri-NagaSaki/ImageFlow/releases/download/v1.0/imageflow-x86chmod 777 imageflow-x86cp .env.example .envvim .env./imageflow-x86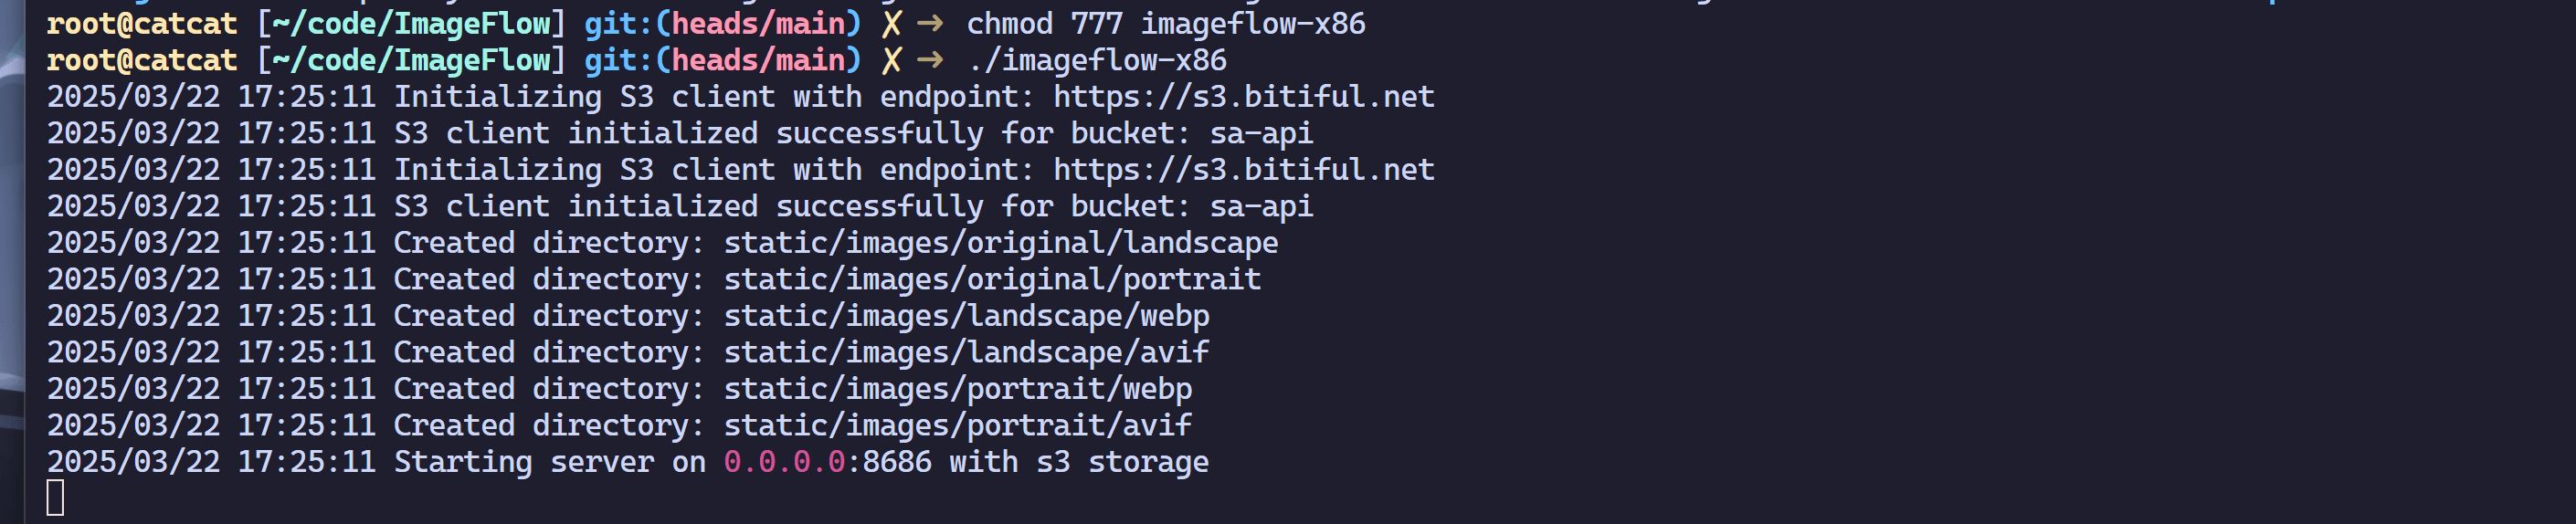
Create a systemd service:
[Unit]Description=ImageFlow ServiceAfter=network.target
[Service]ExecStart=/path/to/imageflowWorkingDirectory=/path/to/imageflow/directoryRestart=alwaysUser=youruser
[Install]WantedBy=multi-user.targetHow to Use
Open IP<8686> in your browser and enter the API_KEY you set in the .env file.
Then start uploading images.
Note: since compression is performed locally, it’s best to deploy on a server with a reasonably strong CPU.
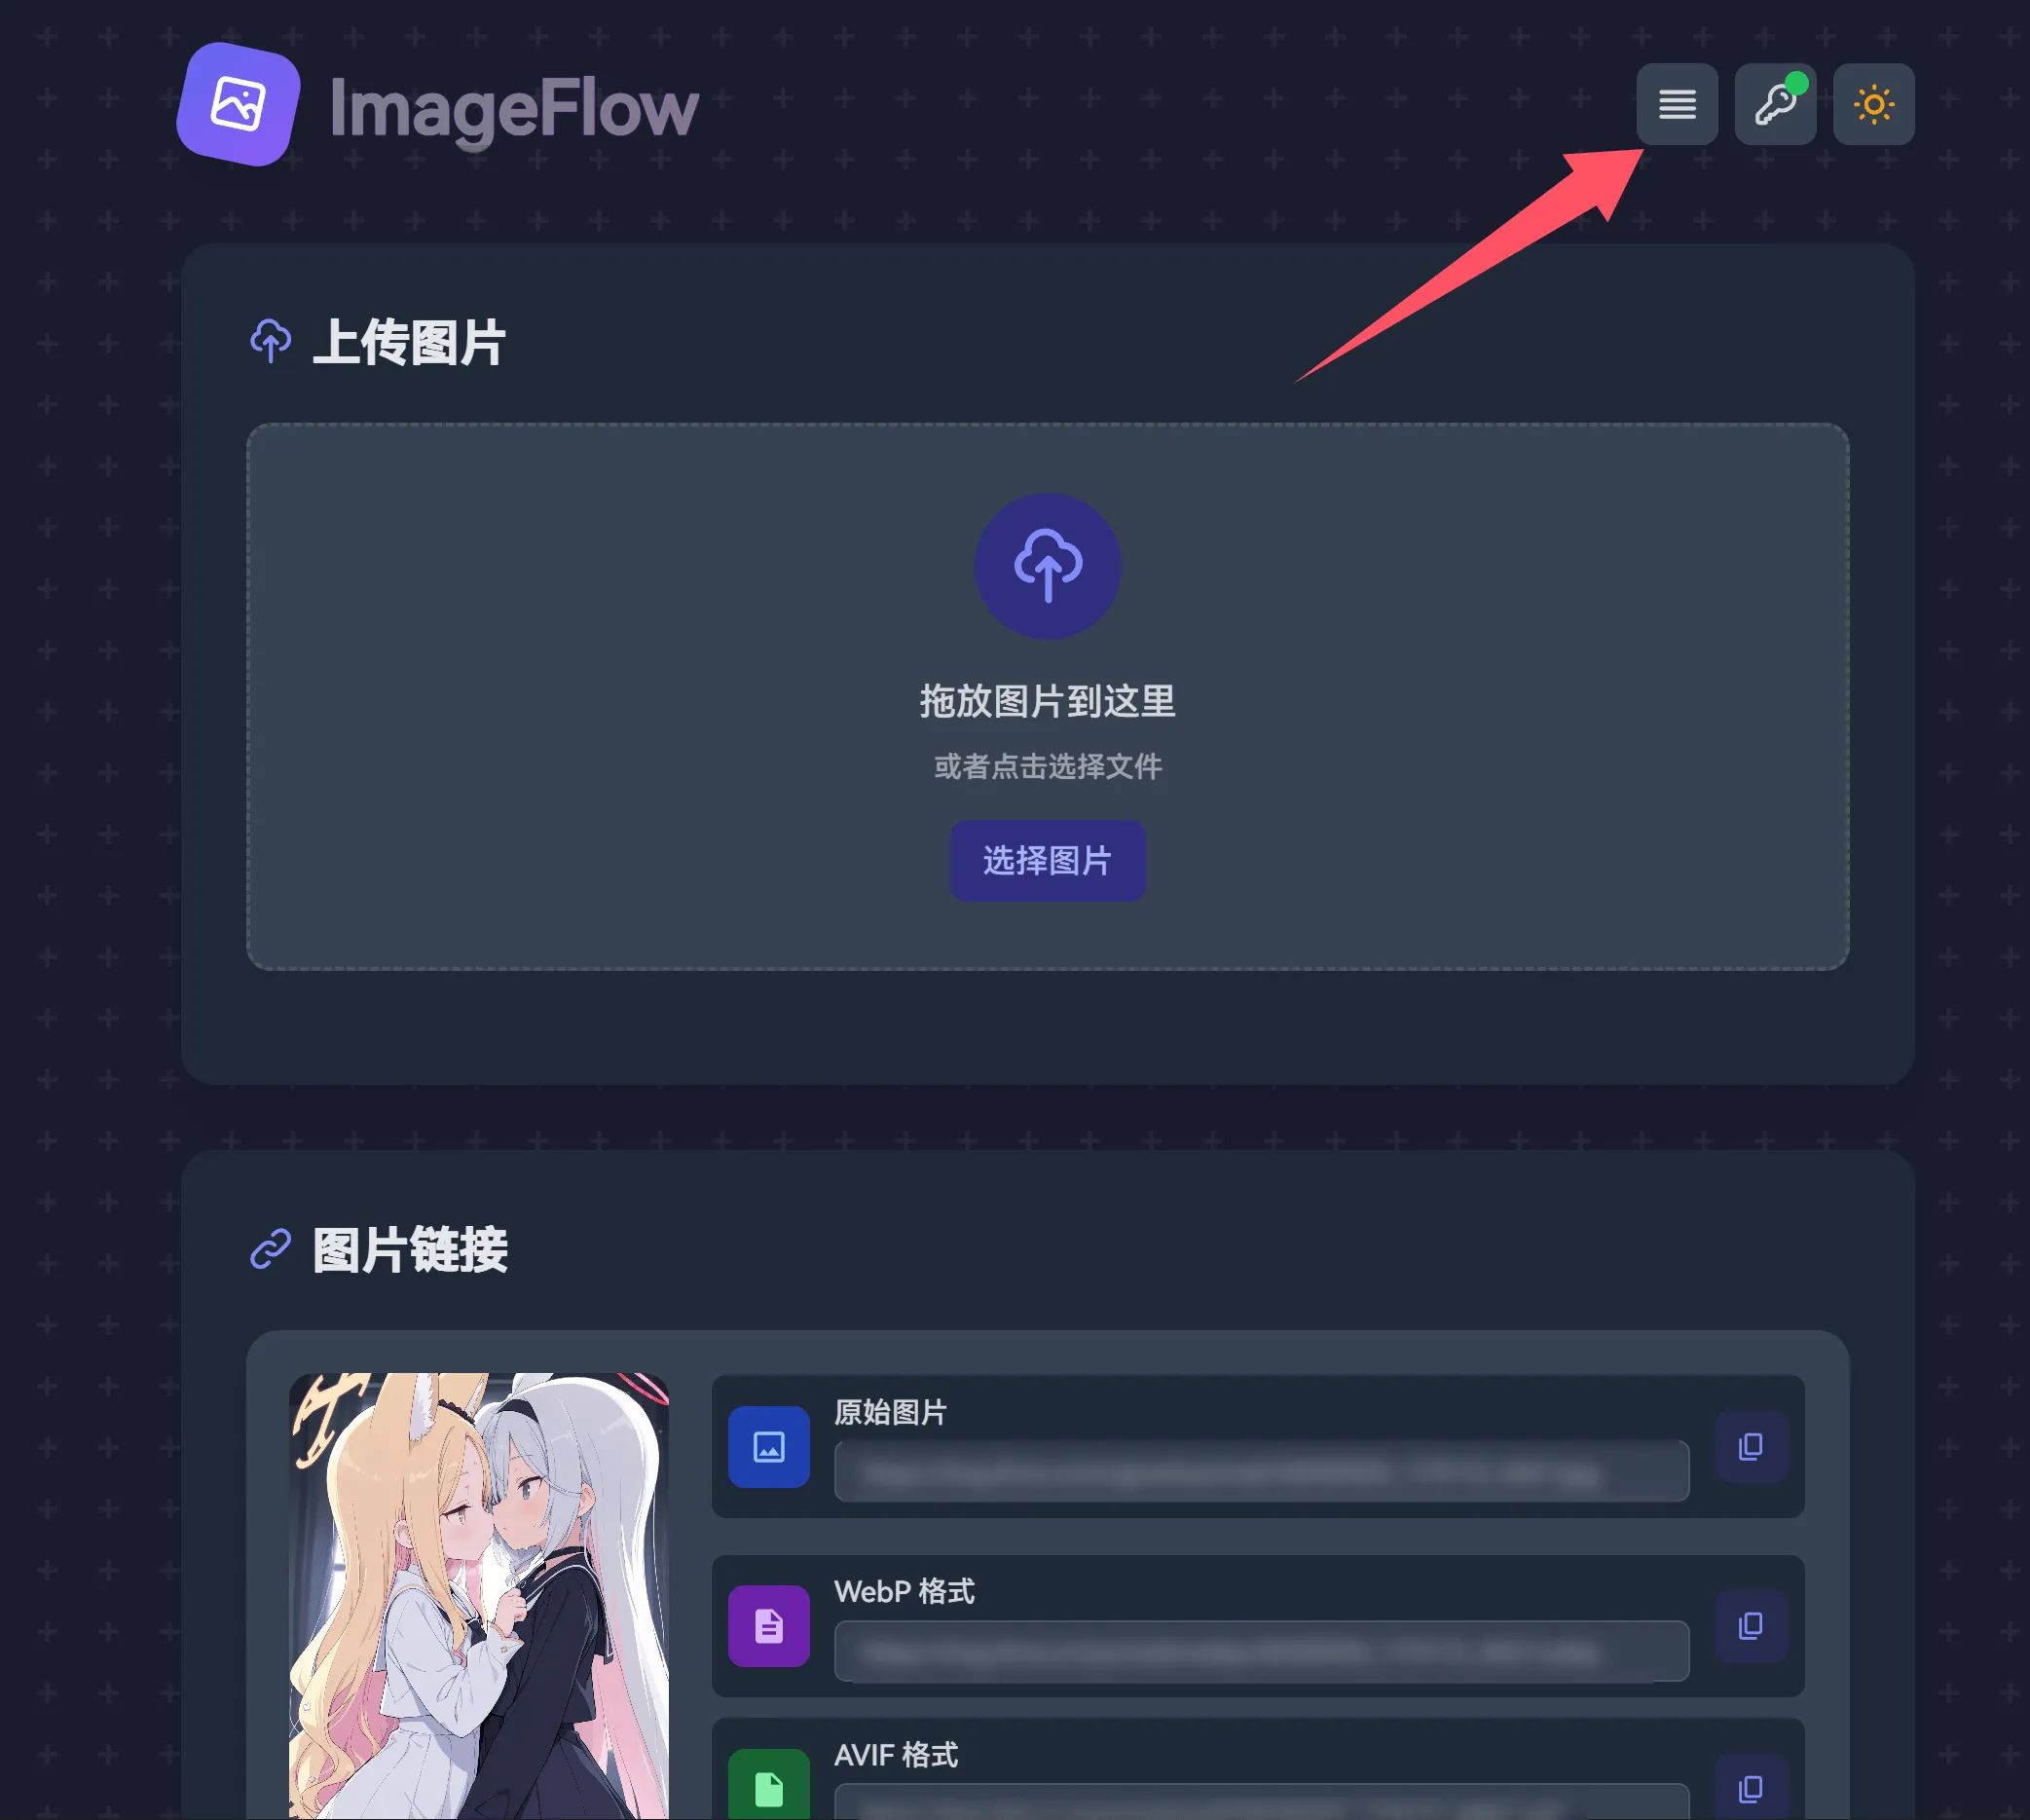
Click the top-right button to enter the management panel.
Here you’ll see all your uploaded and compressed images.
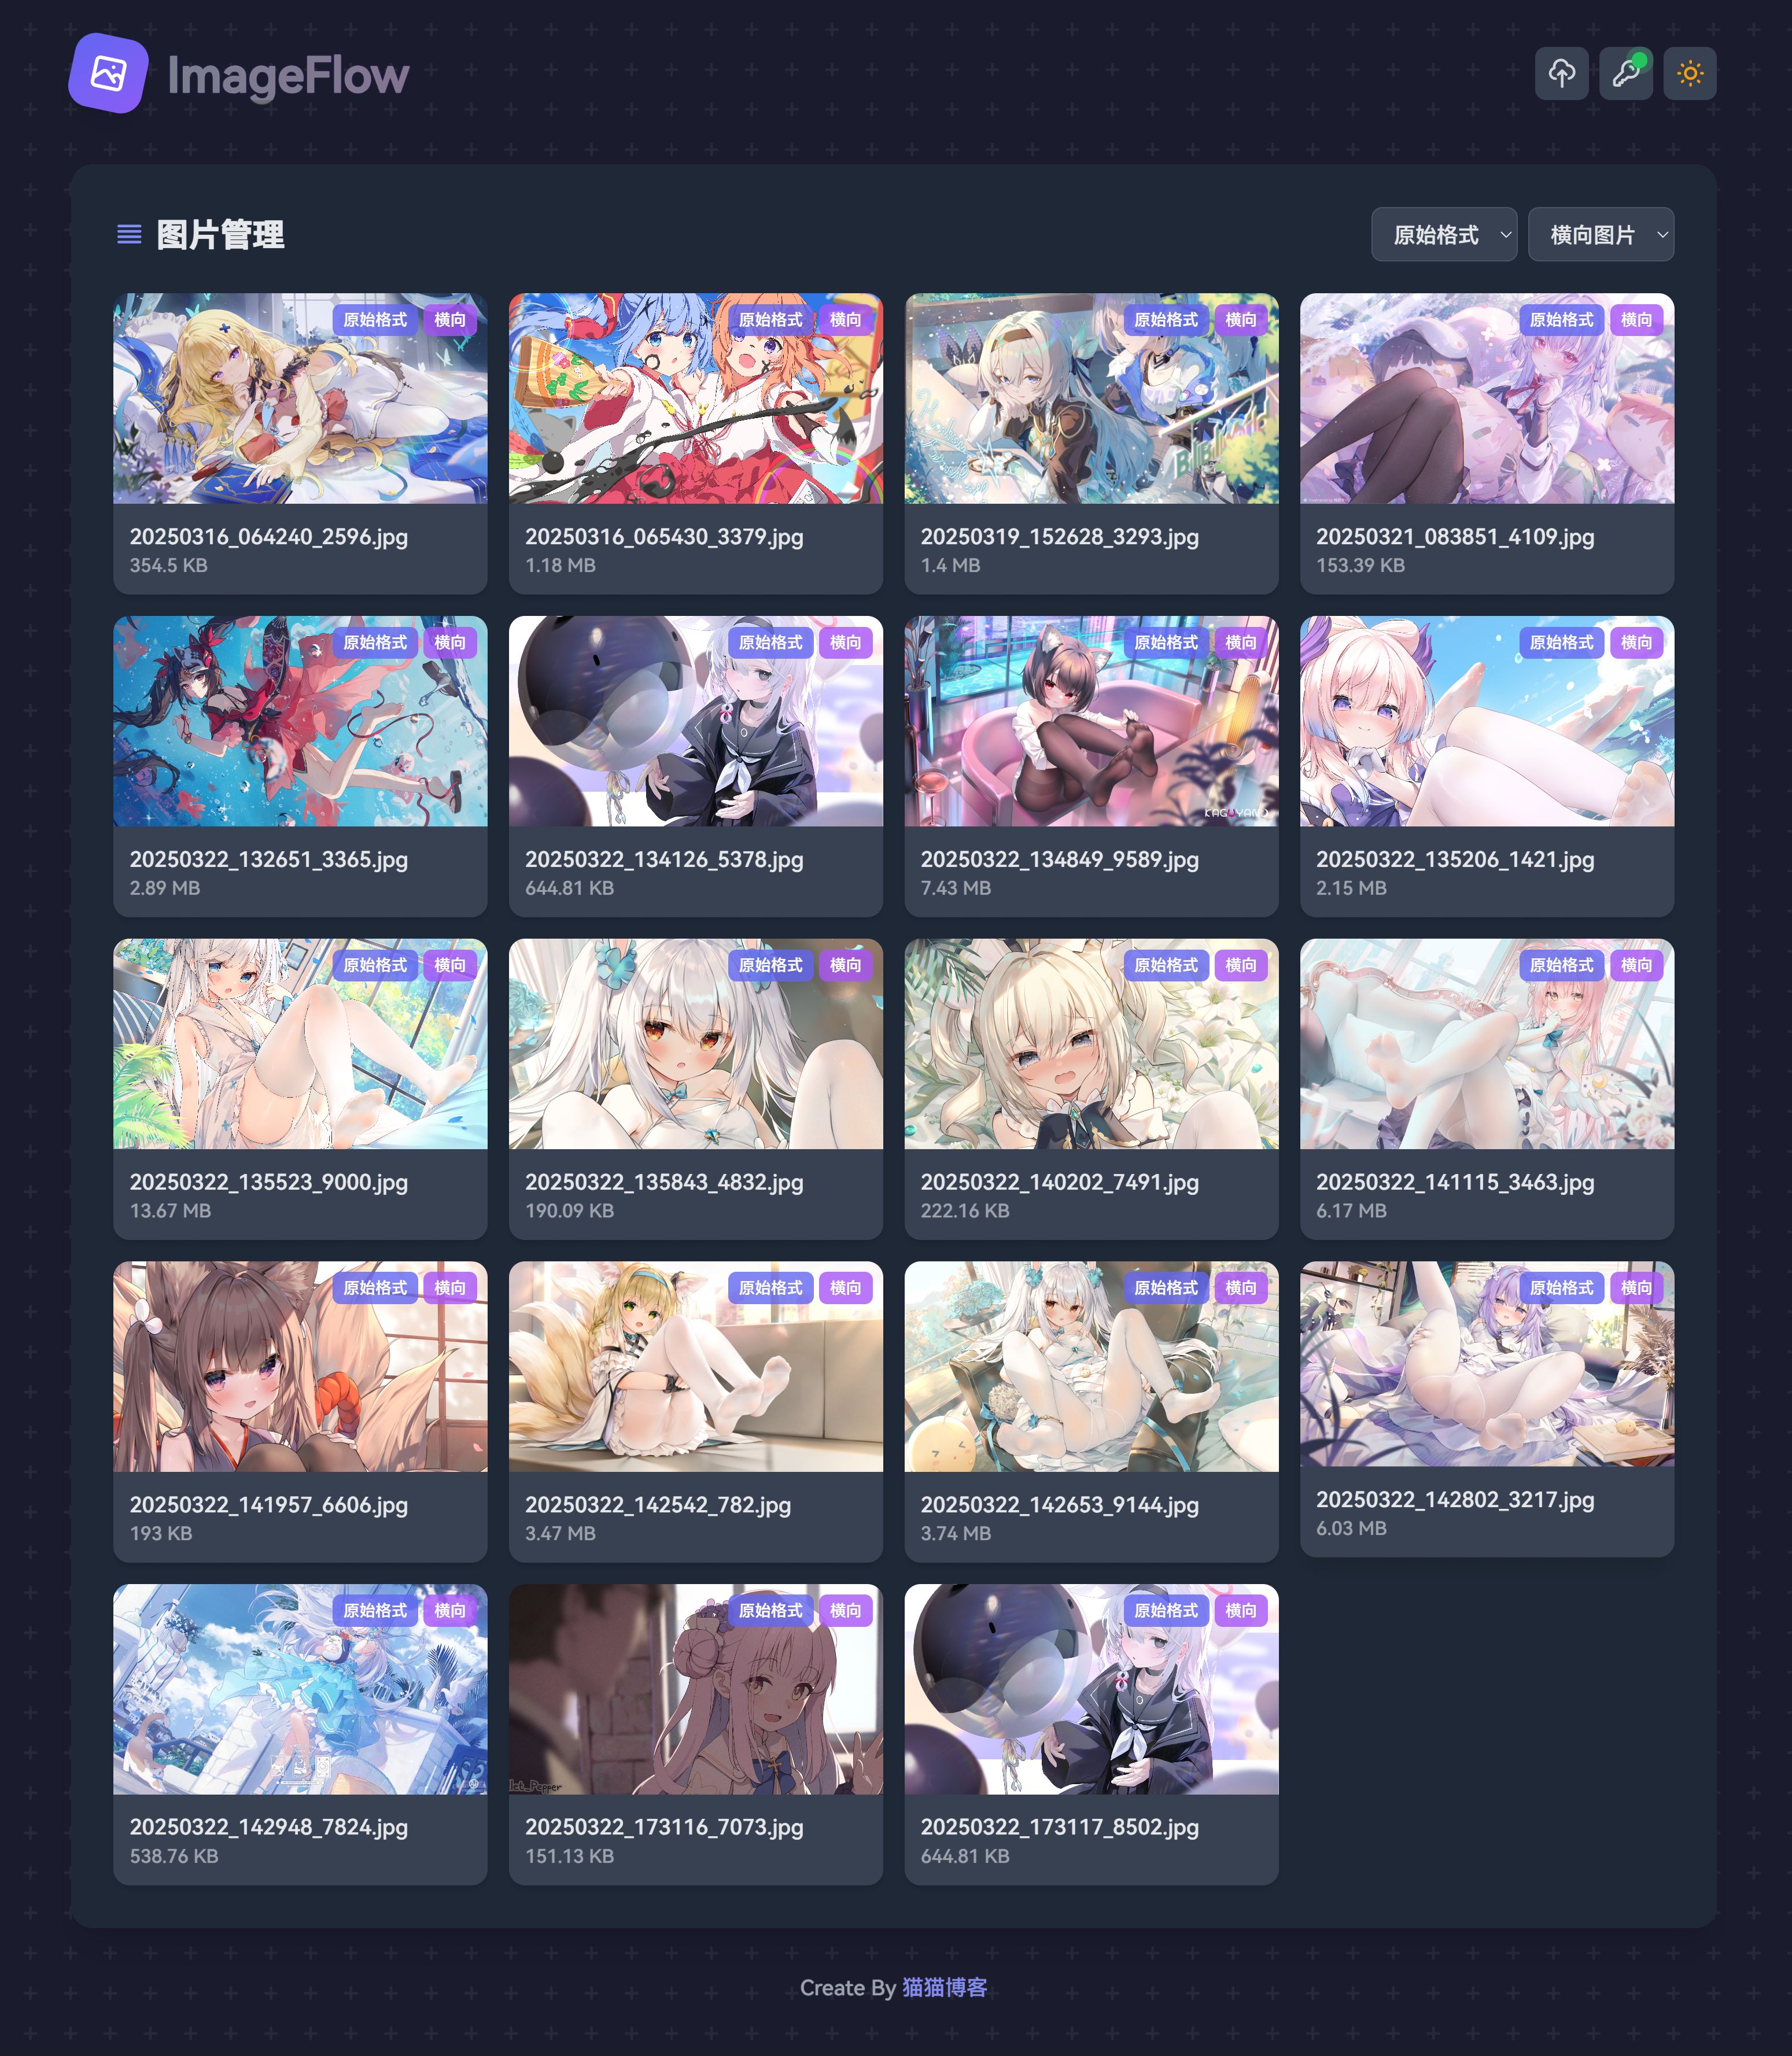
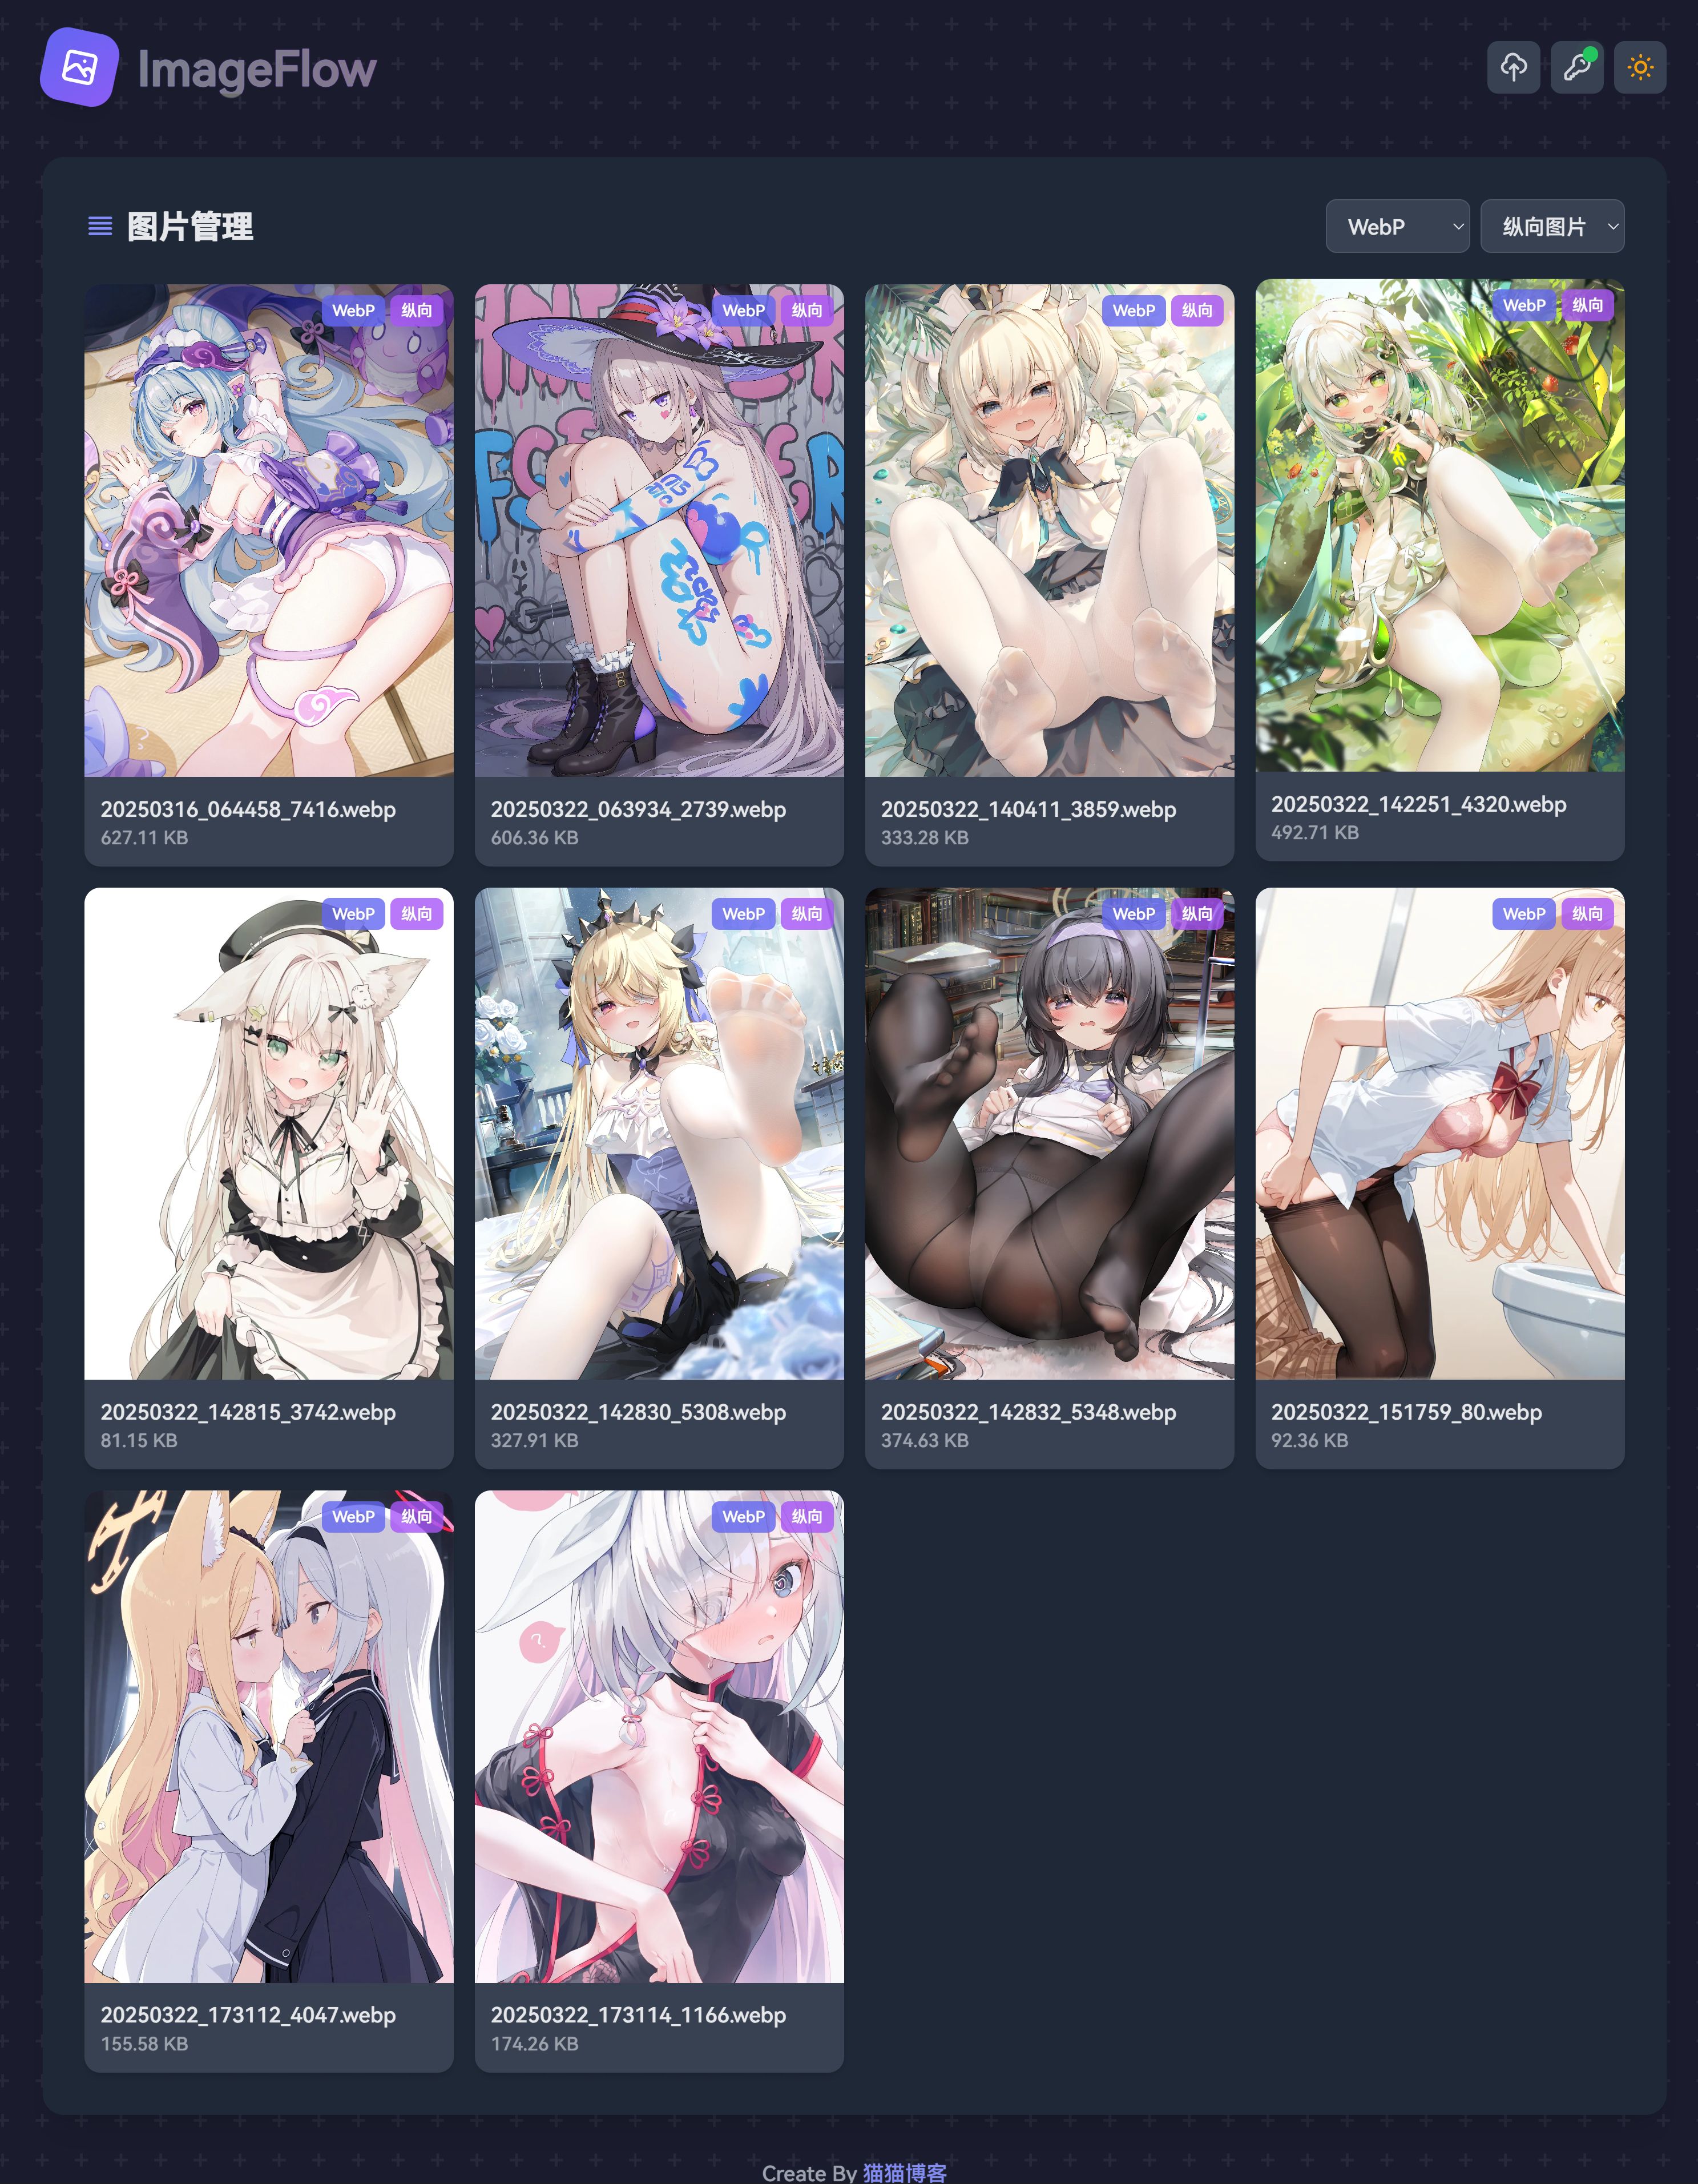
You can, of course, delete any image. This will also remove the corresponding original, AVIF, and WebP files.
Accessing the API
The API endpoint is: IP<8686>/api/ramdom
And that’s everything — you’re good to go!
🤝 Contributing
Contributions are welcome! Feel free to submit PRs, open issues, or suggest improvements at any time!