Deploying Misskey with Docker
At the beginning I followed the official documentation, but it turned out to be a bit complicated. Then I found the following two posts, which were very helpful—many thanks to their authors!
Deployment walkthrough: Using Docker to minimally deploy Misskey
This tutorial is basically
inspired bycopied from the guide above XD
Usage experience: The Fediverse is more than Mastodon — Introducing Misskey
1. Introduction
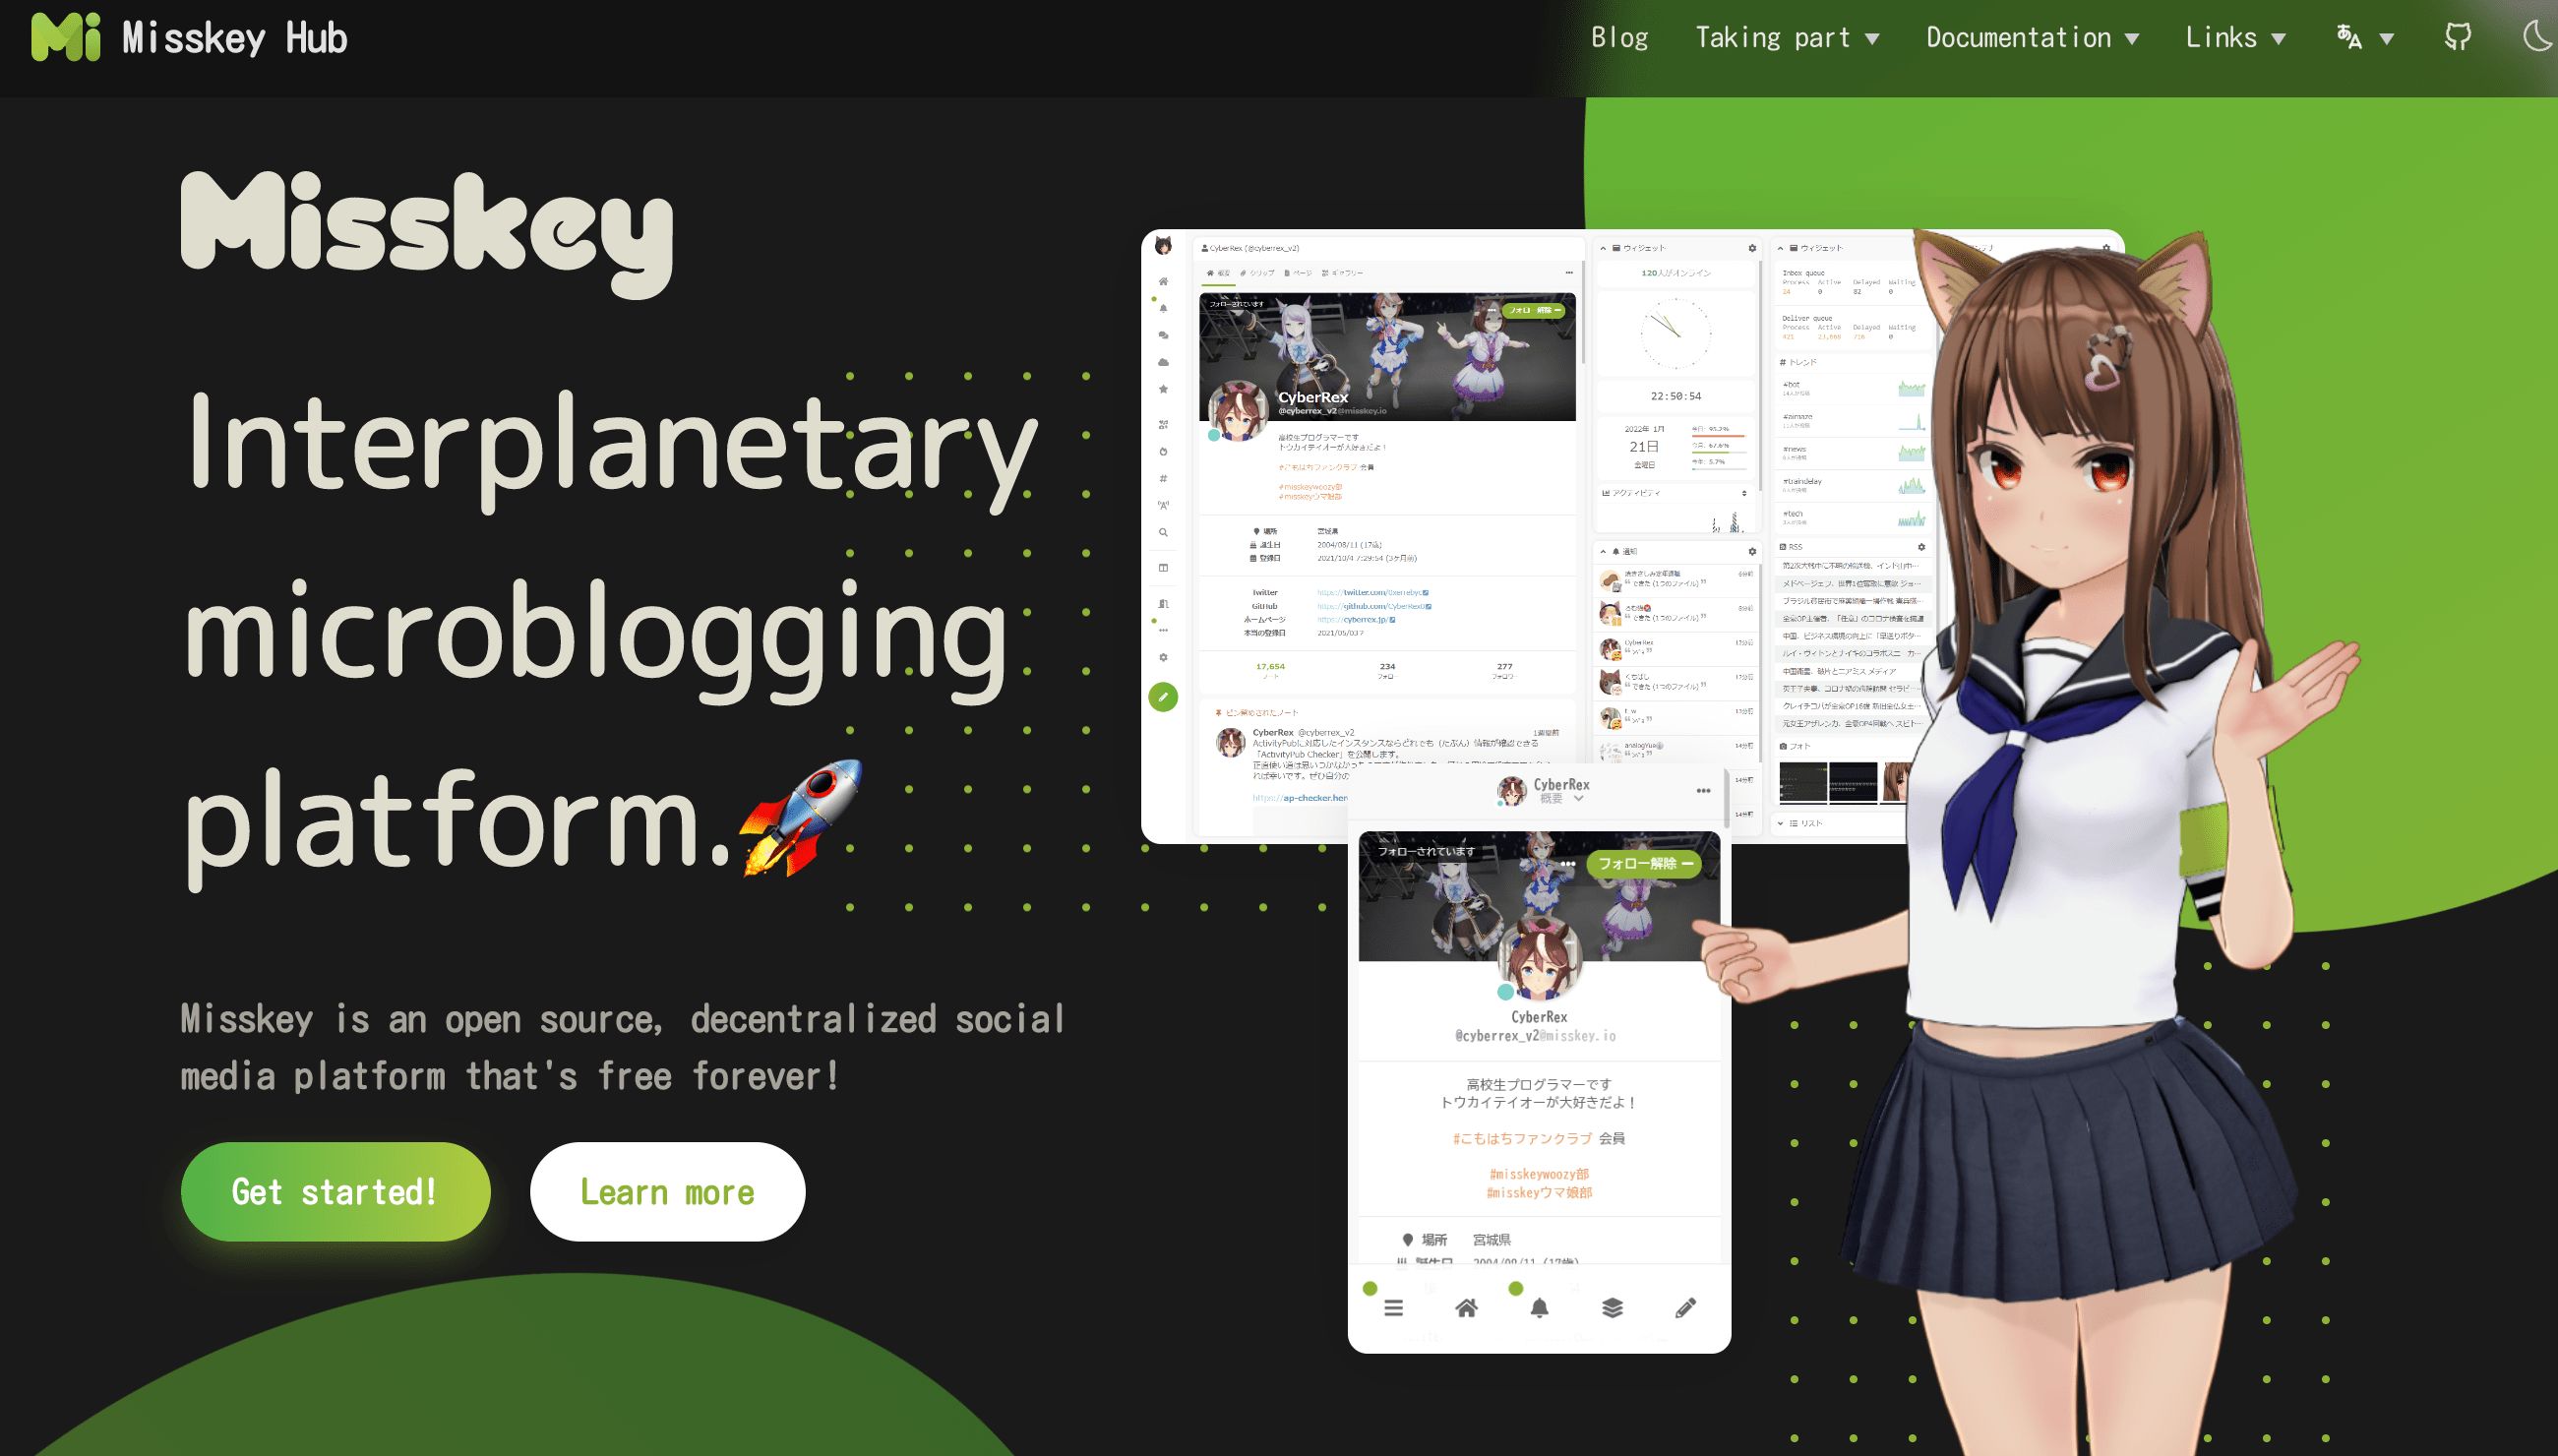
Misskey is a decentralized social network service created by Japanese developer しゅいろ (syuilo). The official instance is misskey.io. Like Mastodon, Misskey uses the ActivityPub protocol, so it can federate with the wider Fediverse.
In simple terms, it’s a decentralized microblogging platform.
What we are creating here is an instance. Different instances can interact with and follow each other.
1.1 Related links
Official instance: https://misskey.io/ (If you don’t want to self-host, you can just join the official instance, though it’s mostly in Japanese.)
Official site: https://misskey-hub.net/en/
GitHub repository: https://github.com/misskey-dev/misskey (3k stars)
Instance list: https://join.misskey.page/zh-CN/instances (If you don’t want to self-host, you can join any existing instance.)
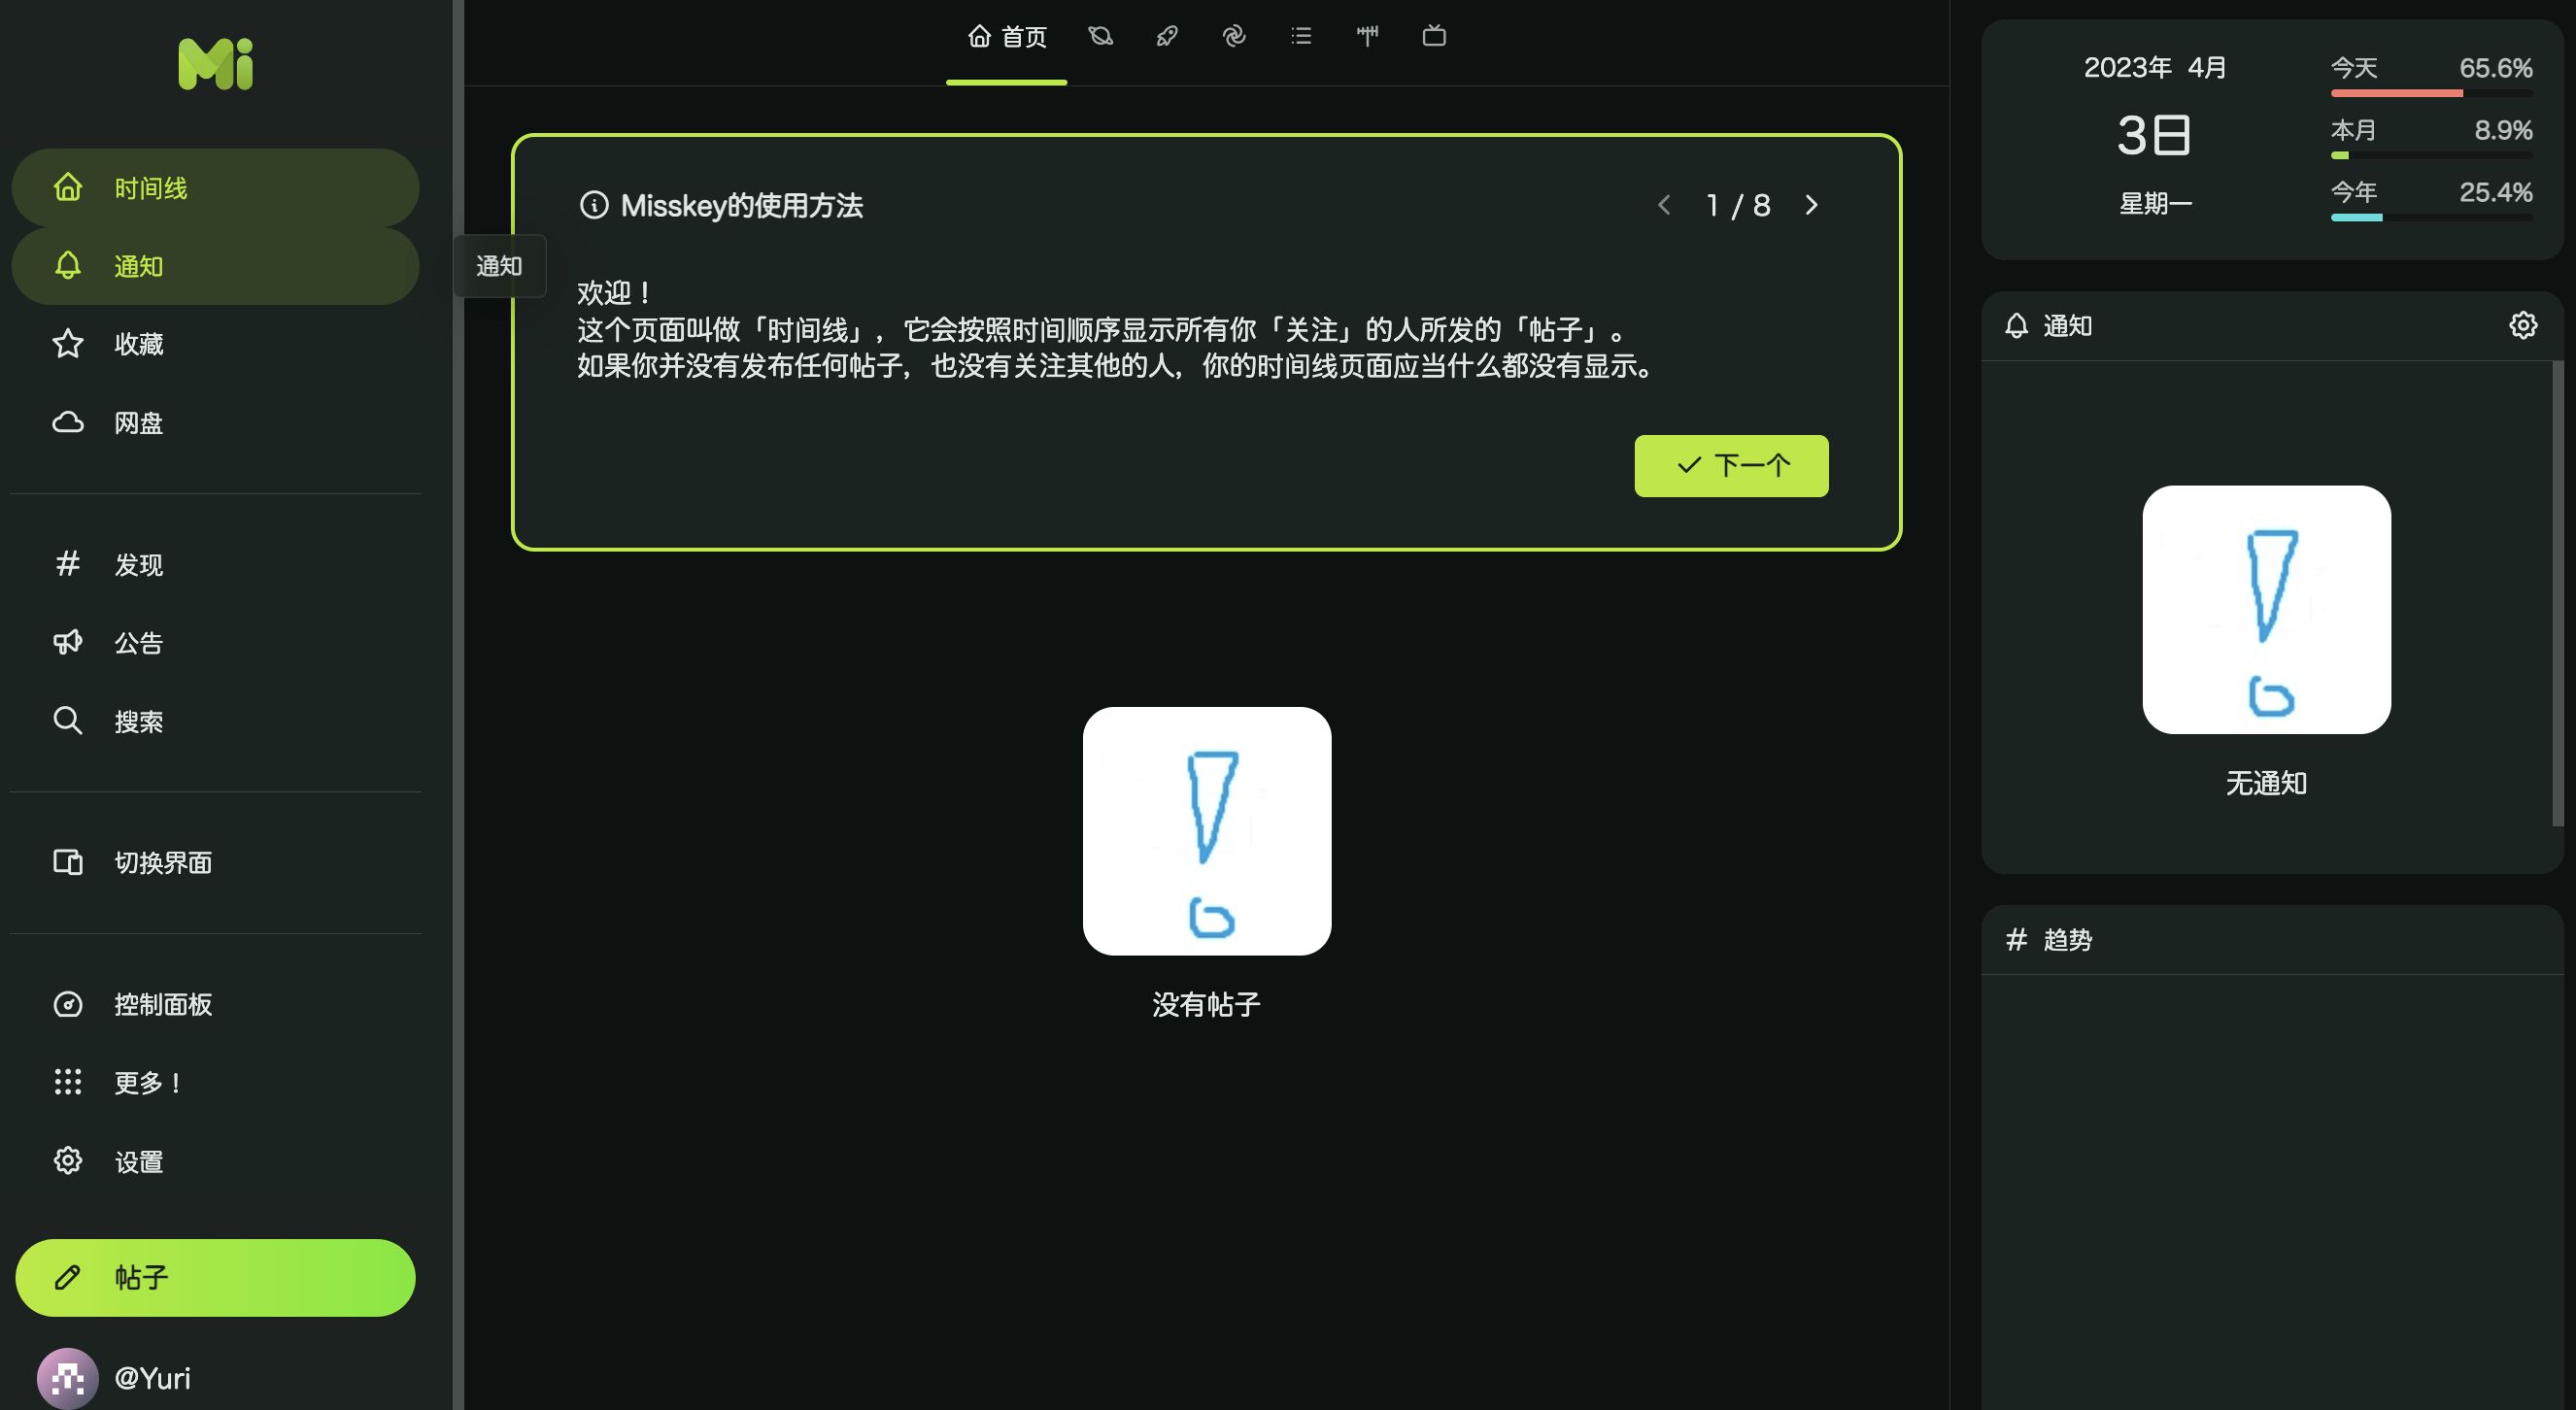
2. Demo
3. Environment
-
OS: Debian 11
-
Docker and Docker Compose installed
-
Service: Unesty Spring promo, high-spec Germany VDS
4. Start deploying
sudo -i
mkdir -p /root/data/docker_data/misskey
cd /root/data/docker_data/misskeydocker-compose.yml content
# Misskey minimal deploy configversion: "3"
services: web: restart: always # Automatically restart. If you’re not confident about your config, do NOT enable this to avoid a crash–restart loop that wastes resources! image: misskey/misskey:latest # Use the official image to avoid issues from insufficient resources during local builds container_name: misskey_web # Container name for easier management; feel free to change it links: - db - redis ports: - "3001:3001" networks: - internal_network - external_network volumes: - ./config:/misskey/.config:ro # Map the config directory; name it as you like. Read-only is enough. - ./files:/misskey/files # Local storage for user uploads. If you use external storage (like Wasabi or AWS S3) from the start, you can skip this.
redis: restart: always image: redis:latest container_name: misskey_redis networks: - internal_network volumes: - ./redis:/data # Redis data directory mapping, defaults to ./redis
db: restart: always image: postgres:12.2-alpine container_name: misskey_db networks: - internal_network env_file: - ./config/docker.env # Use Docker environment variables defined in this file volumes: - ./db:/var/lib/postgresql/data # Main database data directory mapping, defaults to ./db
networks: internal_network: # Internal network internal: true external_network: # External networkmkdir configcd configvim default.ymldefault.yml content
#━━━━━━━━━━━━━━━━━━━━━━━━━━━━━━━━━━━━━━━━━━━━━━━━━━━━━━━━━━━━━━━# Misskey configuration#━━━━━━━━━━━━━━━━━━━━━━━━━━━━━━━━━━━━━━━━━━━━━━━━━━━━━━━━━━━━━━━
# ┌─────┐#───┘ URL └─────────────────────────────────────────────────────
# Final accessible URL seen by a user.url: # Be sure to change this to the domain you’ll use behind your reverse proxy
# ONCE YOU HAVE STARTED THE INSTANCE, DO NOT CHANGE THE# URL SETTINGS AFTER THAT!
# ┌───────────────────────┐#───┘ Port and TLS settings └───────────────────────────────────
## Misskey requires a reverse proxy to support HTTPS connections.## +----- https://example.tld/ ------------+# +------+ |+-------------+ +----------------+|# | User | ---> || Proxy (443) | ---> | Misskey (3000) ||# +------+ |+-------------+ +----------------+|# +---------------------------------------+## You need to set up a reverse proxy. (e.g. nginx)# An encrypted connection with HTTPS is highly recommended# because tokens may be transferred in GET requests.
# The port that your Misskey server should listen on.port: 3001
# ┌──────────────────────────┐#───┘ PostgreSQL configuration └────────────────────────────────
db: host: db port: 5432
# Database name db: misskey
# Auth user: example-misskey-user pass: example-misskey-pass
# Whether disable Caching queries #disableCache: true
# Extra Connection options #extra: # ssl: true
# ┌─────────────────────┐#───┘ Redis configuration └─────────────────────────────────────
redis: host: redis port: 6379 #family: 0 # 0=Both, 4=IPv4, 6=IPv6 #pass: example-pass #prefix: example-prefix #db: 1
# ┌─────────────────────────────┐#───┘ Elasticsearch configuration └─────────────────────────────
#elasticsearch:# host: localhost# port: 9200# ssl: false# user:# pass:
# ┌───────────────┐#───┘ ID generation └───────────────────────────────────────────
# You can select the ID generation method.# You don't usually need to change this setting, but you can# change it according to your preferences.
# Available methods:# aid ... Short, Millisecond accuracy# meid ... Similar to ObjectID, Millisecond accuracy# ulid ... Millisecond accuracy# objectid ... This is left for backward compatibility
# ONCE YOU HAVE STARTED THE INSTANCE, DO NOT CHANGE THE# ID SETTINGS AFTER THAT!
id: 'aid'
# ┌─────────────────────┐#───┘ Other configuration └─────────────────────────────────────
# Whether disable HSTS#disableHsts: true
# Number of worker processes#clusterLimit: 1
# Job concurrency per worker# deliverJobConcurrency: 128# inboxJobConcurrency: 16
# Job rate limiter# deliverJobPerSec: 128# inboxJobPerSec: 16
# Job attempts# deliverJobMaxAttempts: 12# inboxJobMaxAttempts: 8
# IP address family used for outgoing request (ipv4, ipv6 or dual)#outgoingAddressFamily: ipv4
# Syslog option#syslog:# host: localhost# port: 514
# Proxy for HTTP/HTTPS#proxy: http://127.0.0.1:3128
#proxyBypassHosts: [# 'example.com',# '192.0.2.8'#]
# Proxy for SMTP/SMTPS#proxySmtp: http://127.0.0.1:3128 # use HTTP/1.1 CONNECT#proxySmtp: socks4://127.0.0.1:1080 # use SOCKS4#proxySmtp: socks5://127.0.0.1:1080 # use SOCKS5
# Media Proxy#mediaProxy: https://example.com/proxy
# Proxy remote files (default: false)#proxyRemoteFiles: true
# Sign to ActivityPub GET request (default: false)#signToActivityPubGet: true
#allowedPrivateNetworks: [# '127.0.0.1/32'#]
# Upload or download file size limits (bytes)#maxFileSize: 262144000docker.env 内容# db settingsPOSTGRES_PASSWORD=example-misskey-passPOSTGRES_USER=example-misskey-userPOSTGRES_DB=misskey启动cd .. # Go back to the directory containing the docker-compose filedocker-compose run --rm web yarn run init # Initialize the databasedocker-compose up -d5. Usage guide
5.1 Installation and configuration
For detailed usage, see: The Fediverse is more than Mastodon — Introducing Misskey
6. Bug fixing
Troubleshooting
Right after setting up the server, I encountered an Internal Server Error when uploading images. Checking the logs with docker logs showed:
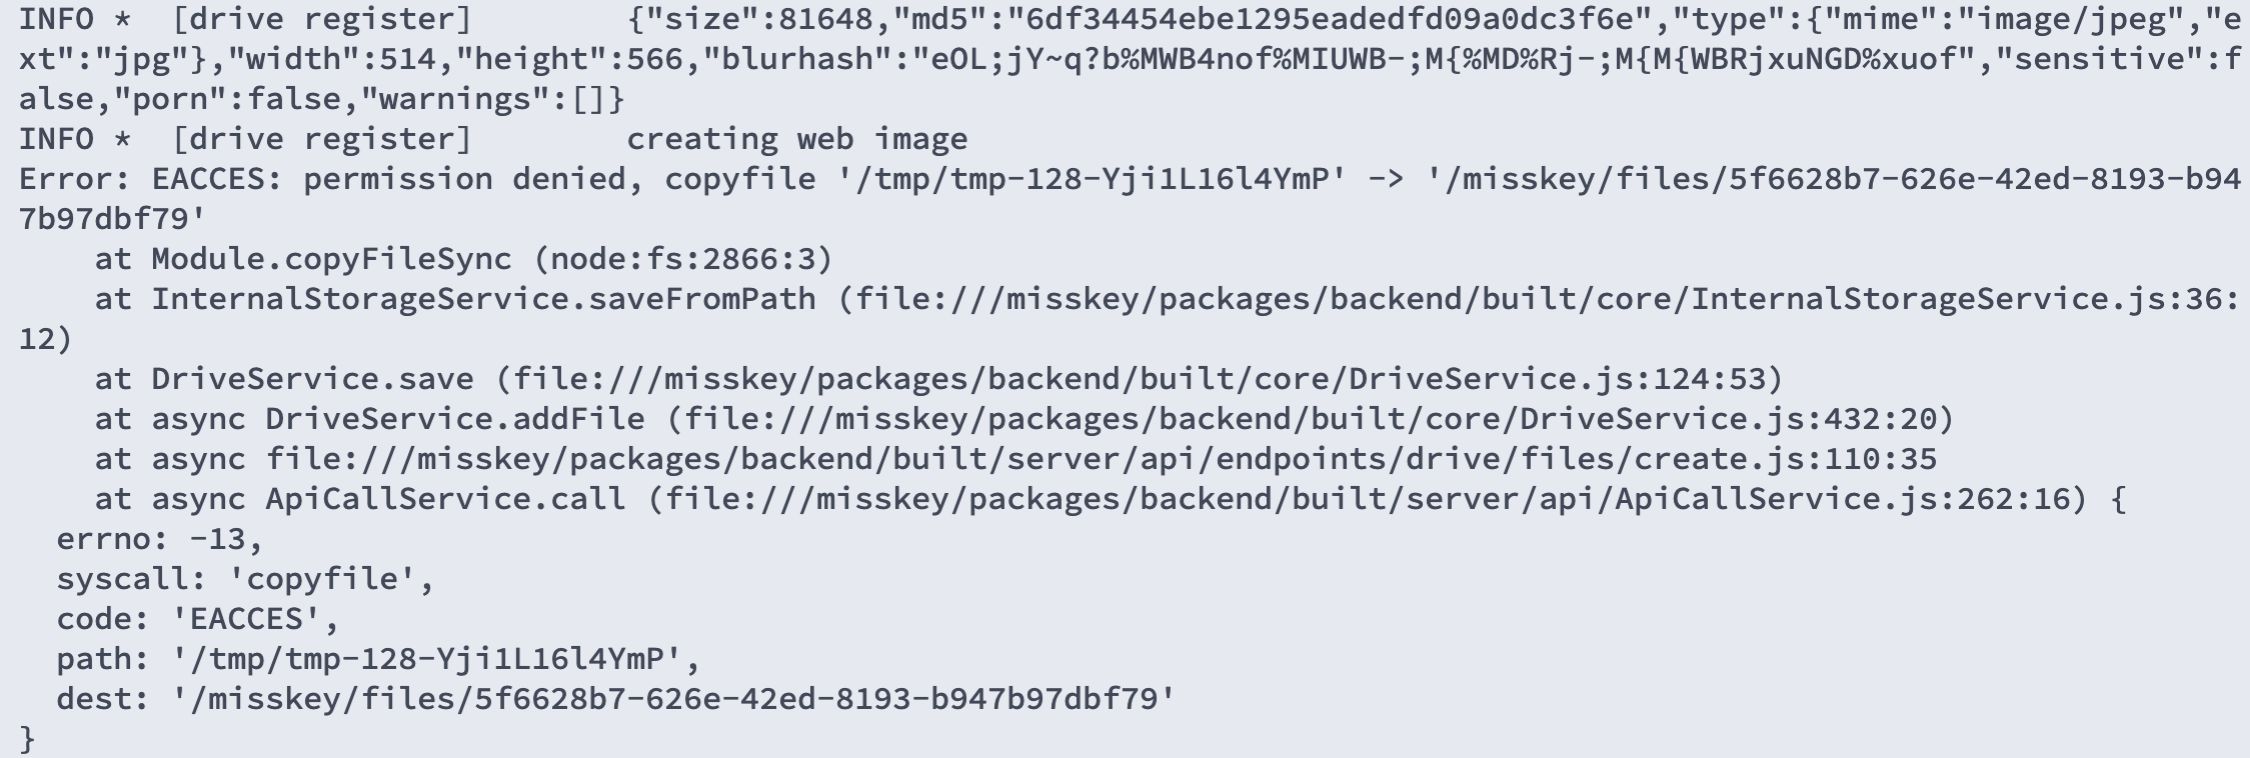
The cause was insufficient file permissions. Go into the Misskey install directory and fix them:
sudo chown -R 991:991 filesReferences
Deployment reference: Using Docker to minimally deploy Misskey
Usage reference: The Fediverse is more than Mastodon — Introducing Misskey
Official instance: https://misskey.io/
Official site: https://misskey-hub.net/en/
GitHub repository: https://github.com/misskey-dev/misskey (3k stars)