Getting Started with Hetzner Dedicated Servers
Getting Started with Hetzner Dedicated Servers
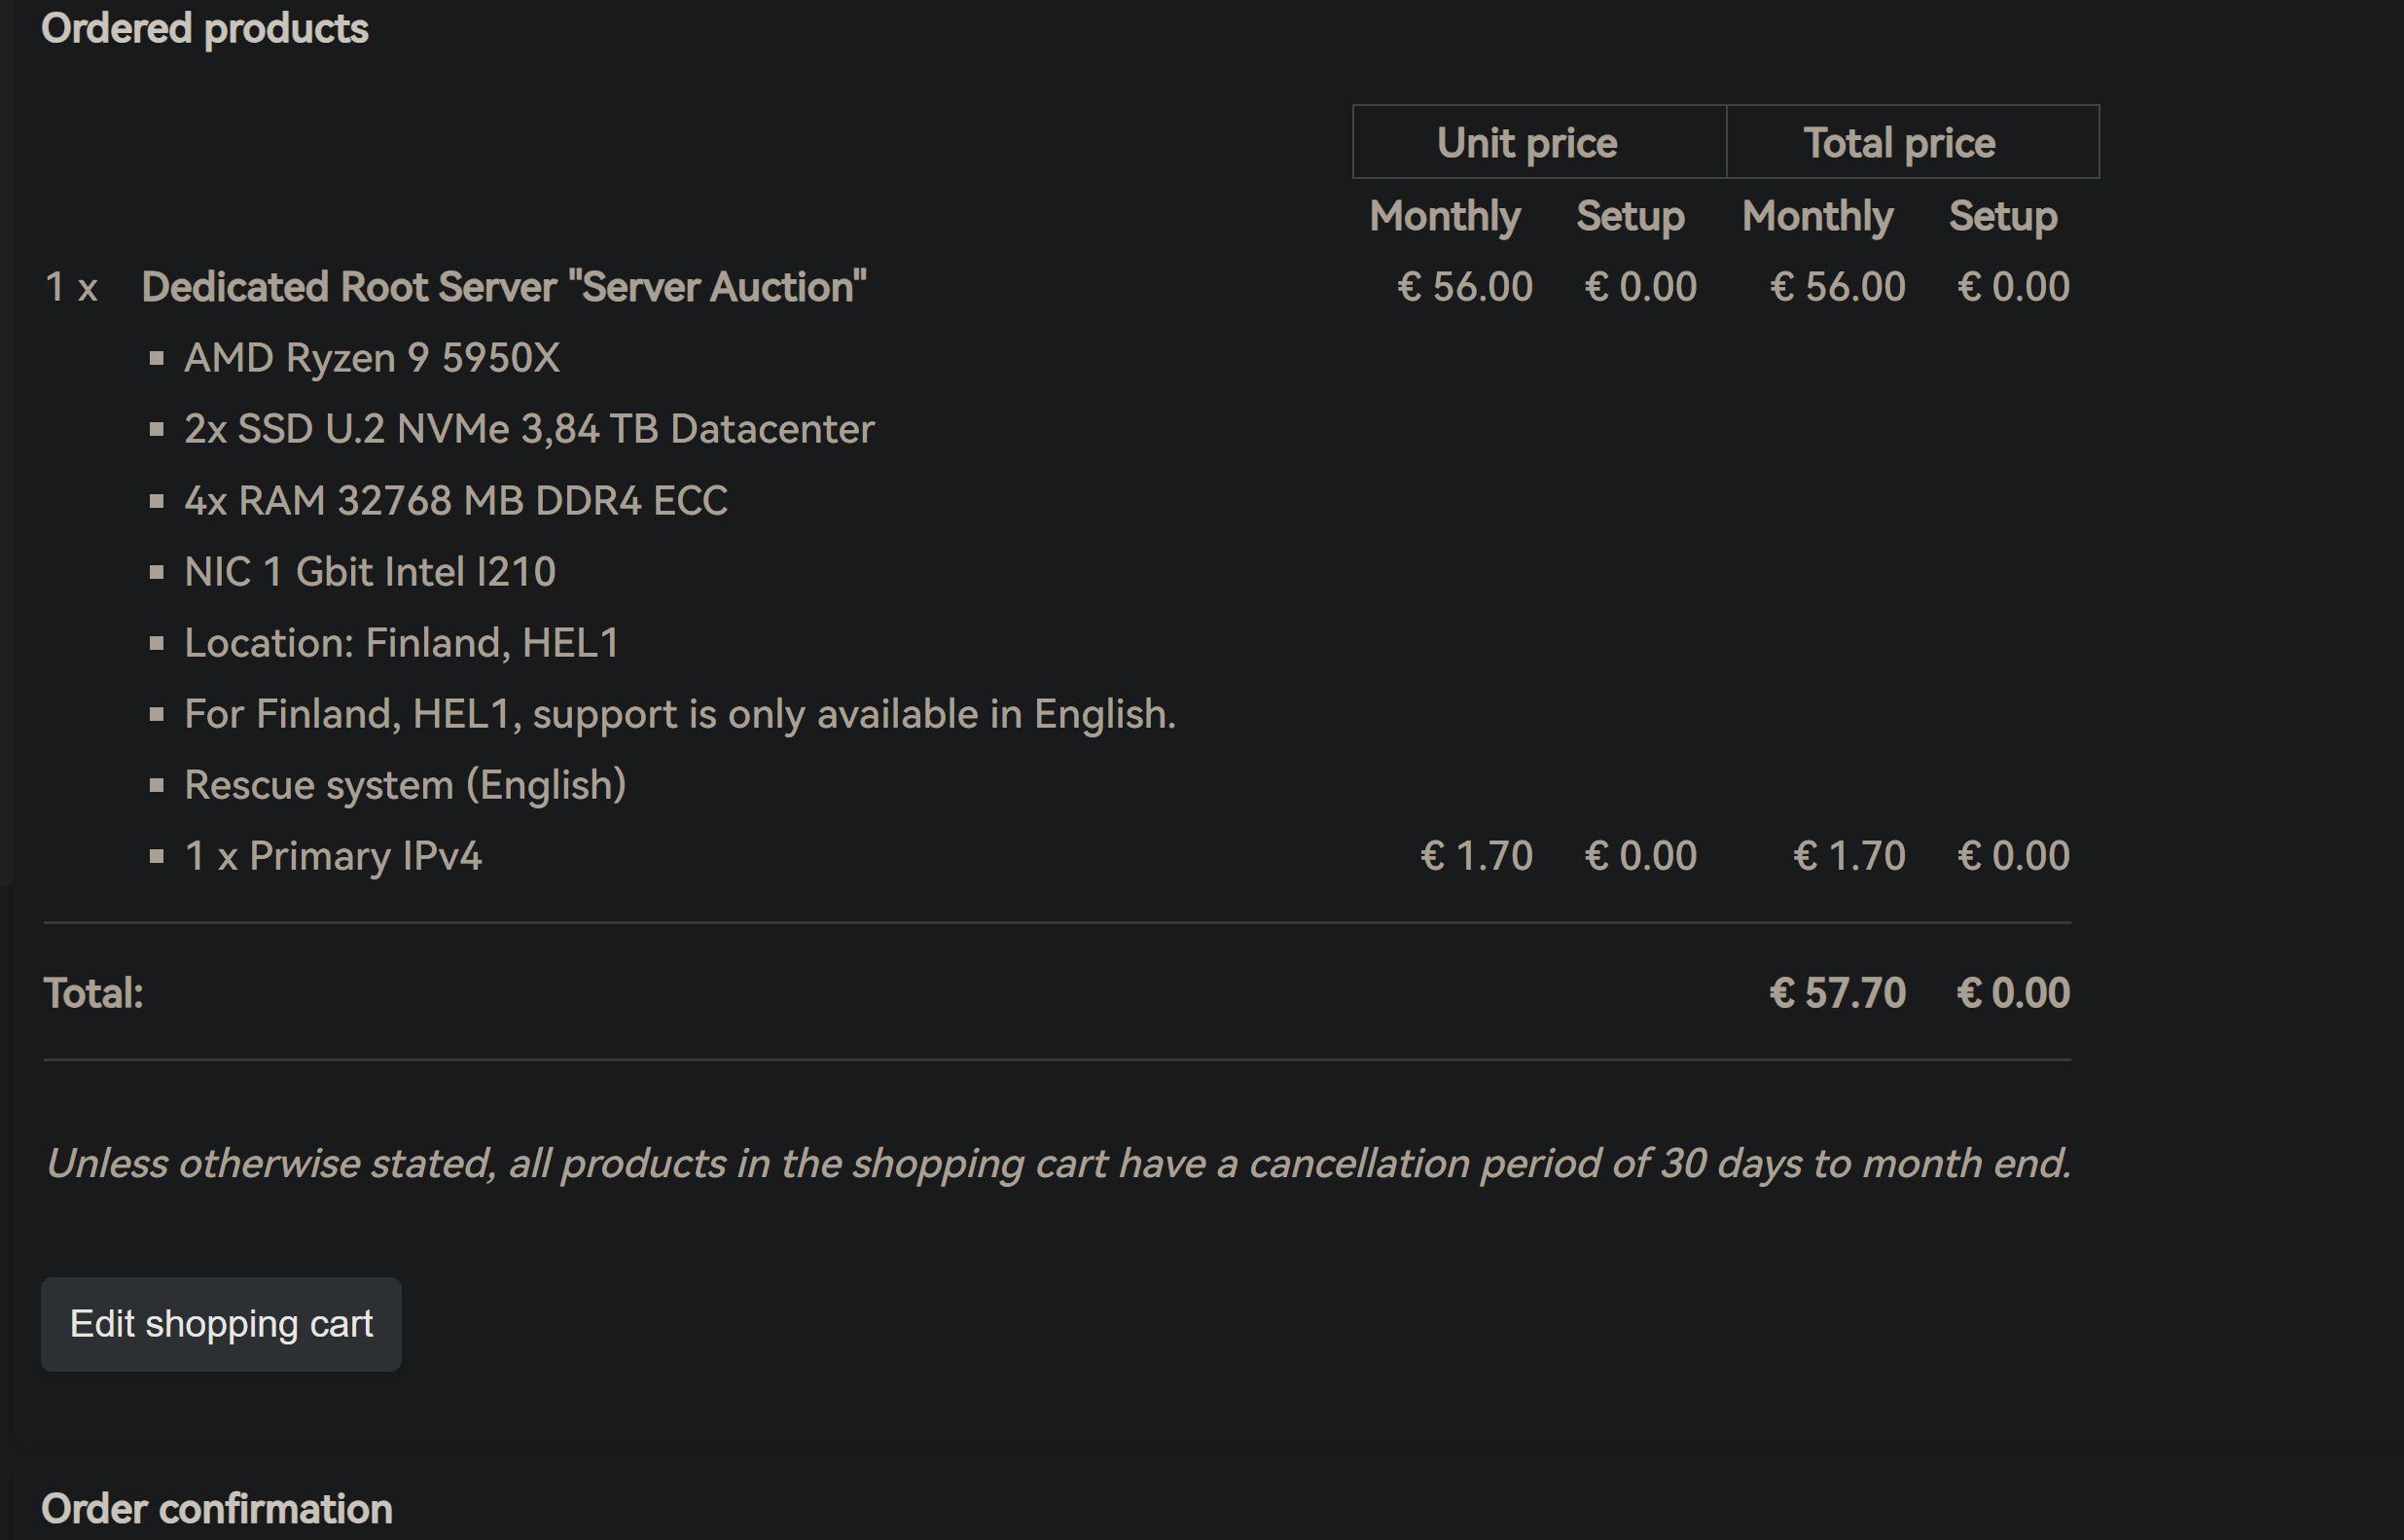
Recently while browsing around I noticed that Hetzner finally added the AMD Ryzen 5000 series to their auction servers. Getting a top-spec 5950X machine for under €60 is an absolute steal. This post gives a quick introduction to Hetzner dedicated servers and a few common pitfalls.
Tutorial
If your server comes with two drives by default, Hetzner will automatically set up RAID 1 for you. That means you only get the capacity of one disk; the other one effectively acts as a mirror/backup. If your data isn’t particularly critical, you’ll usually consider disabling RAID so you can fully utilize the disk space. (Unless you’re doing PT seeding, RAID 0 is generally not recommended.)
Entering Rescue Mode
If you bought a Hetzner auction server, it’s usually delivered in Rescue mode. In simple terms, Rescue is like a Windows PE environment: you can use the official tools provided there to install your OS.
How do I enter Rescue mode?
On this page, find your server, click it, and then just follow the steps as shown in the screenshots.
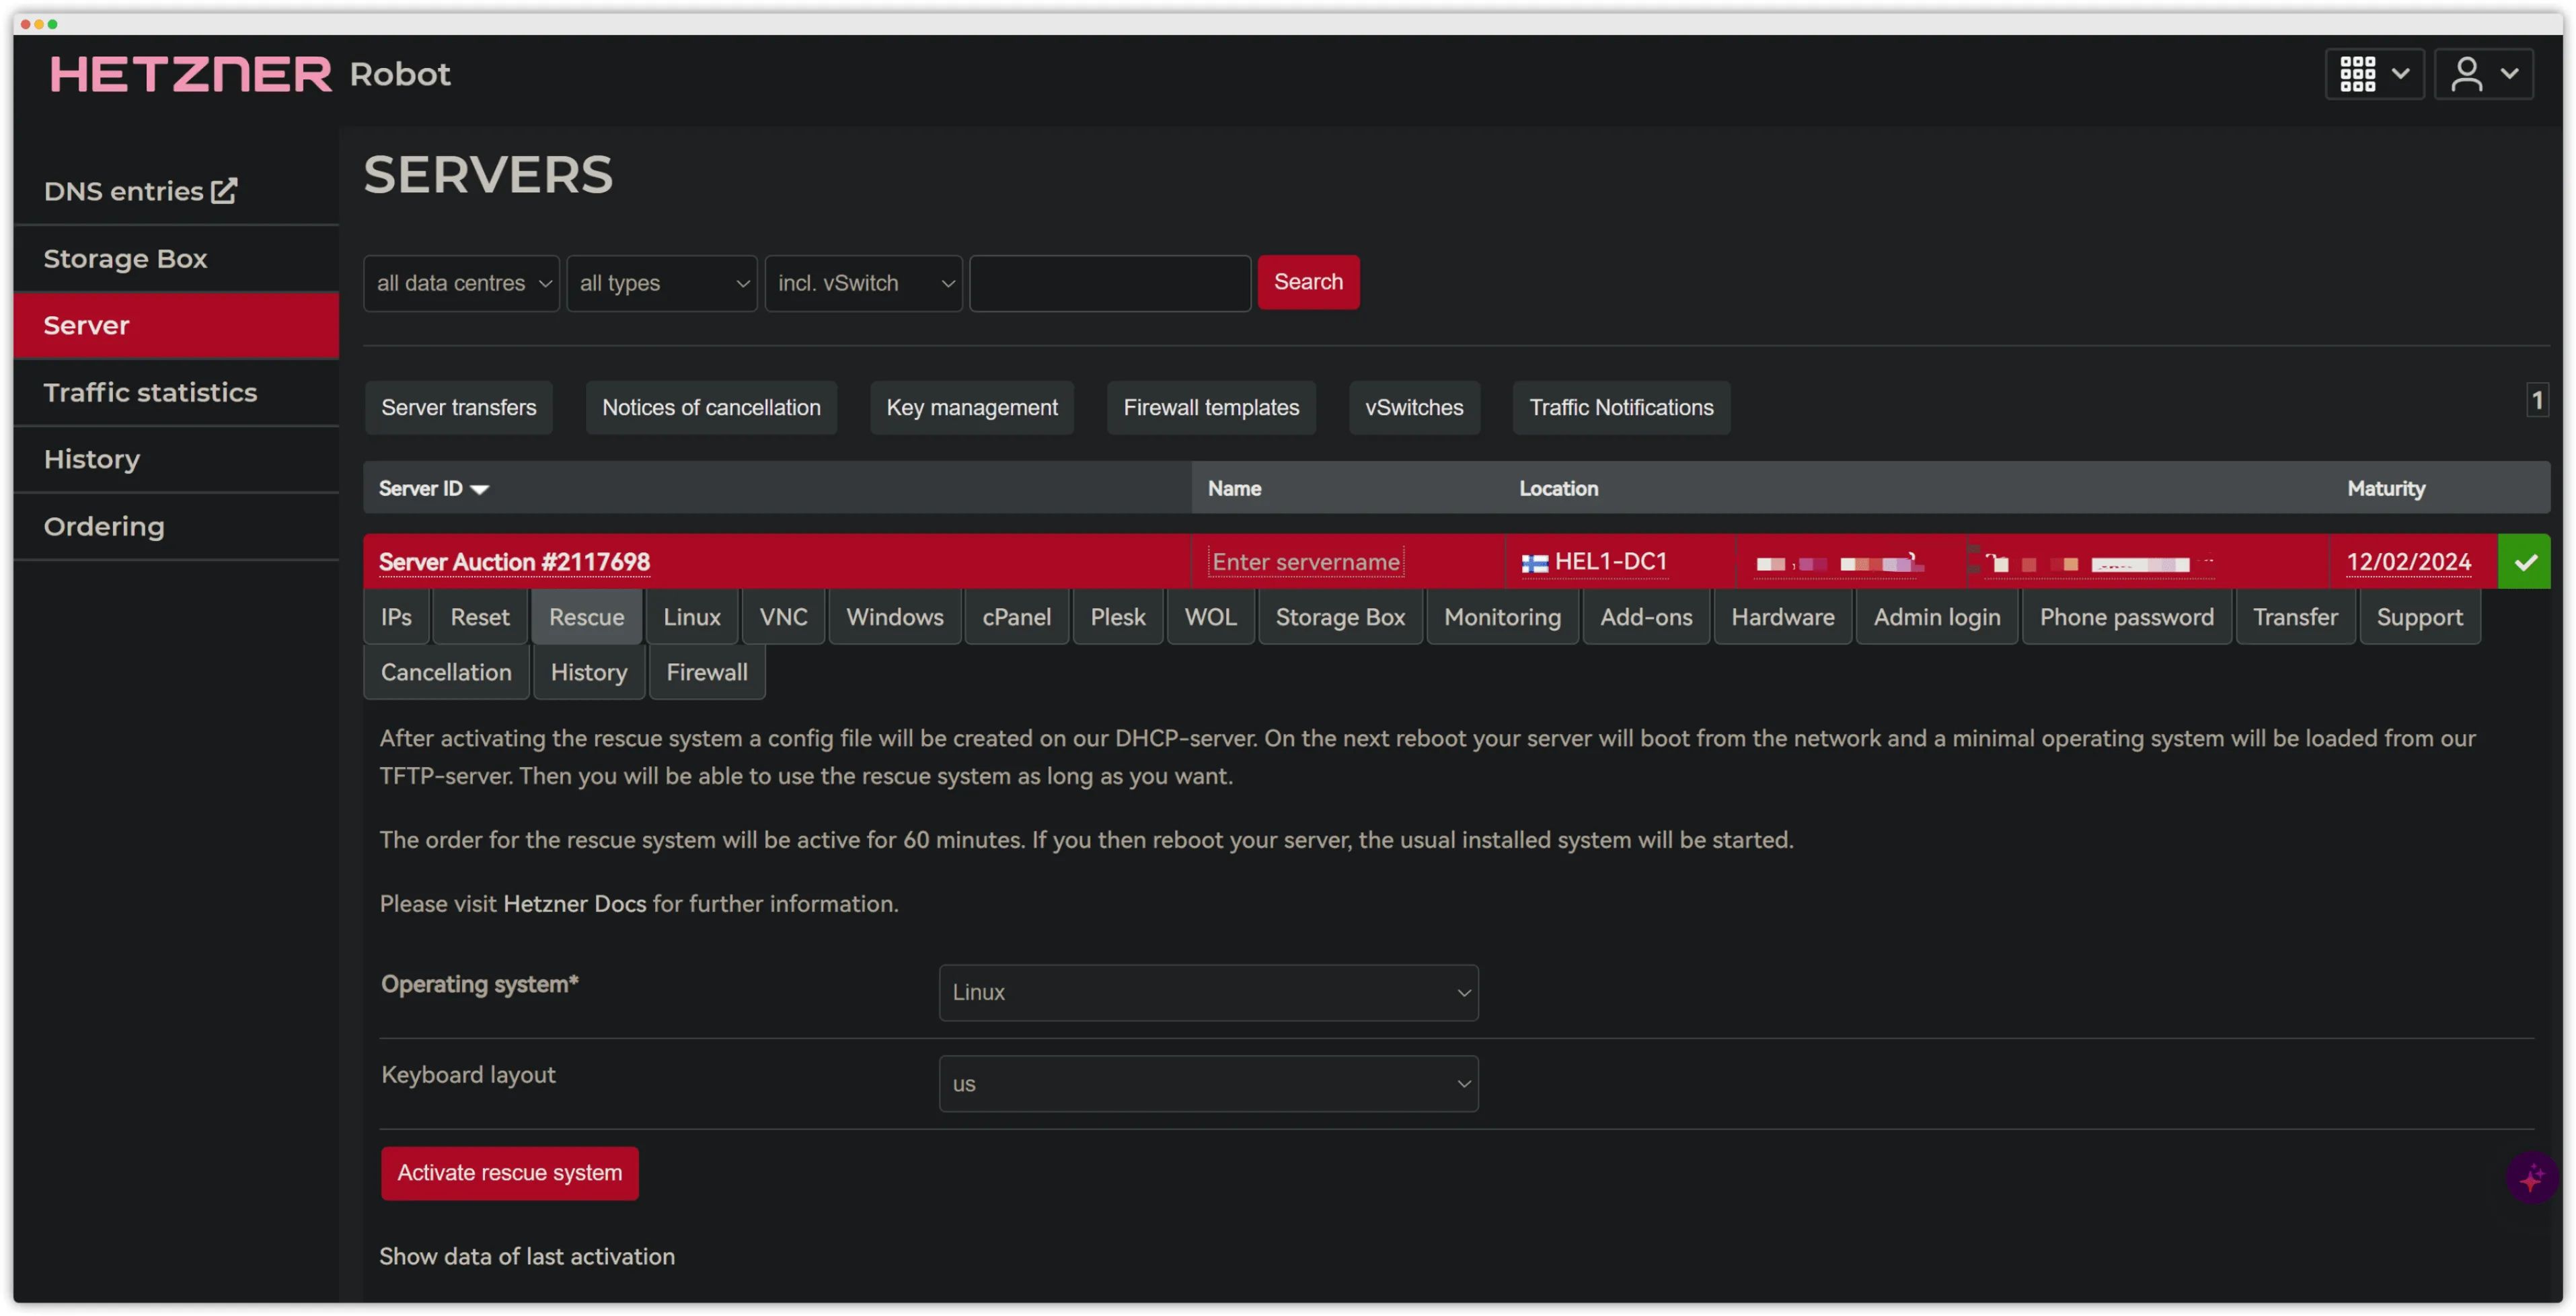
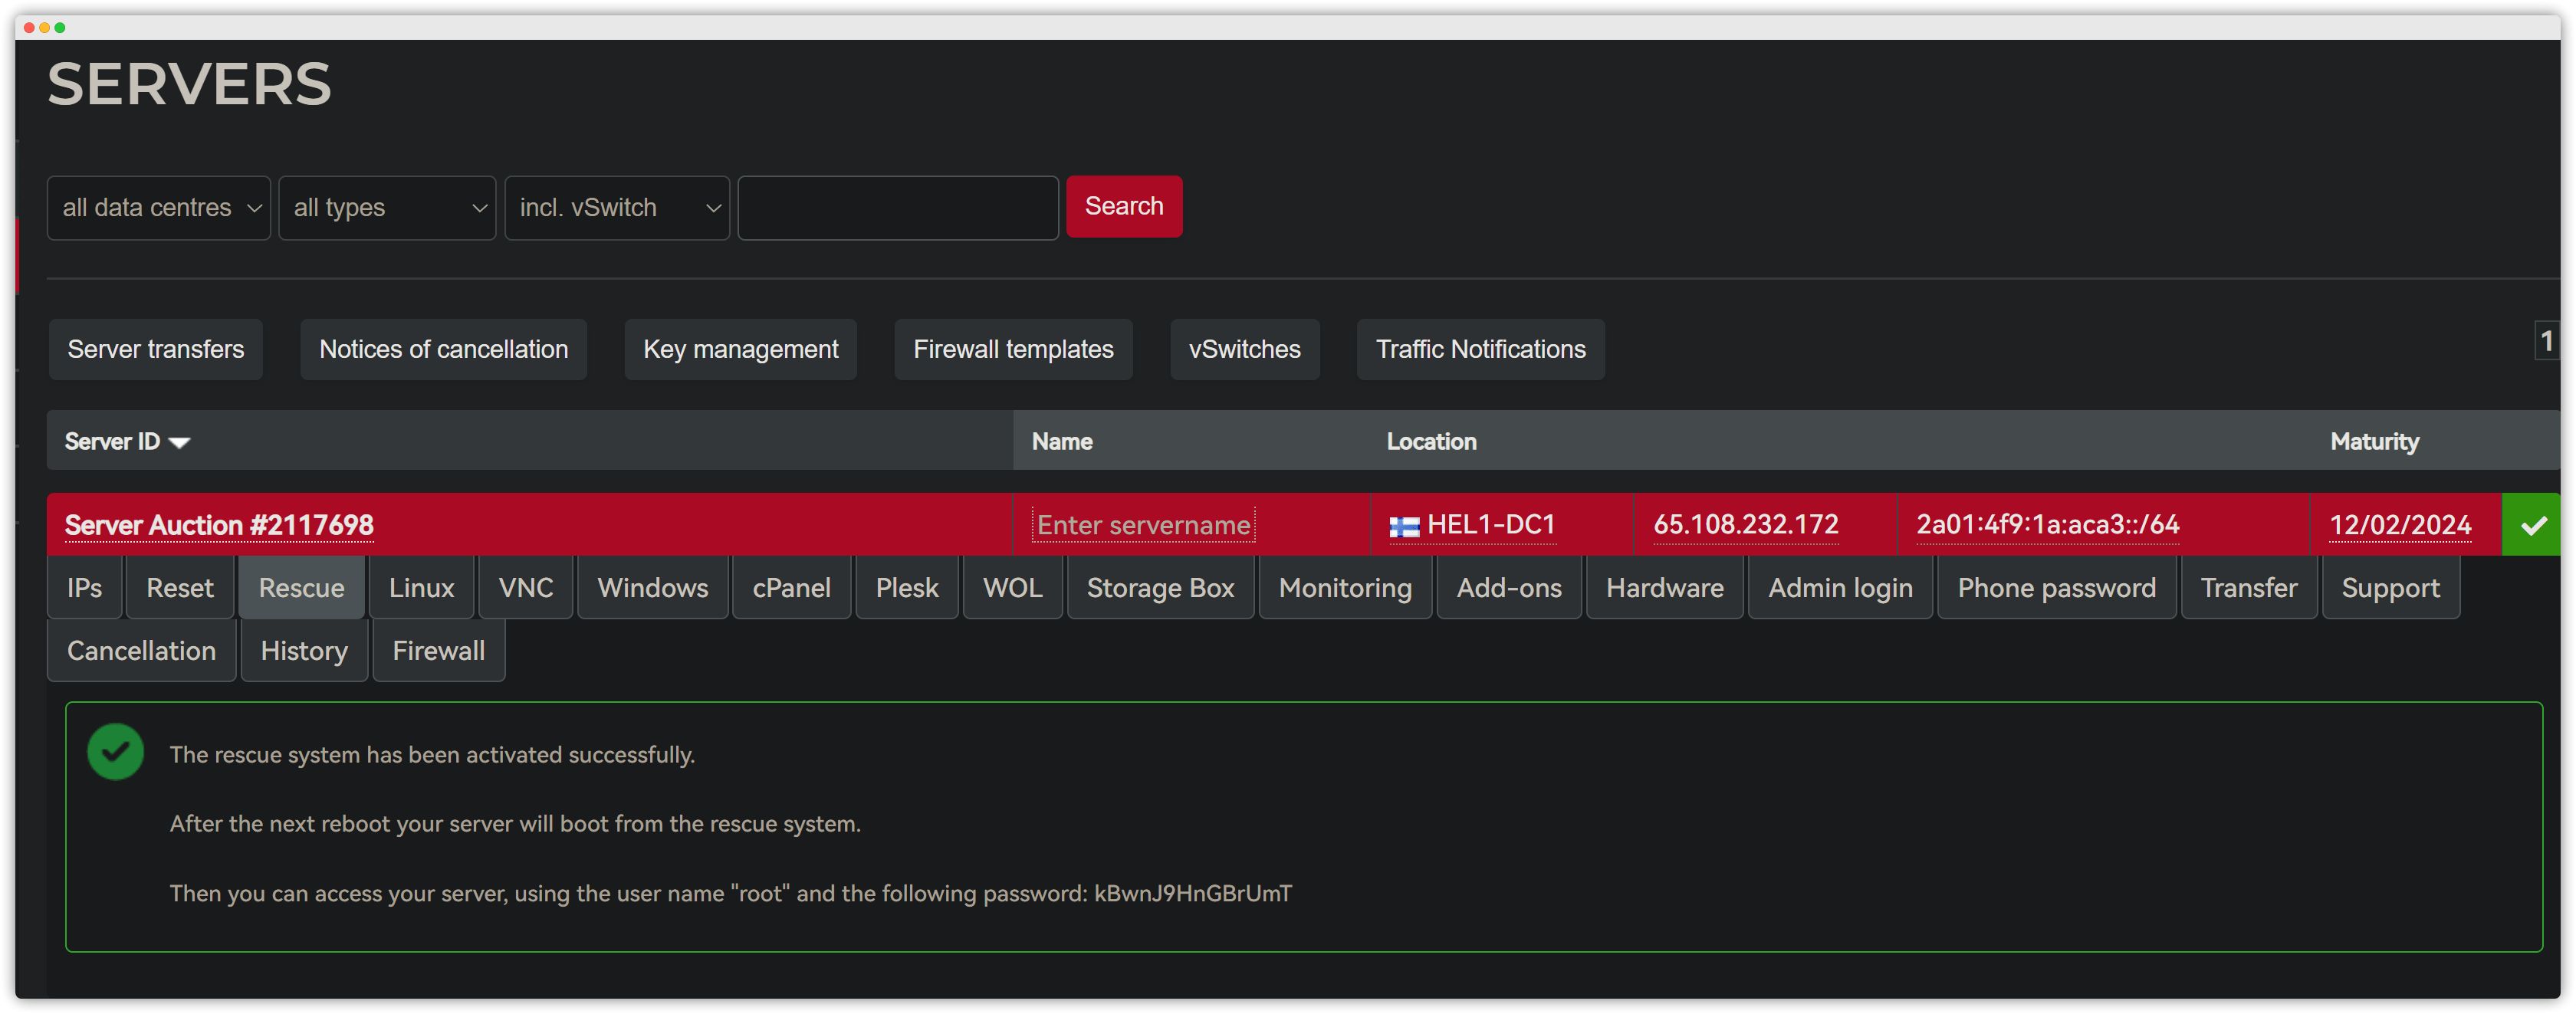
After clicking **Activate rescue system**, do NOT refresh the page right away! The random string that appears on the page will be the password for SSH access to the server! Make sure you write it down!
This is what it looks like:
What if I already refreshed the page?
…Just activate Rescue mode again.
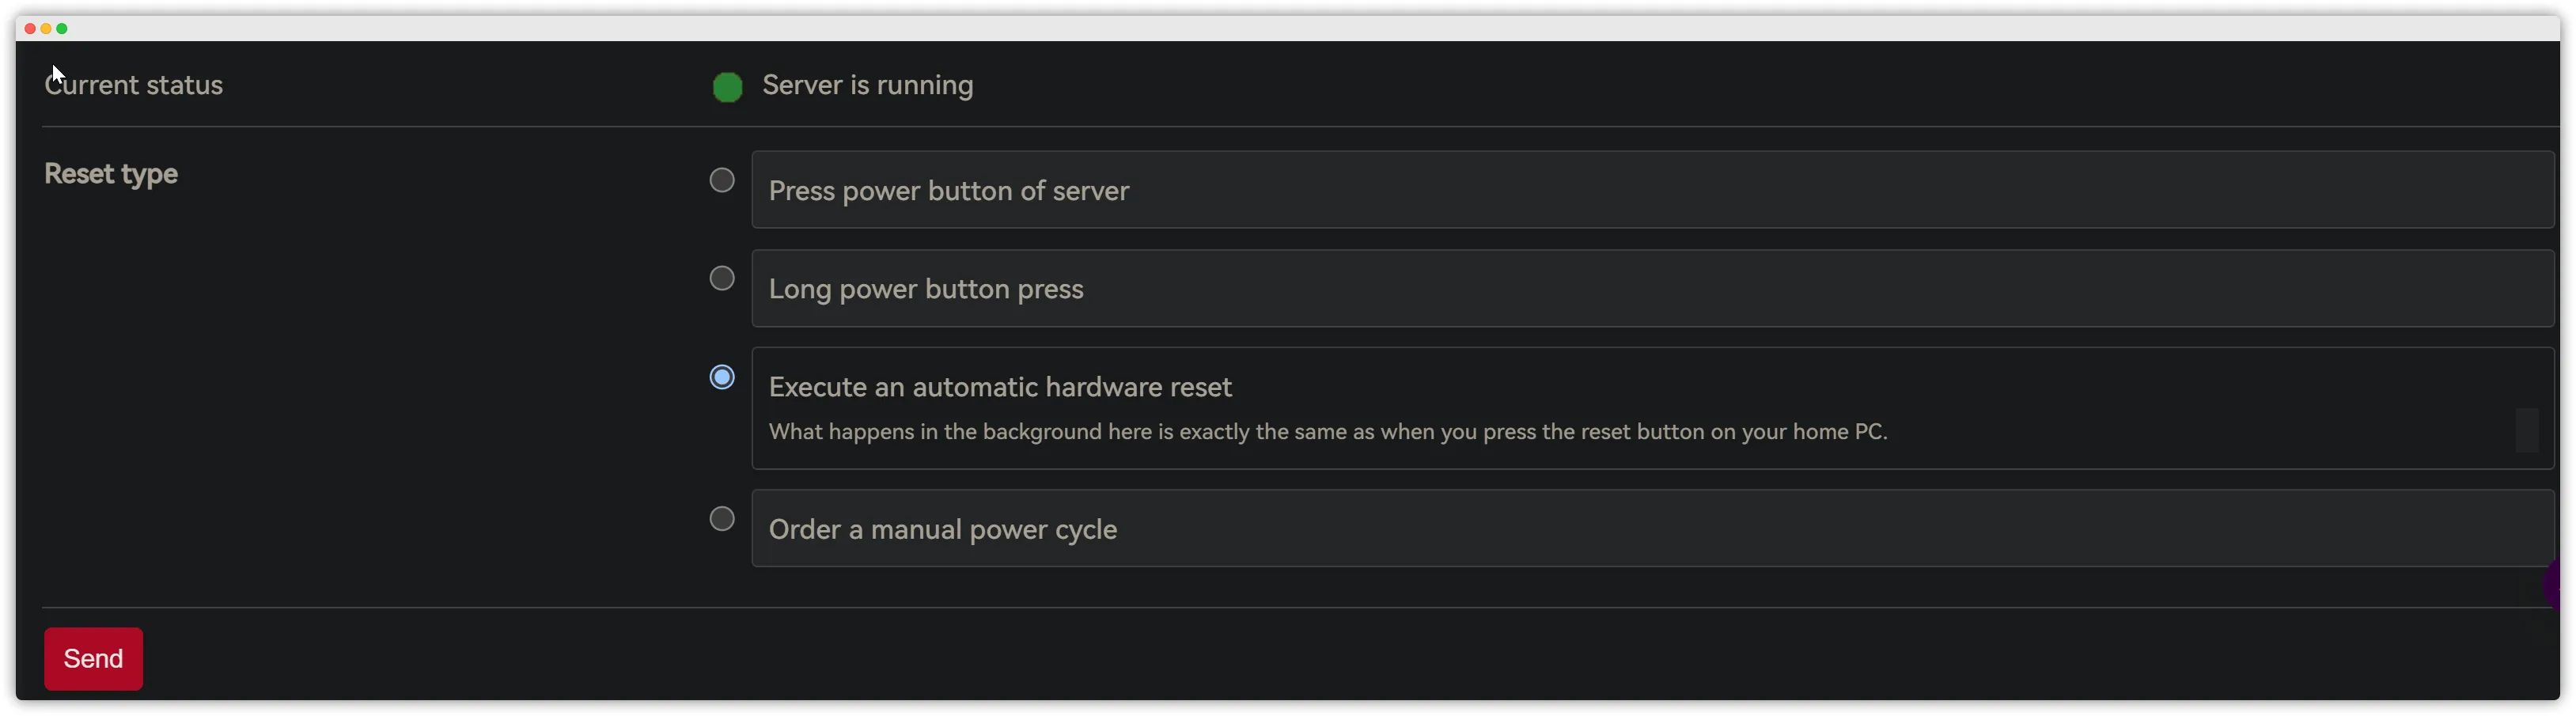
Reboot the server
Follow the steps shown in the screenshot.
Installing on a Server Without a Hardware RAID Card
After successfully connecting to the server via SSH, you’ll see some instructions, plus information about your current CPU, drives, RAID card, network, and so on, like in the screenshot below:
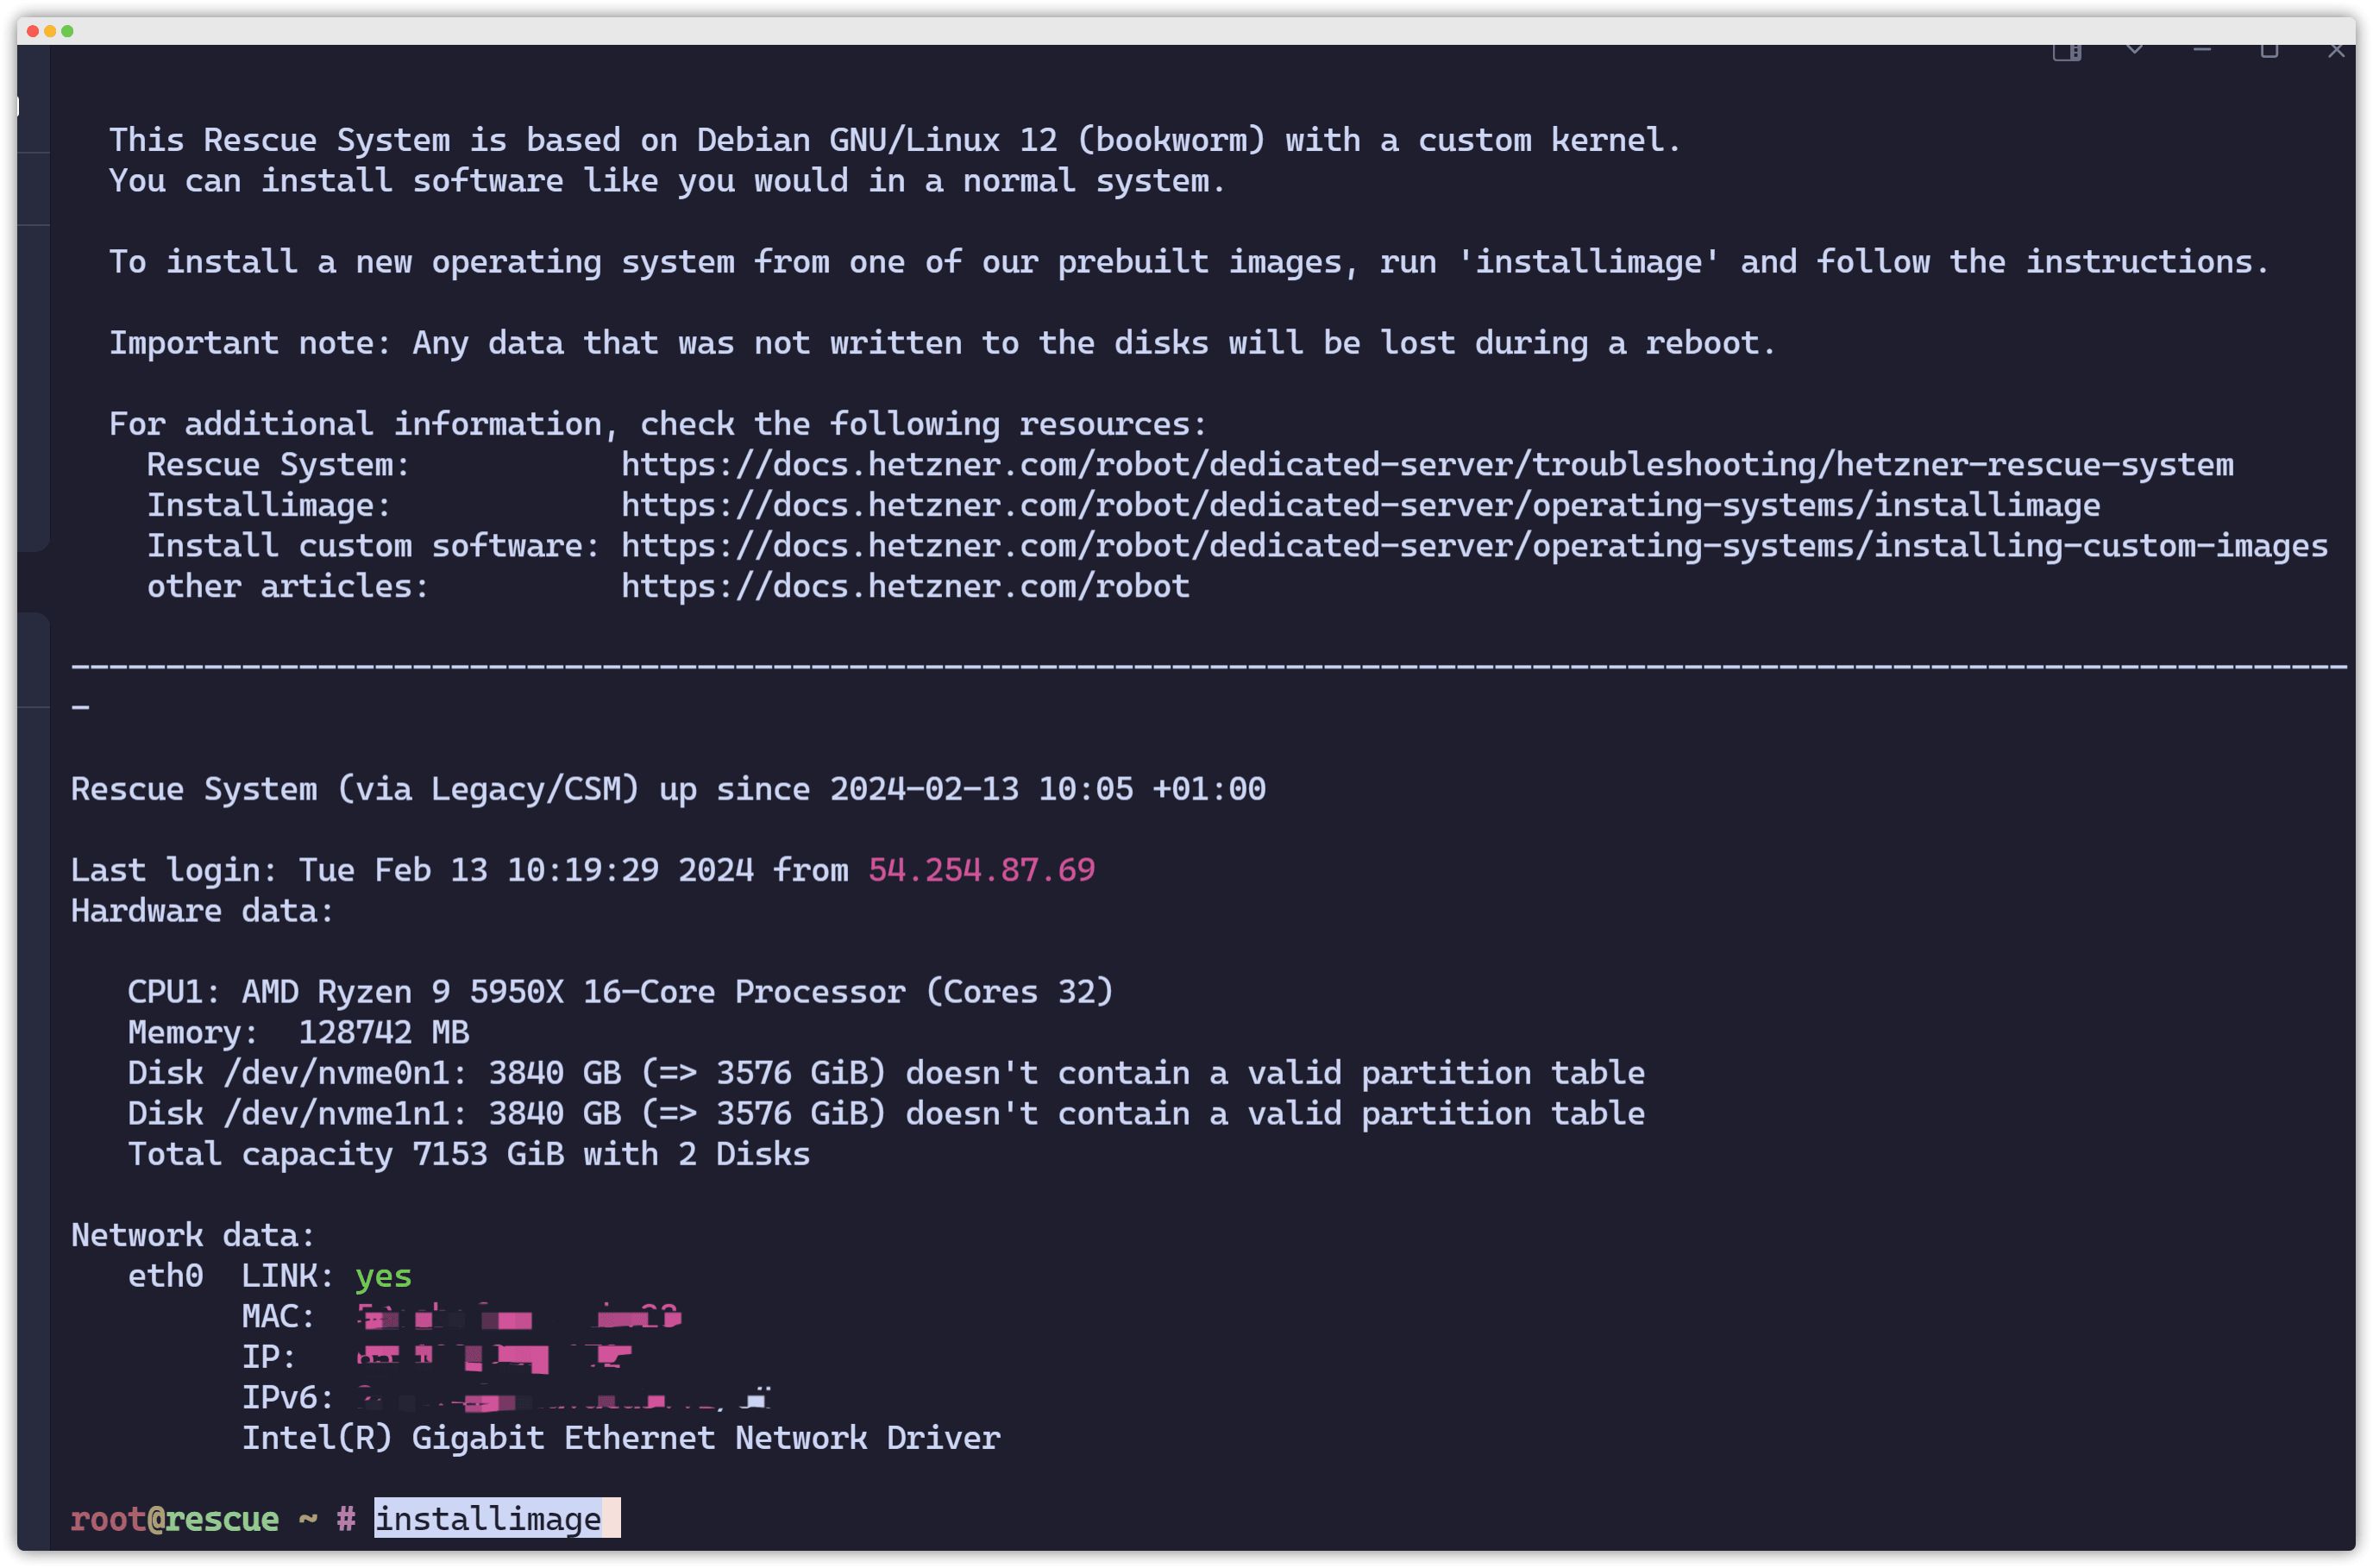
From here on we have to split into different cases. If your server comes with a hardware RAID controller… sorry, I have no idea.
Assuming your server does not have a hardware RAID card, simply type installimage and hit Enter.
If you’re feeling lazy, just run installimage -p /boot:ext3:1G,/:ext4:all -l 0 -r yes -t yes, then press Enter, select the system you want, skip editing the config file, and keep pressing Enter all the way through. Below is the manual method.
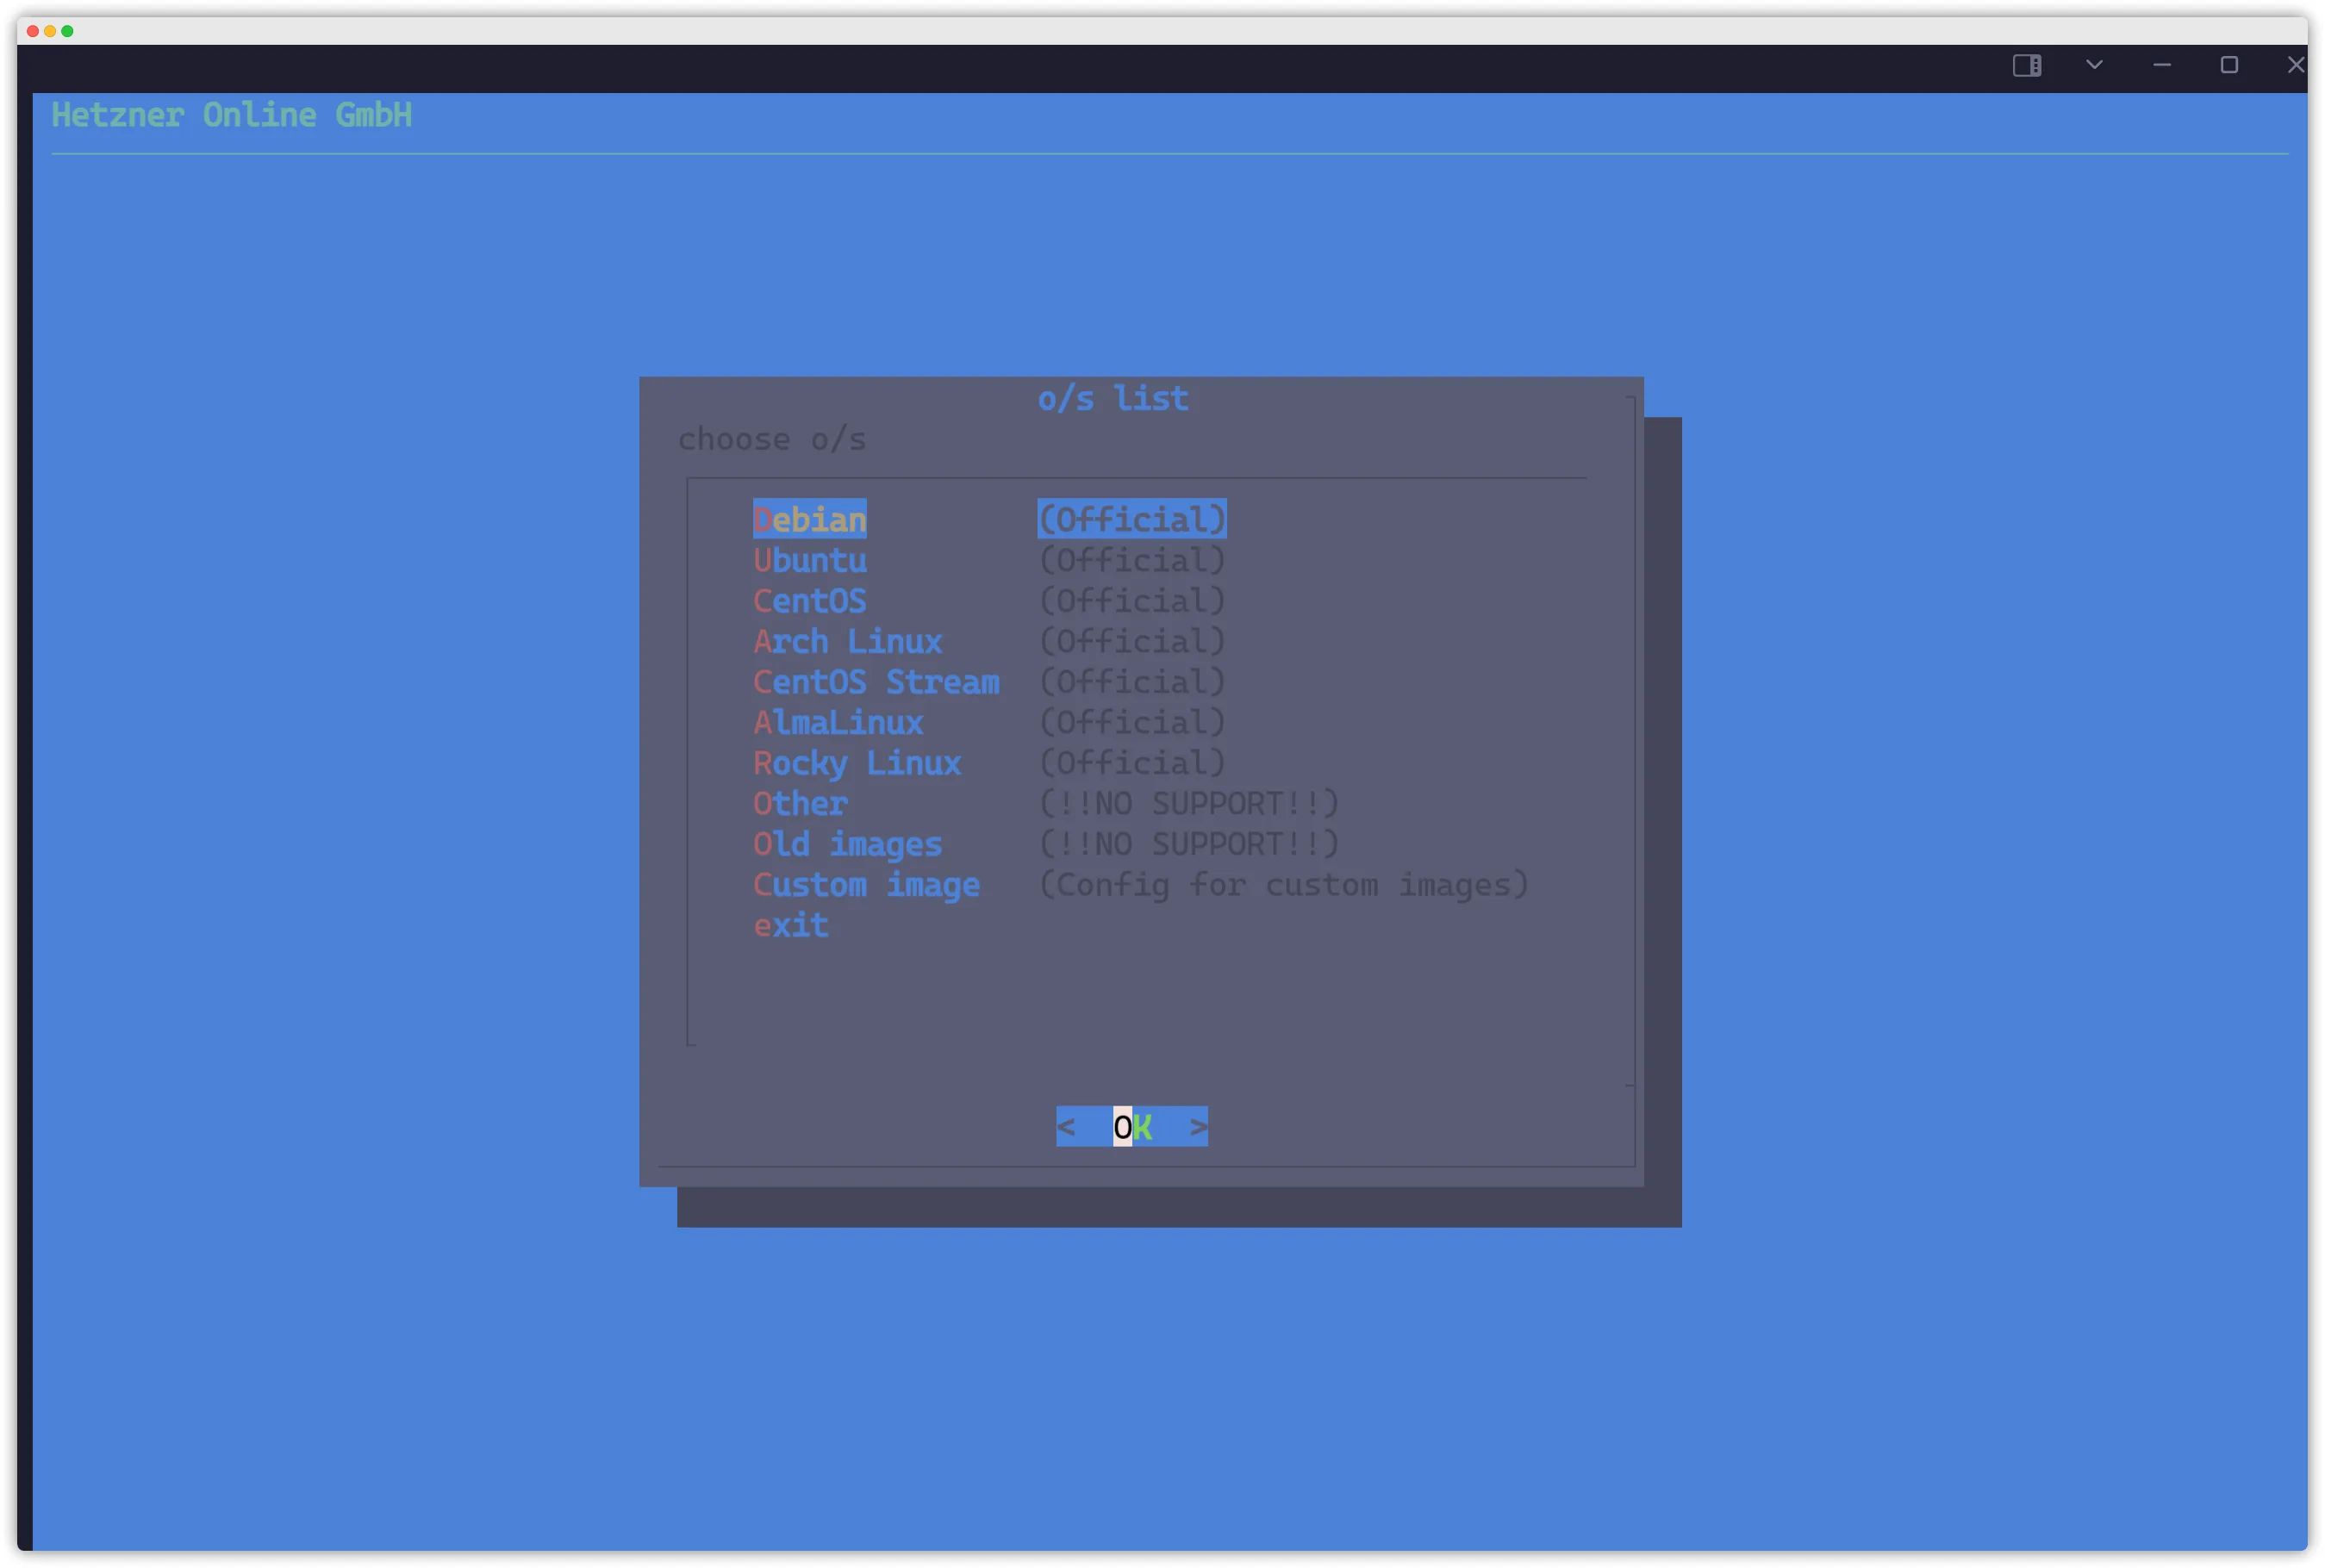
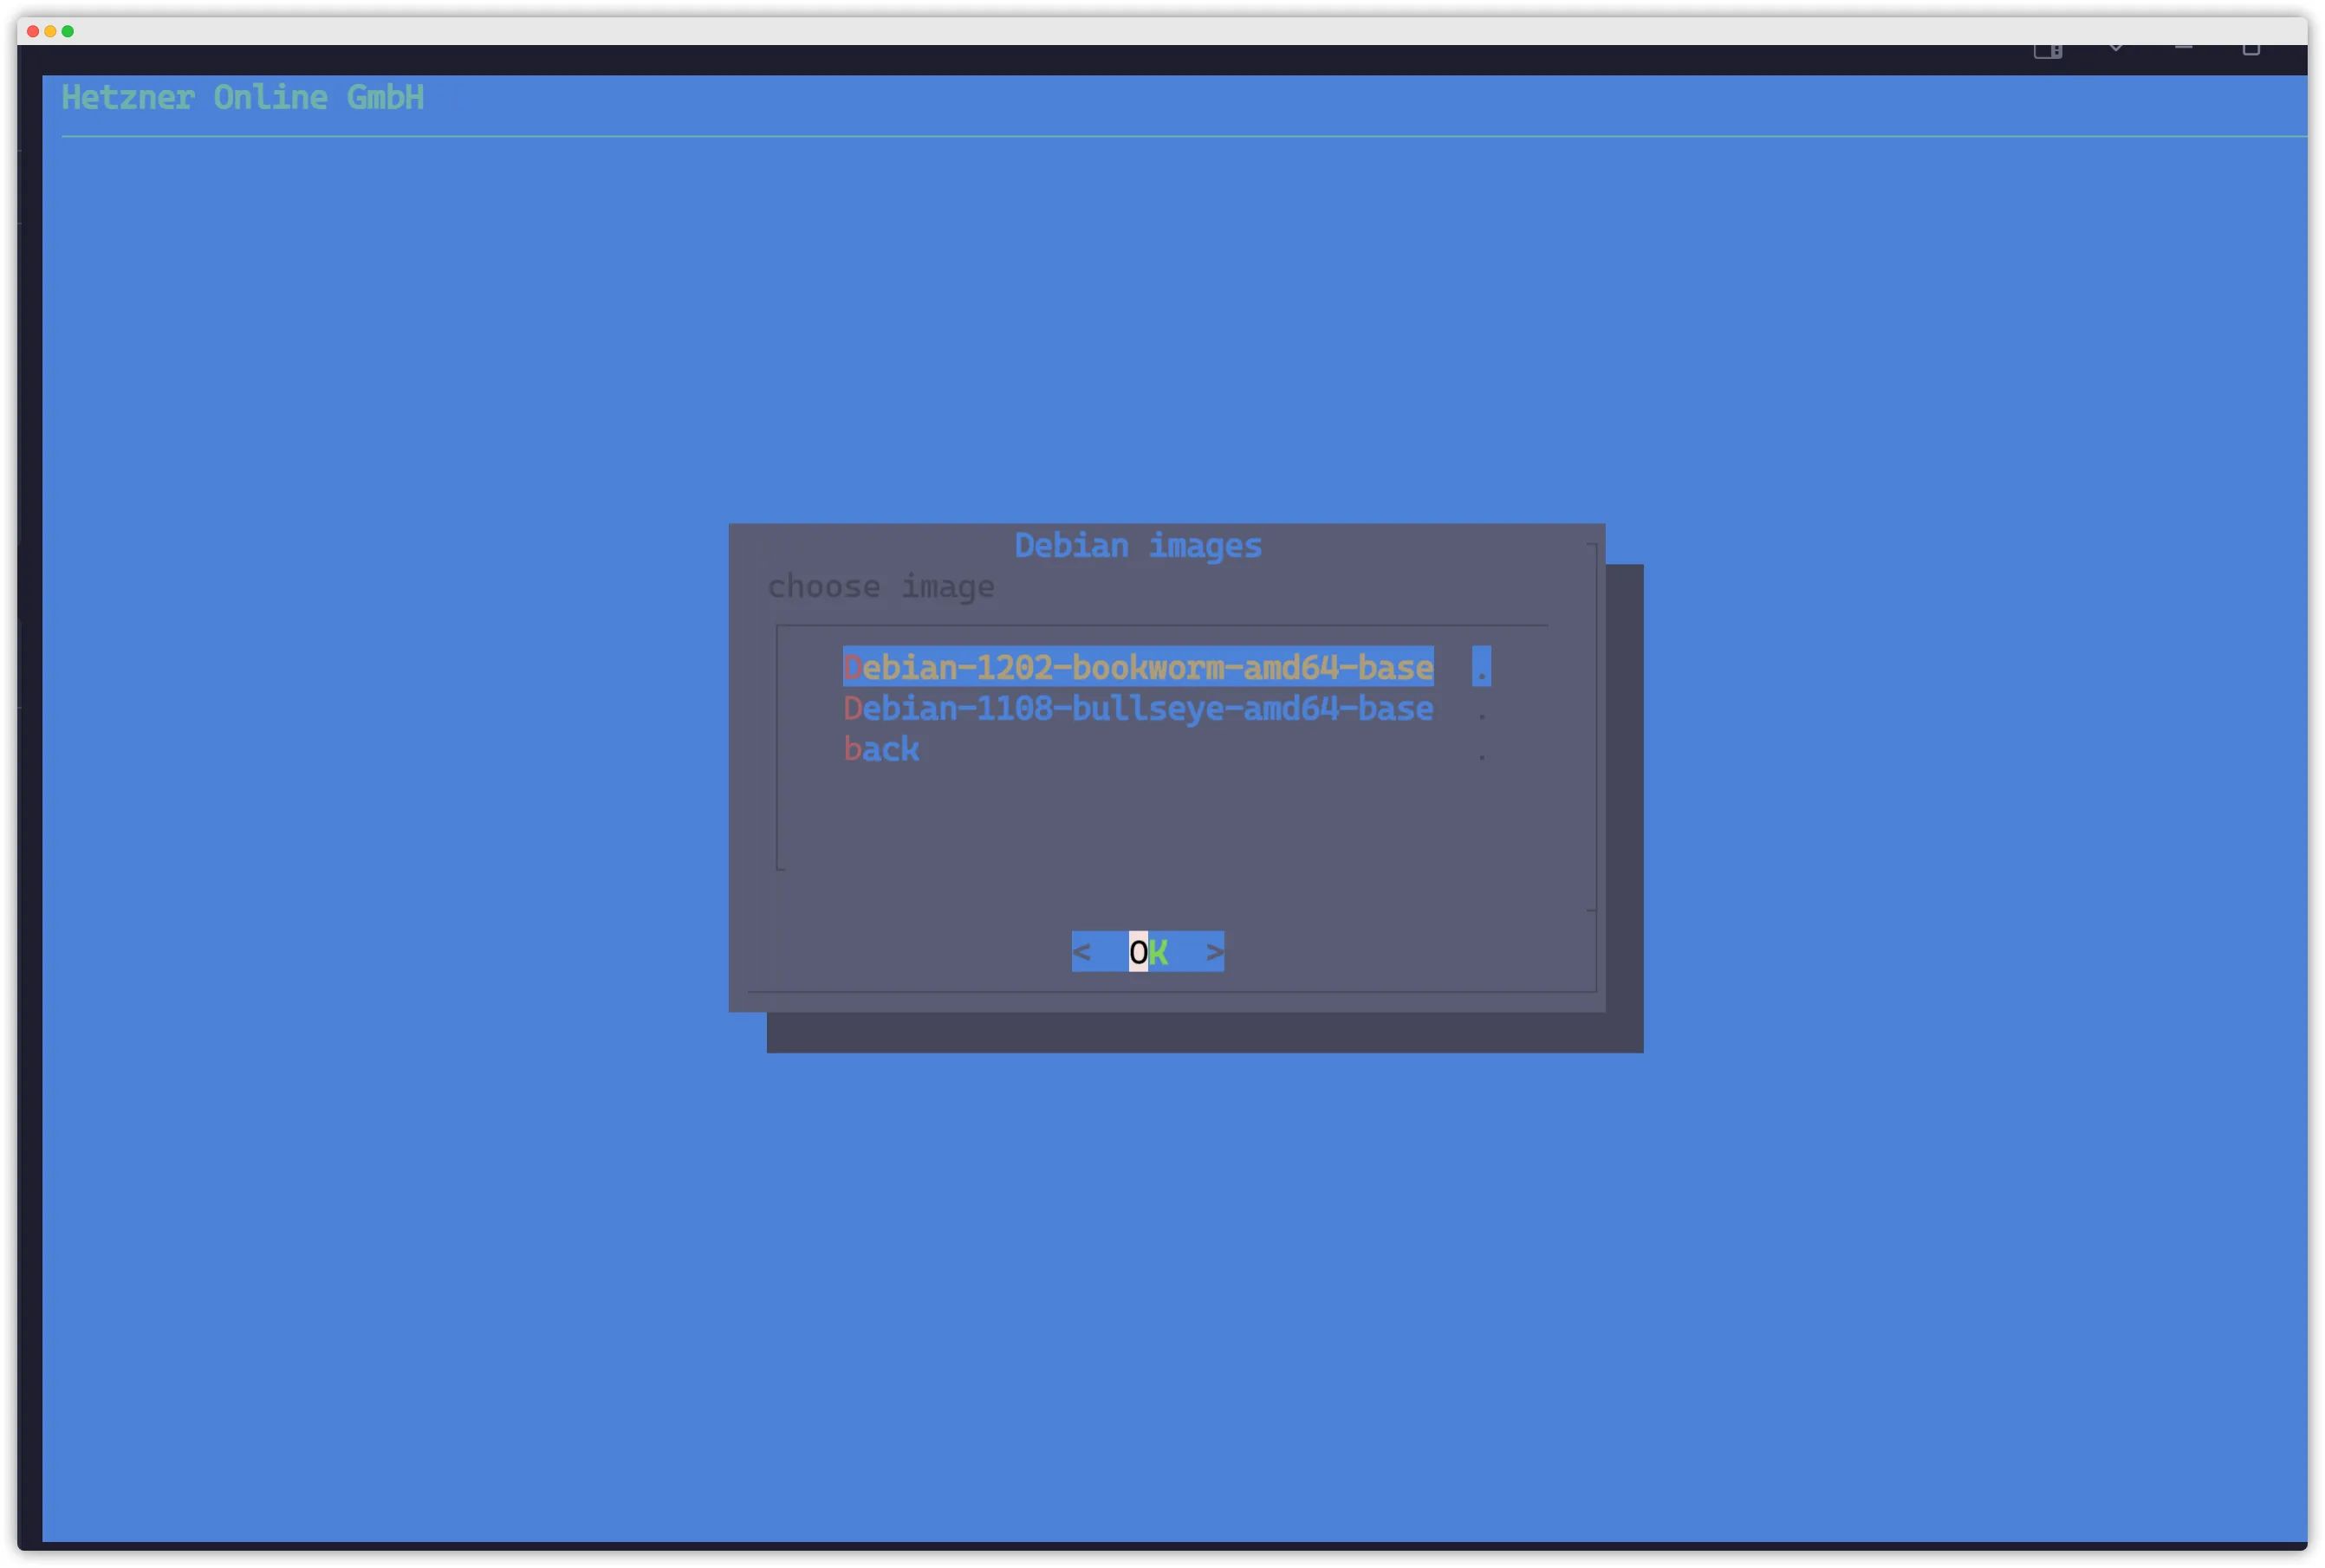
You’ll then enter Hetzner’s official install script. Use the arrow keys to select the OS you want to install.
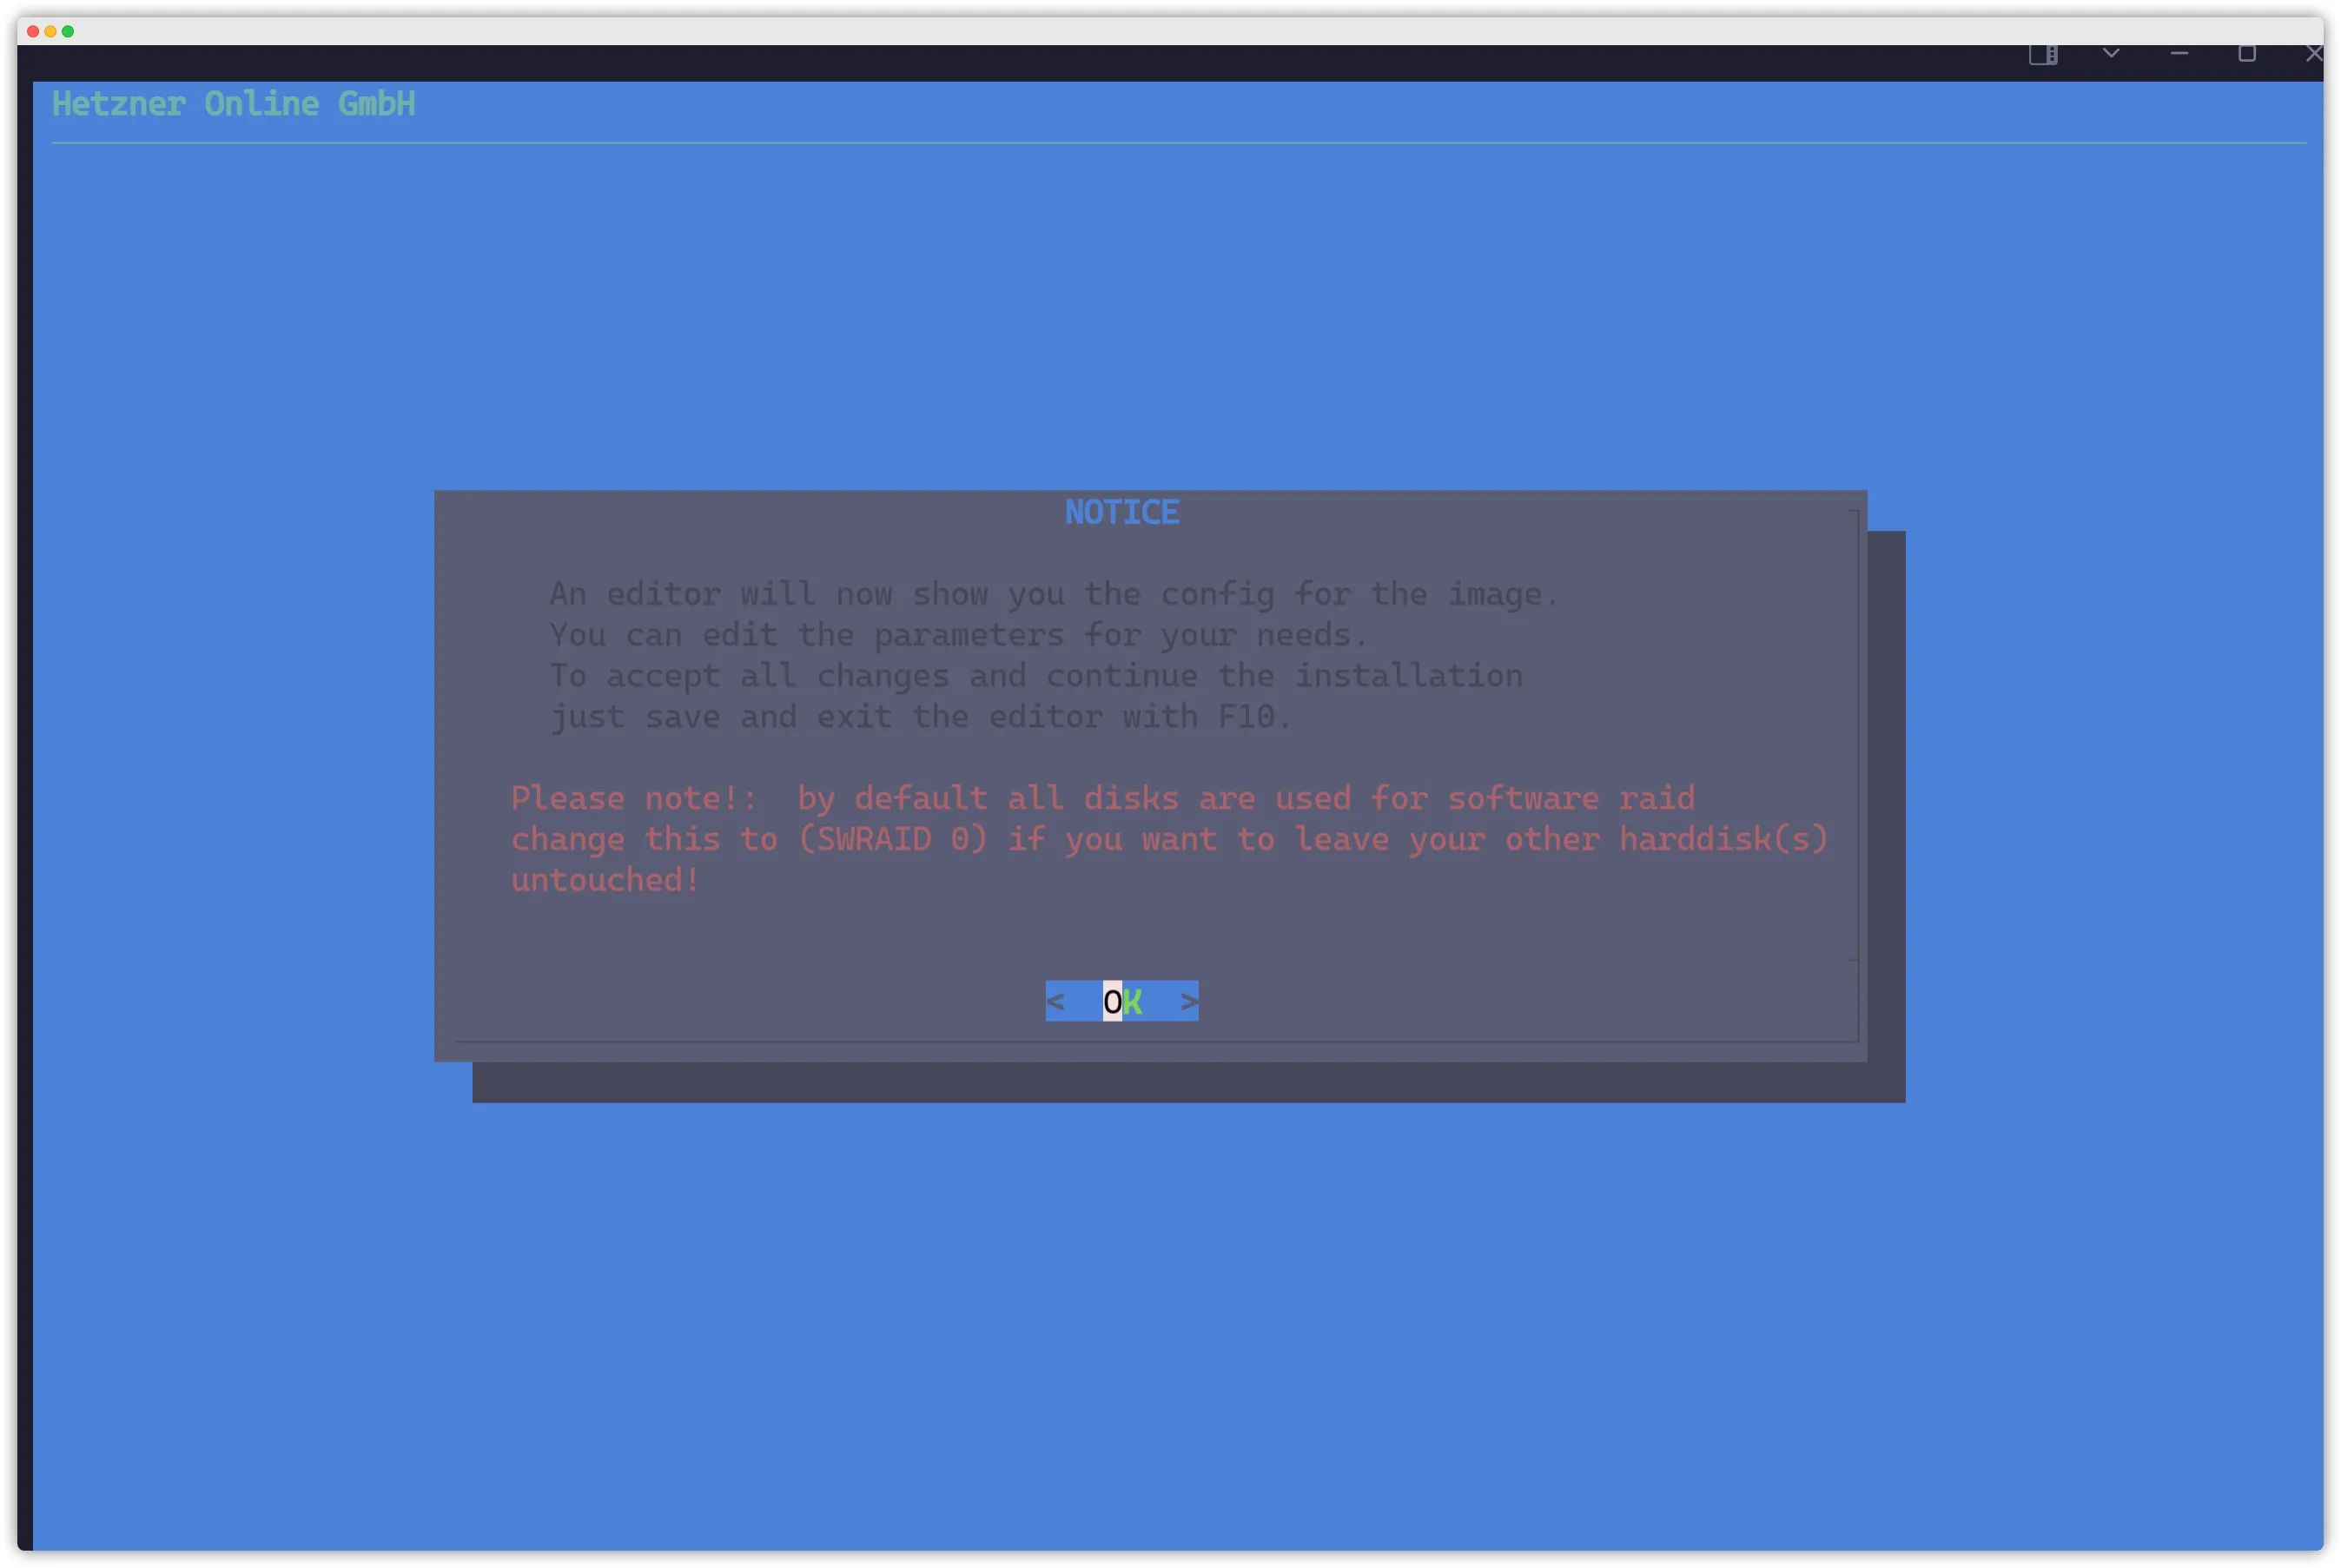
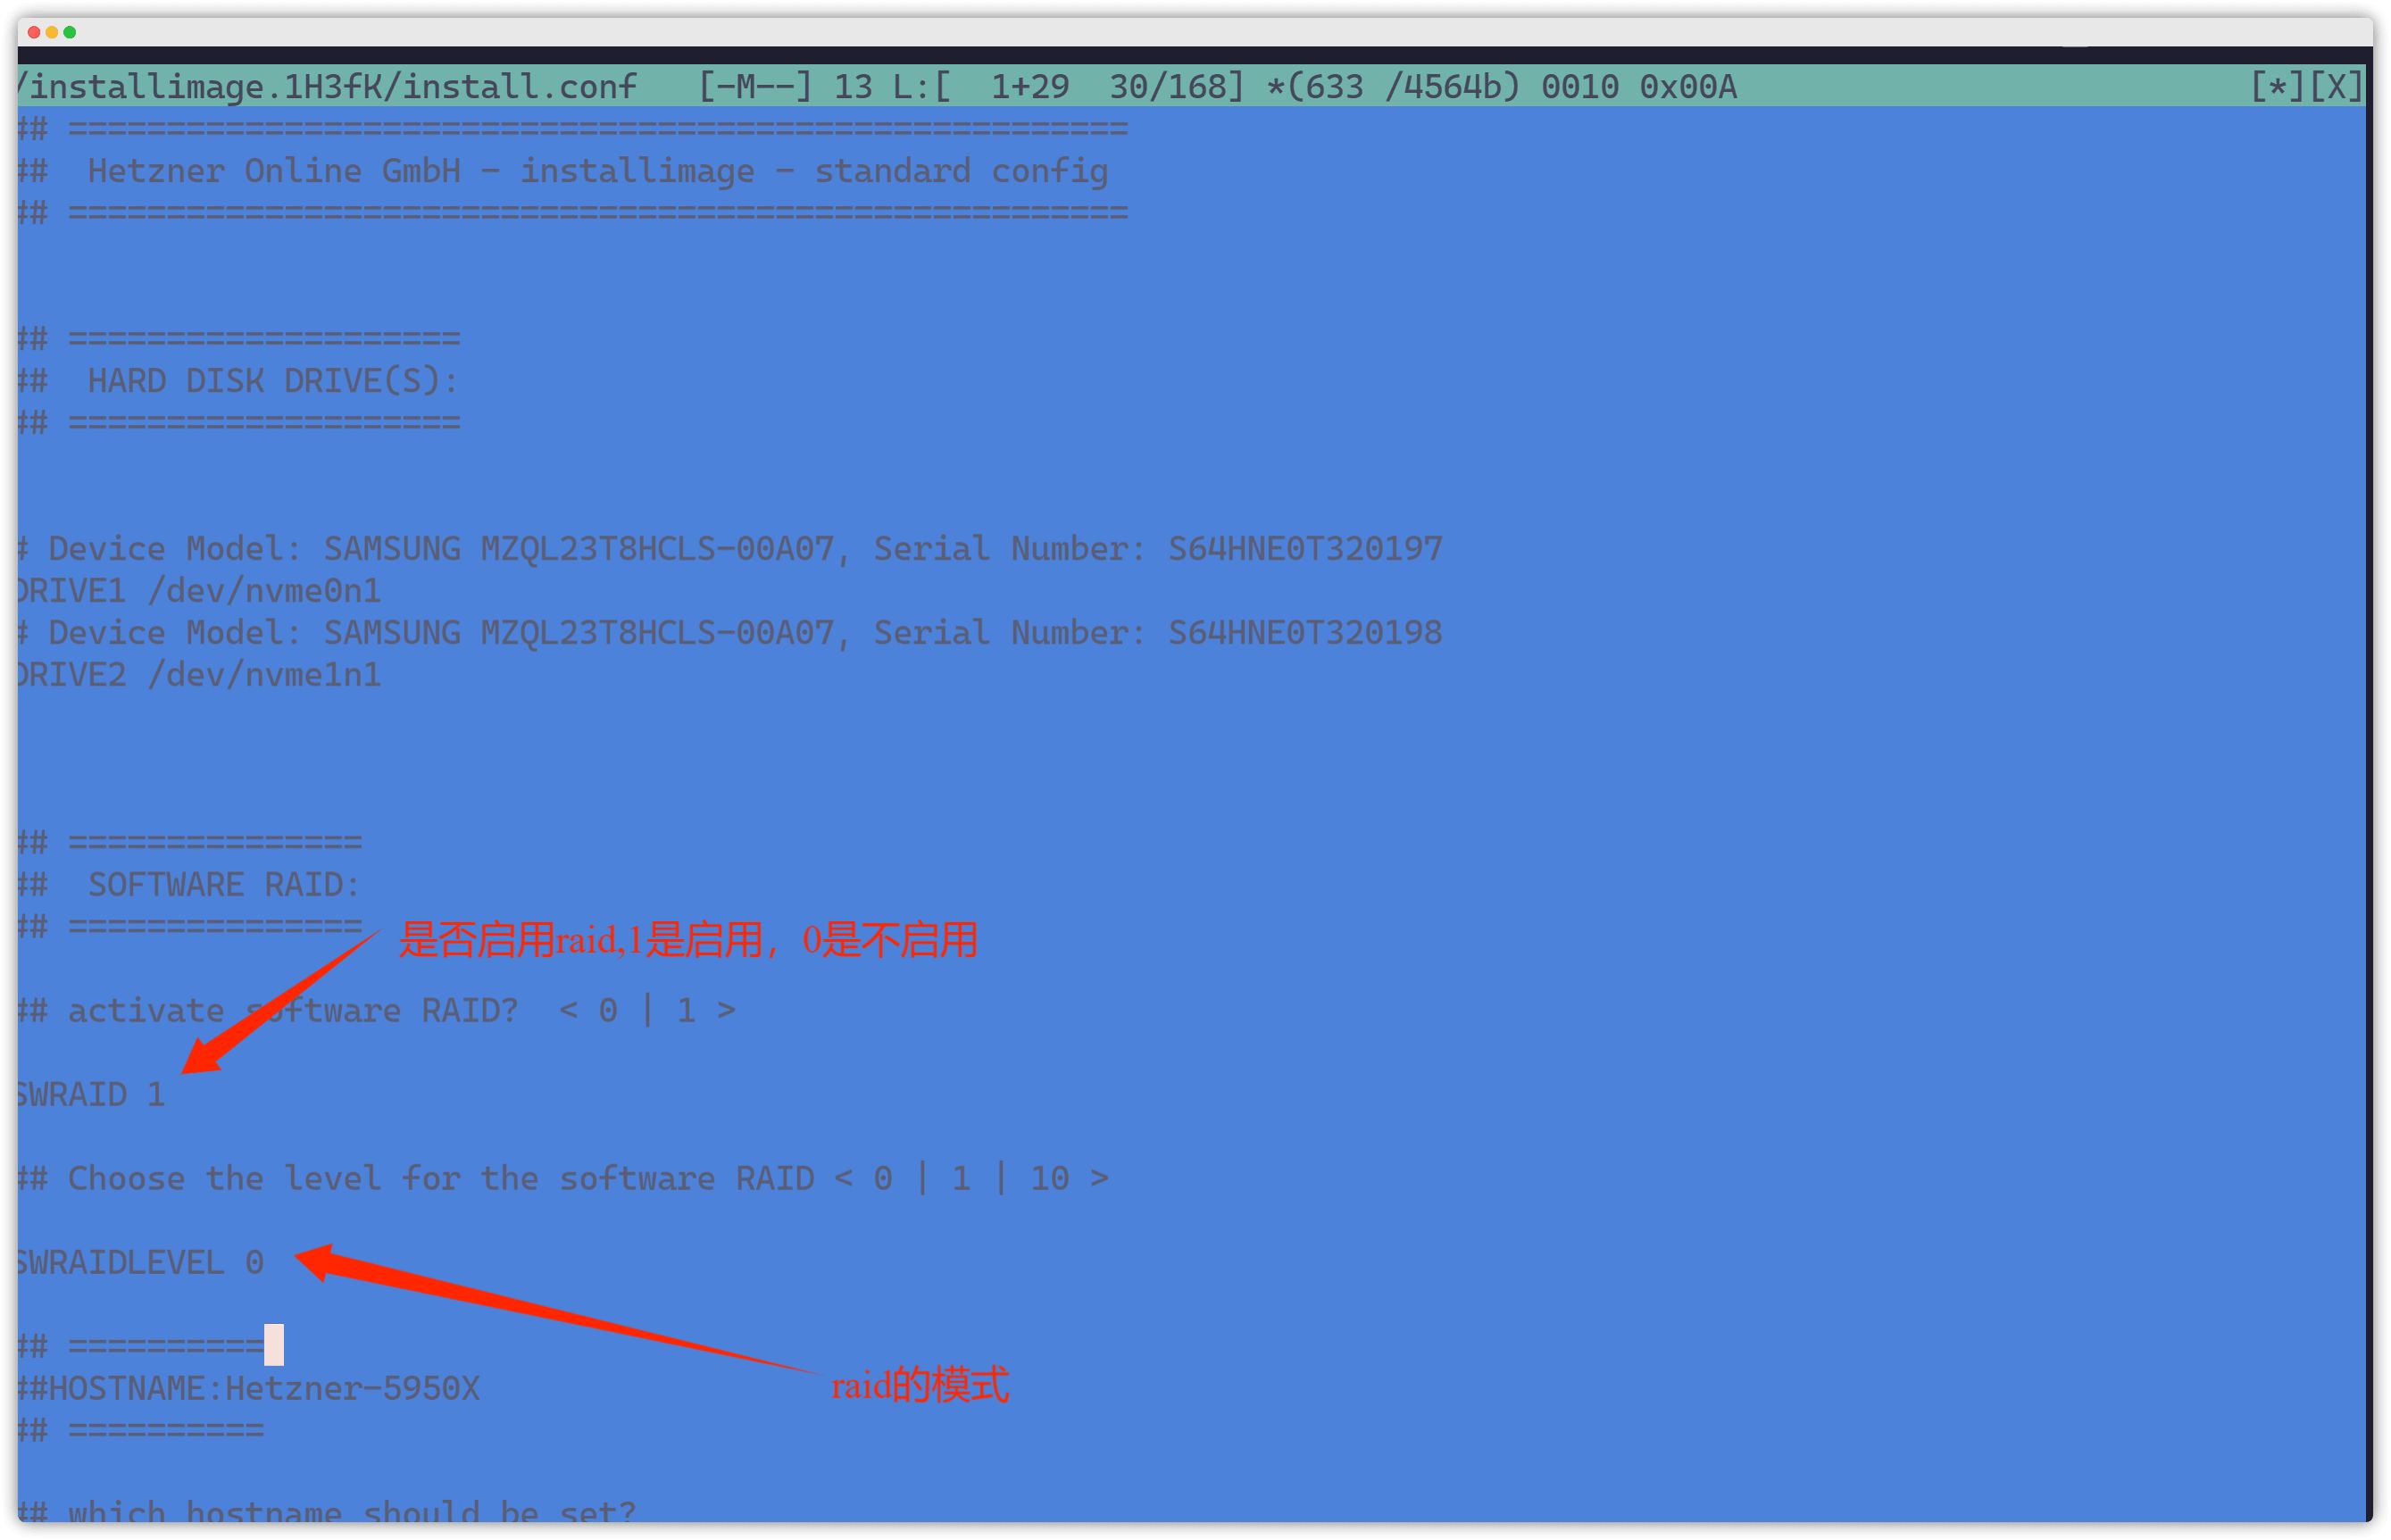
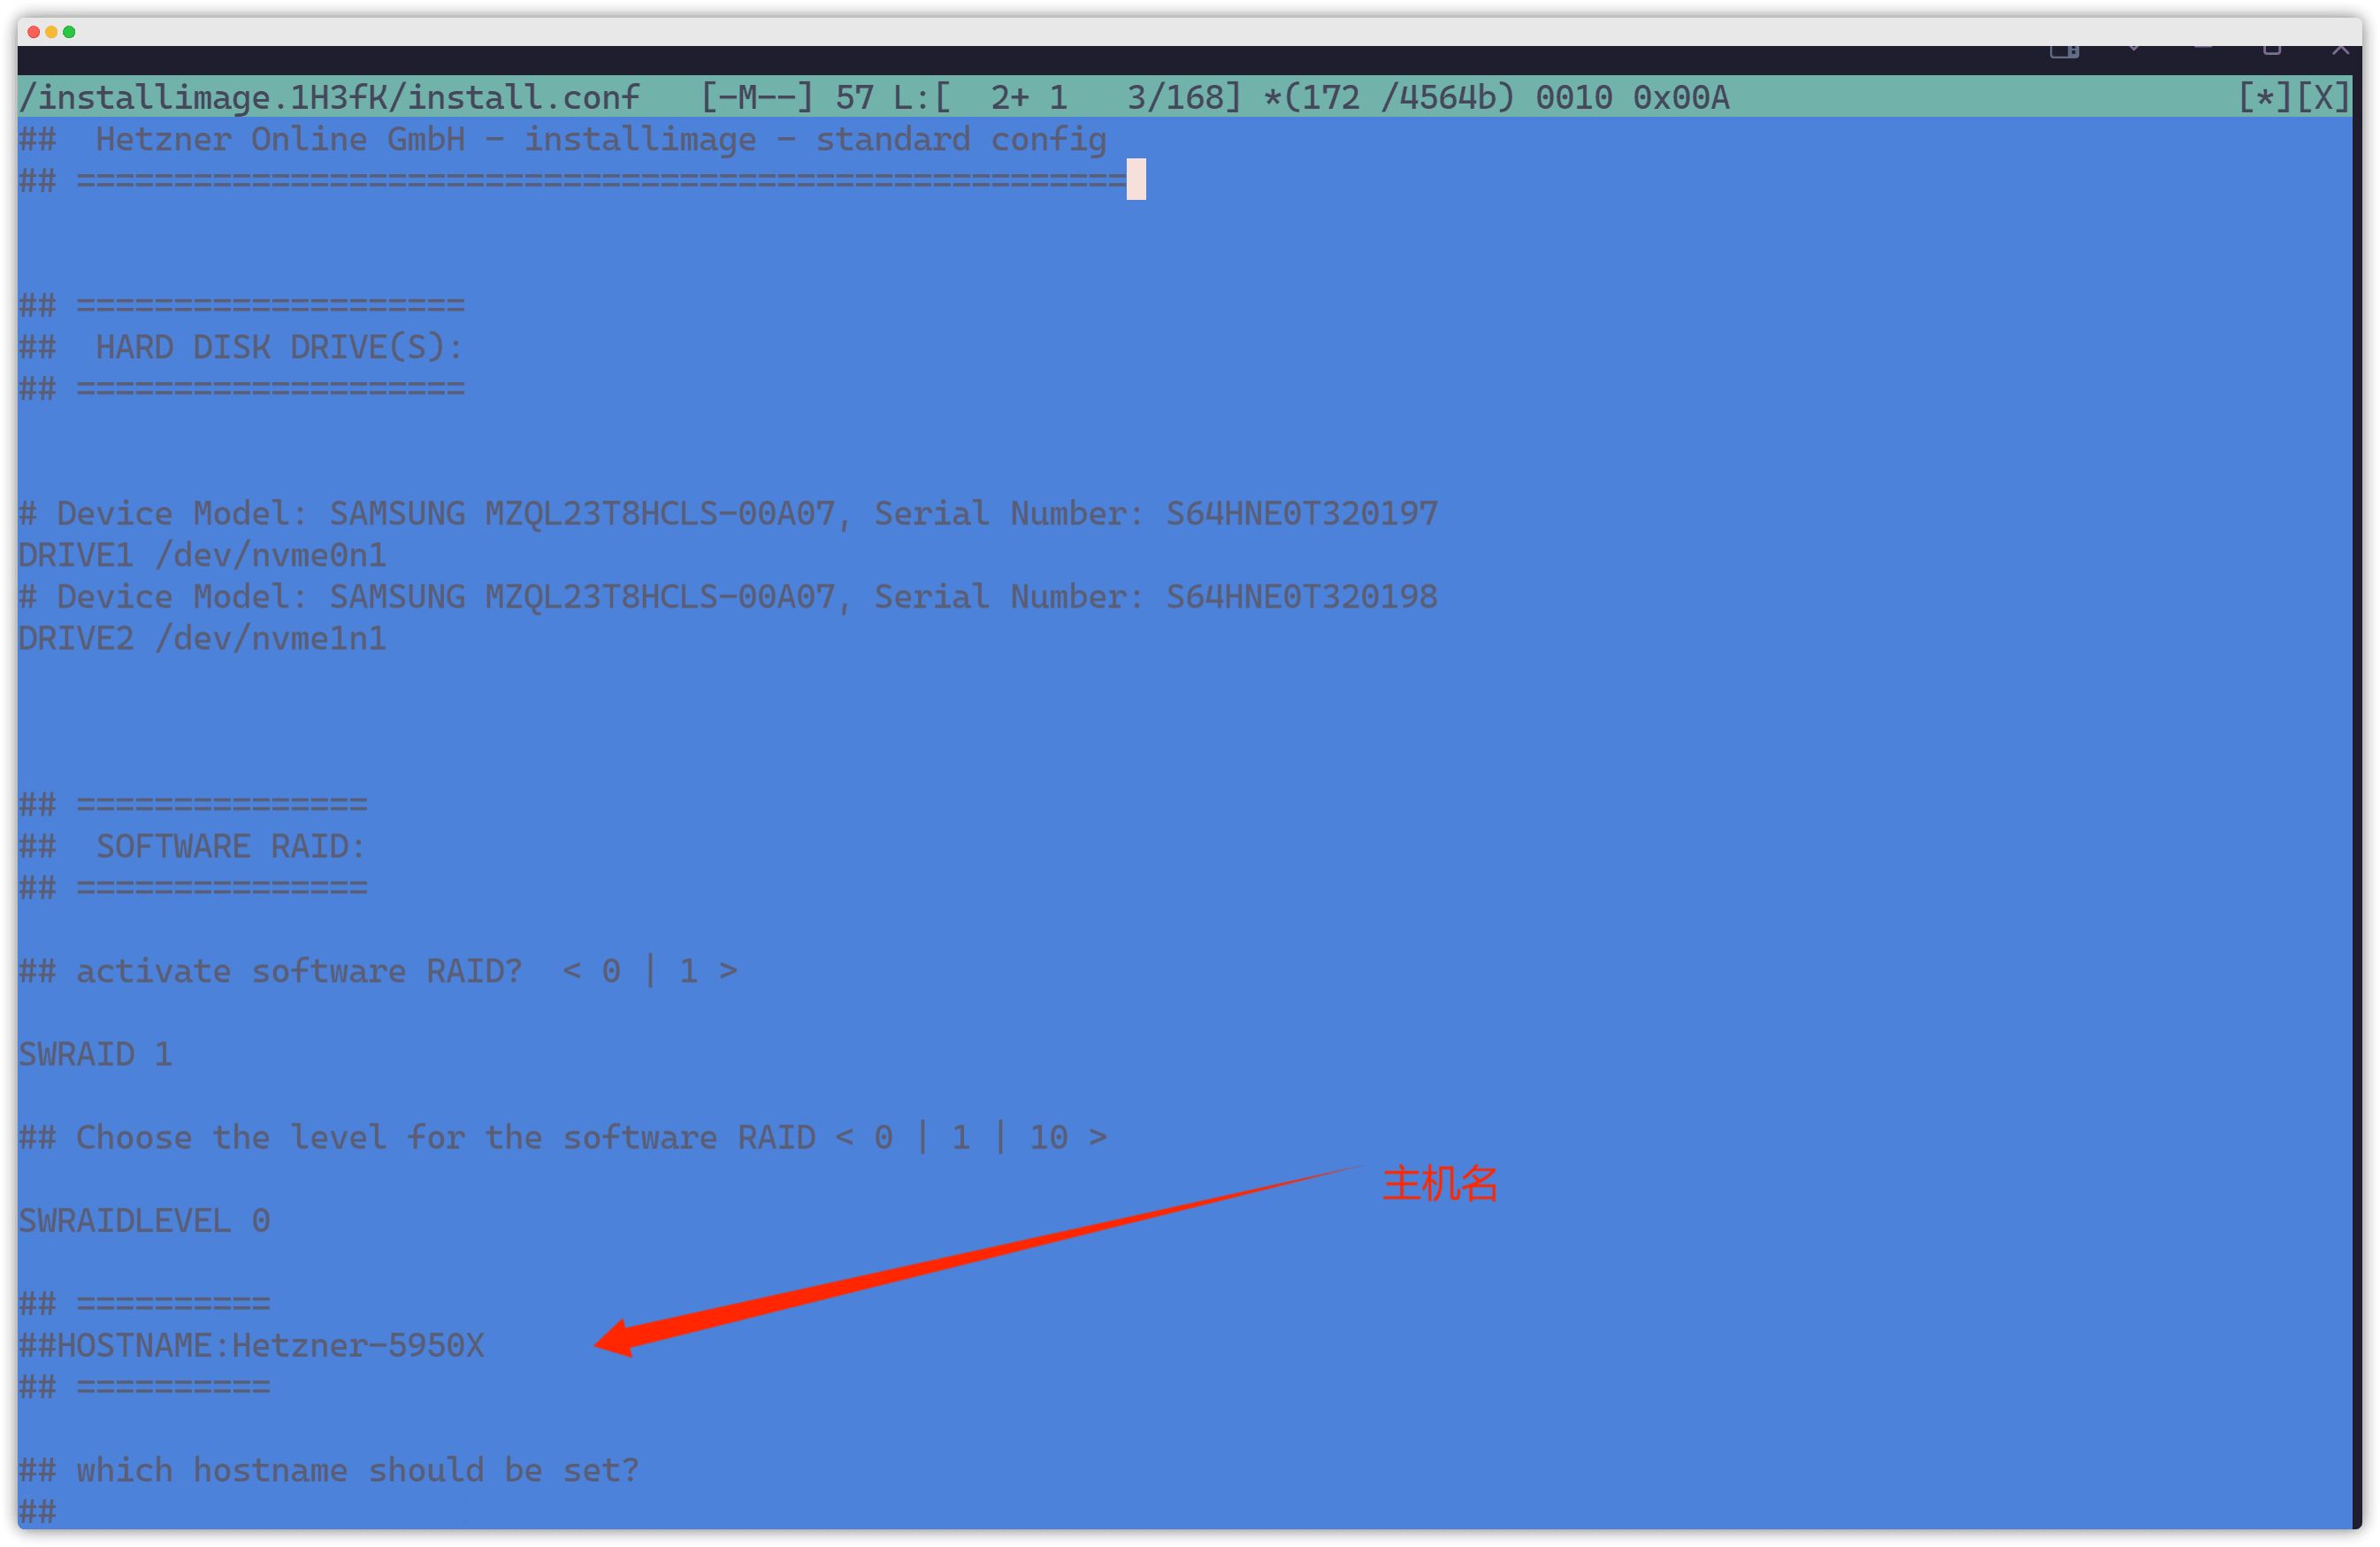
Next we’ll edit the config file. The key point here is to disable RAID 1.
RAID options overview:
NO RAID: In most cases it’s recommended to not configure RAID. This way you keep full capacity while still maintaining reasonable reliability.
RAID 0: Pros: fast, combined capacity. Cons: if either disk dies, all data is lost.
RAID 1: Pros: writes data to both disks; if one fails you’re still fine. Cons: wastes capacity and slightly reduces read/write performance.
After editing, press F10 to save the config file.
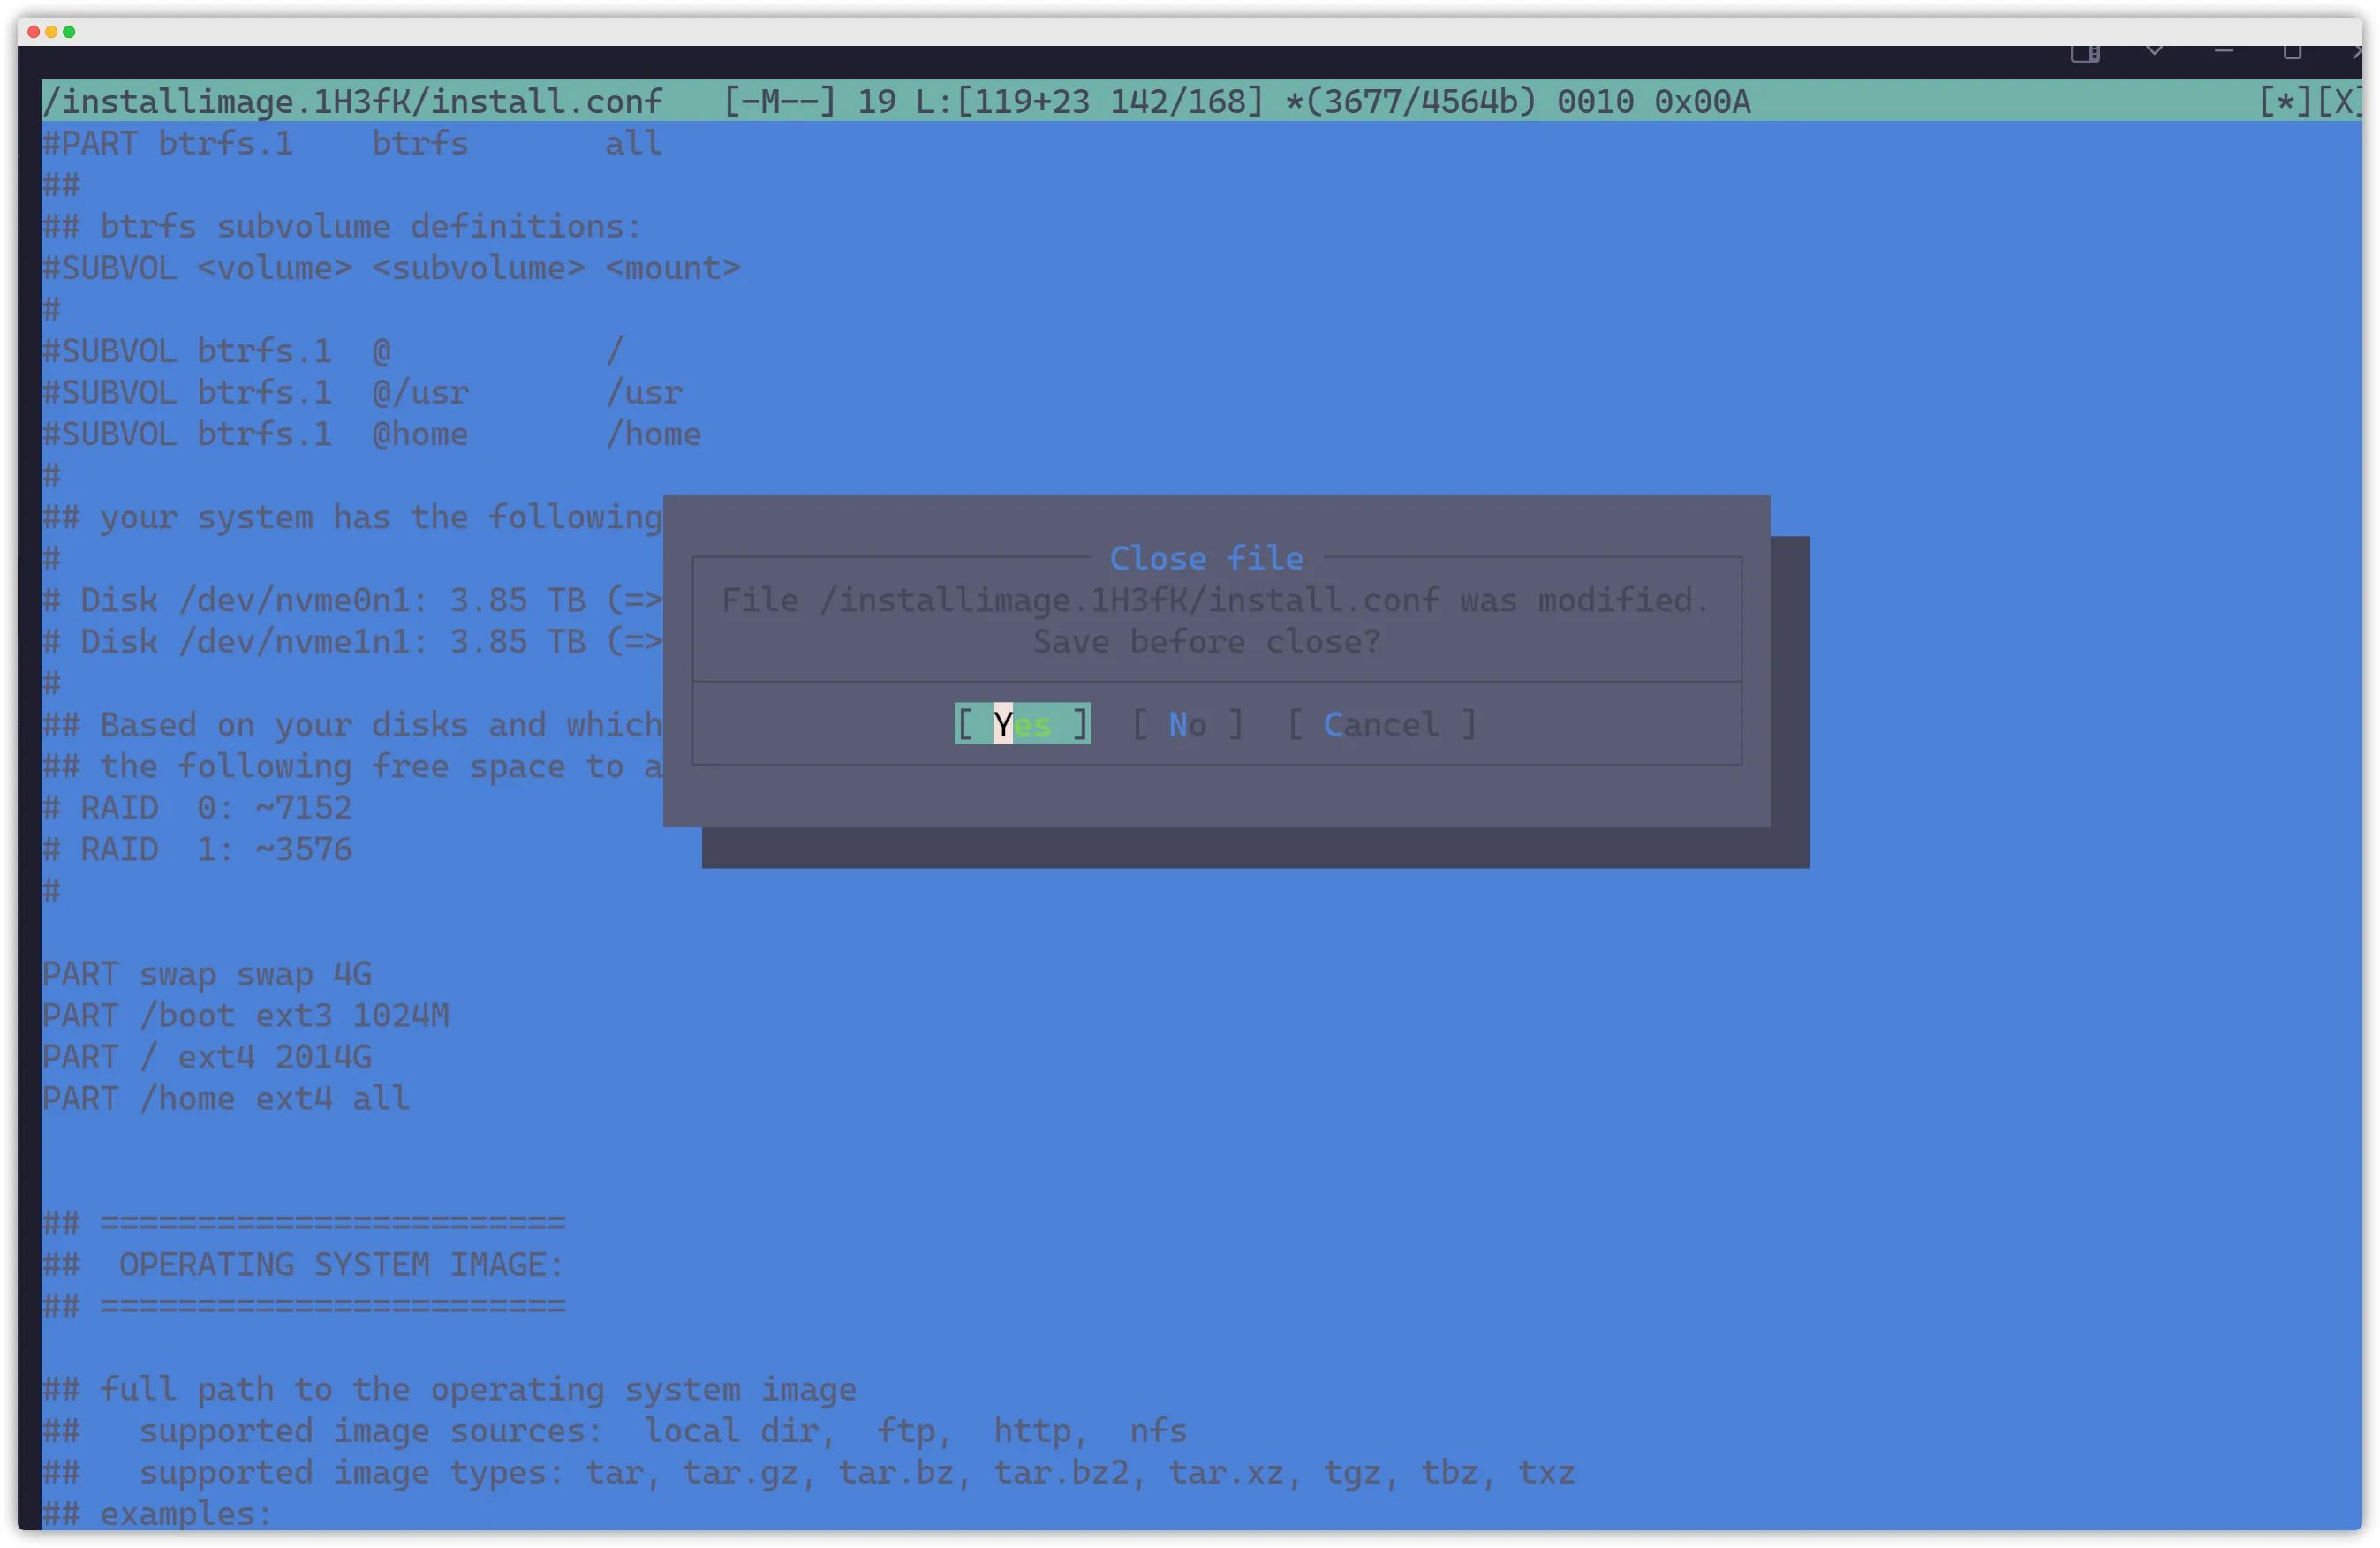
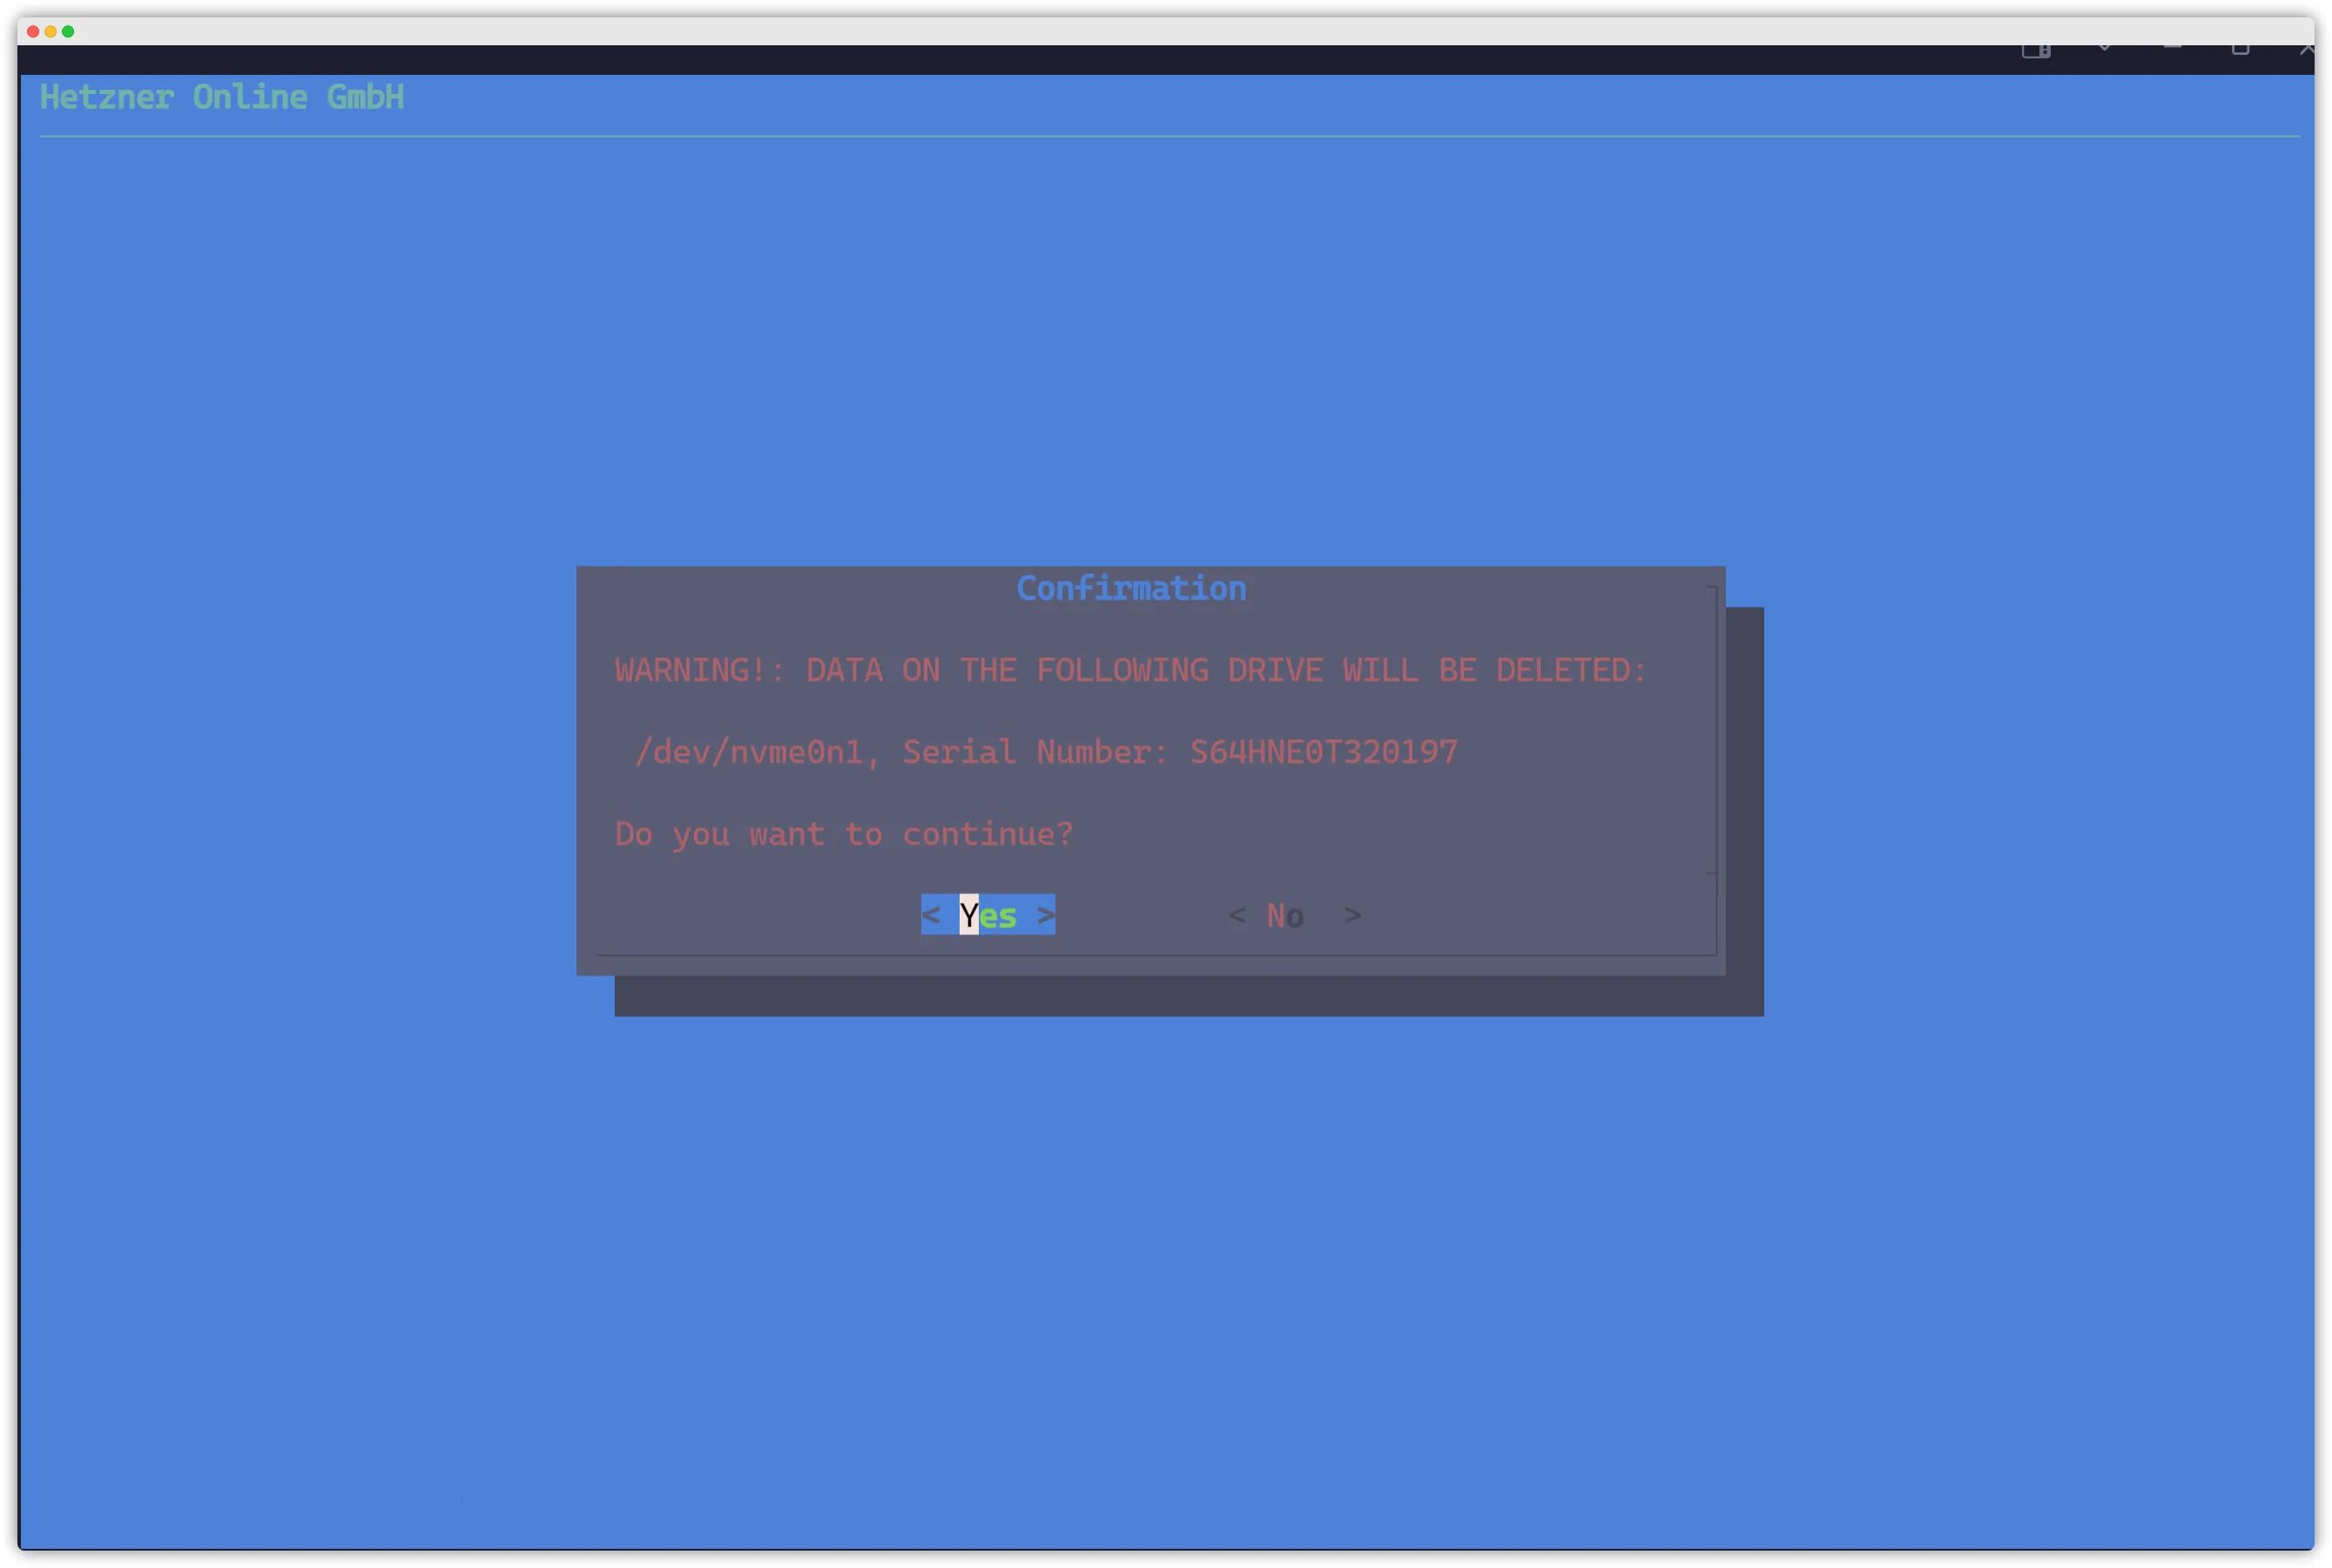
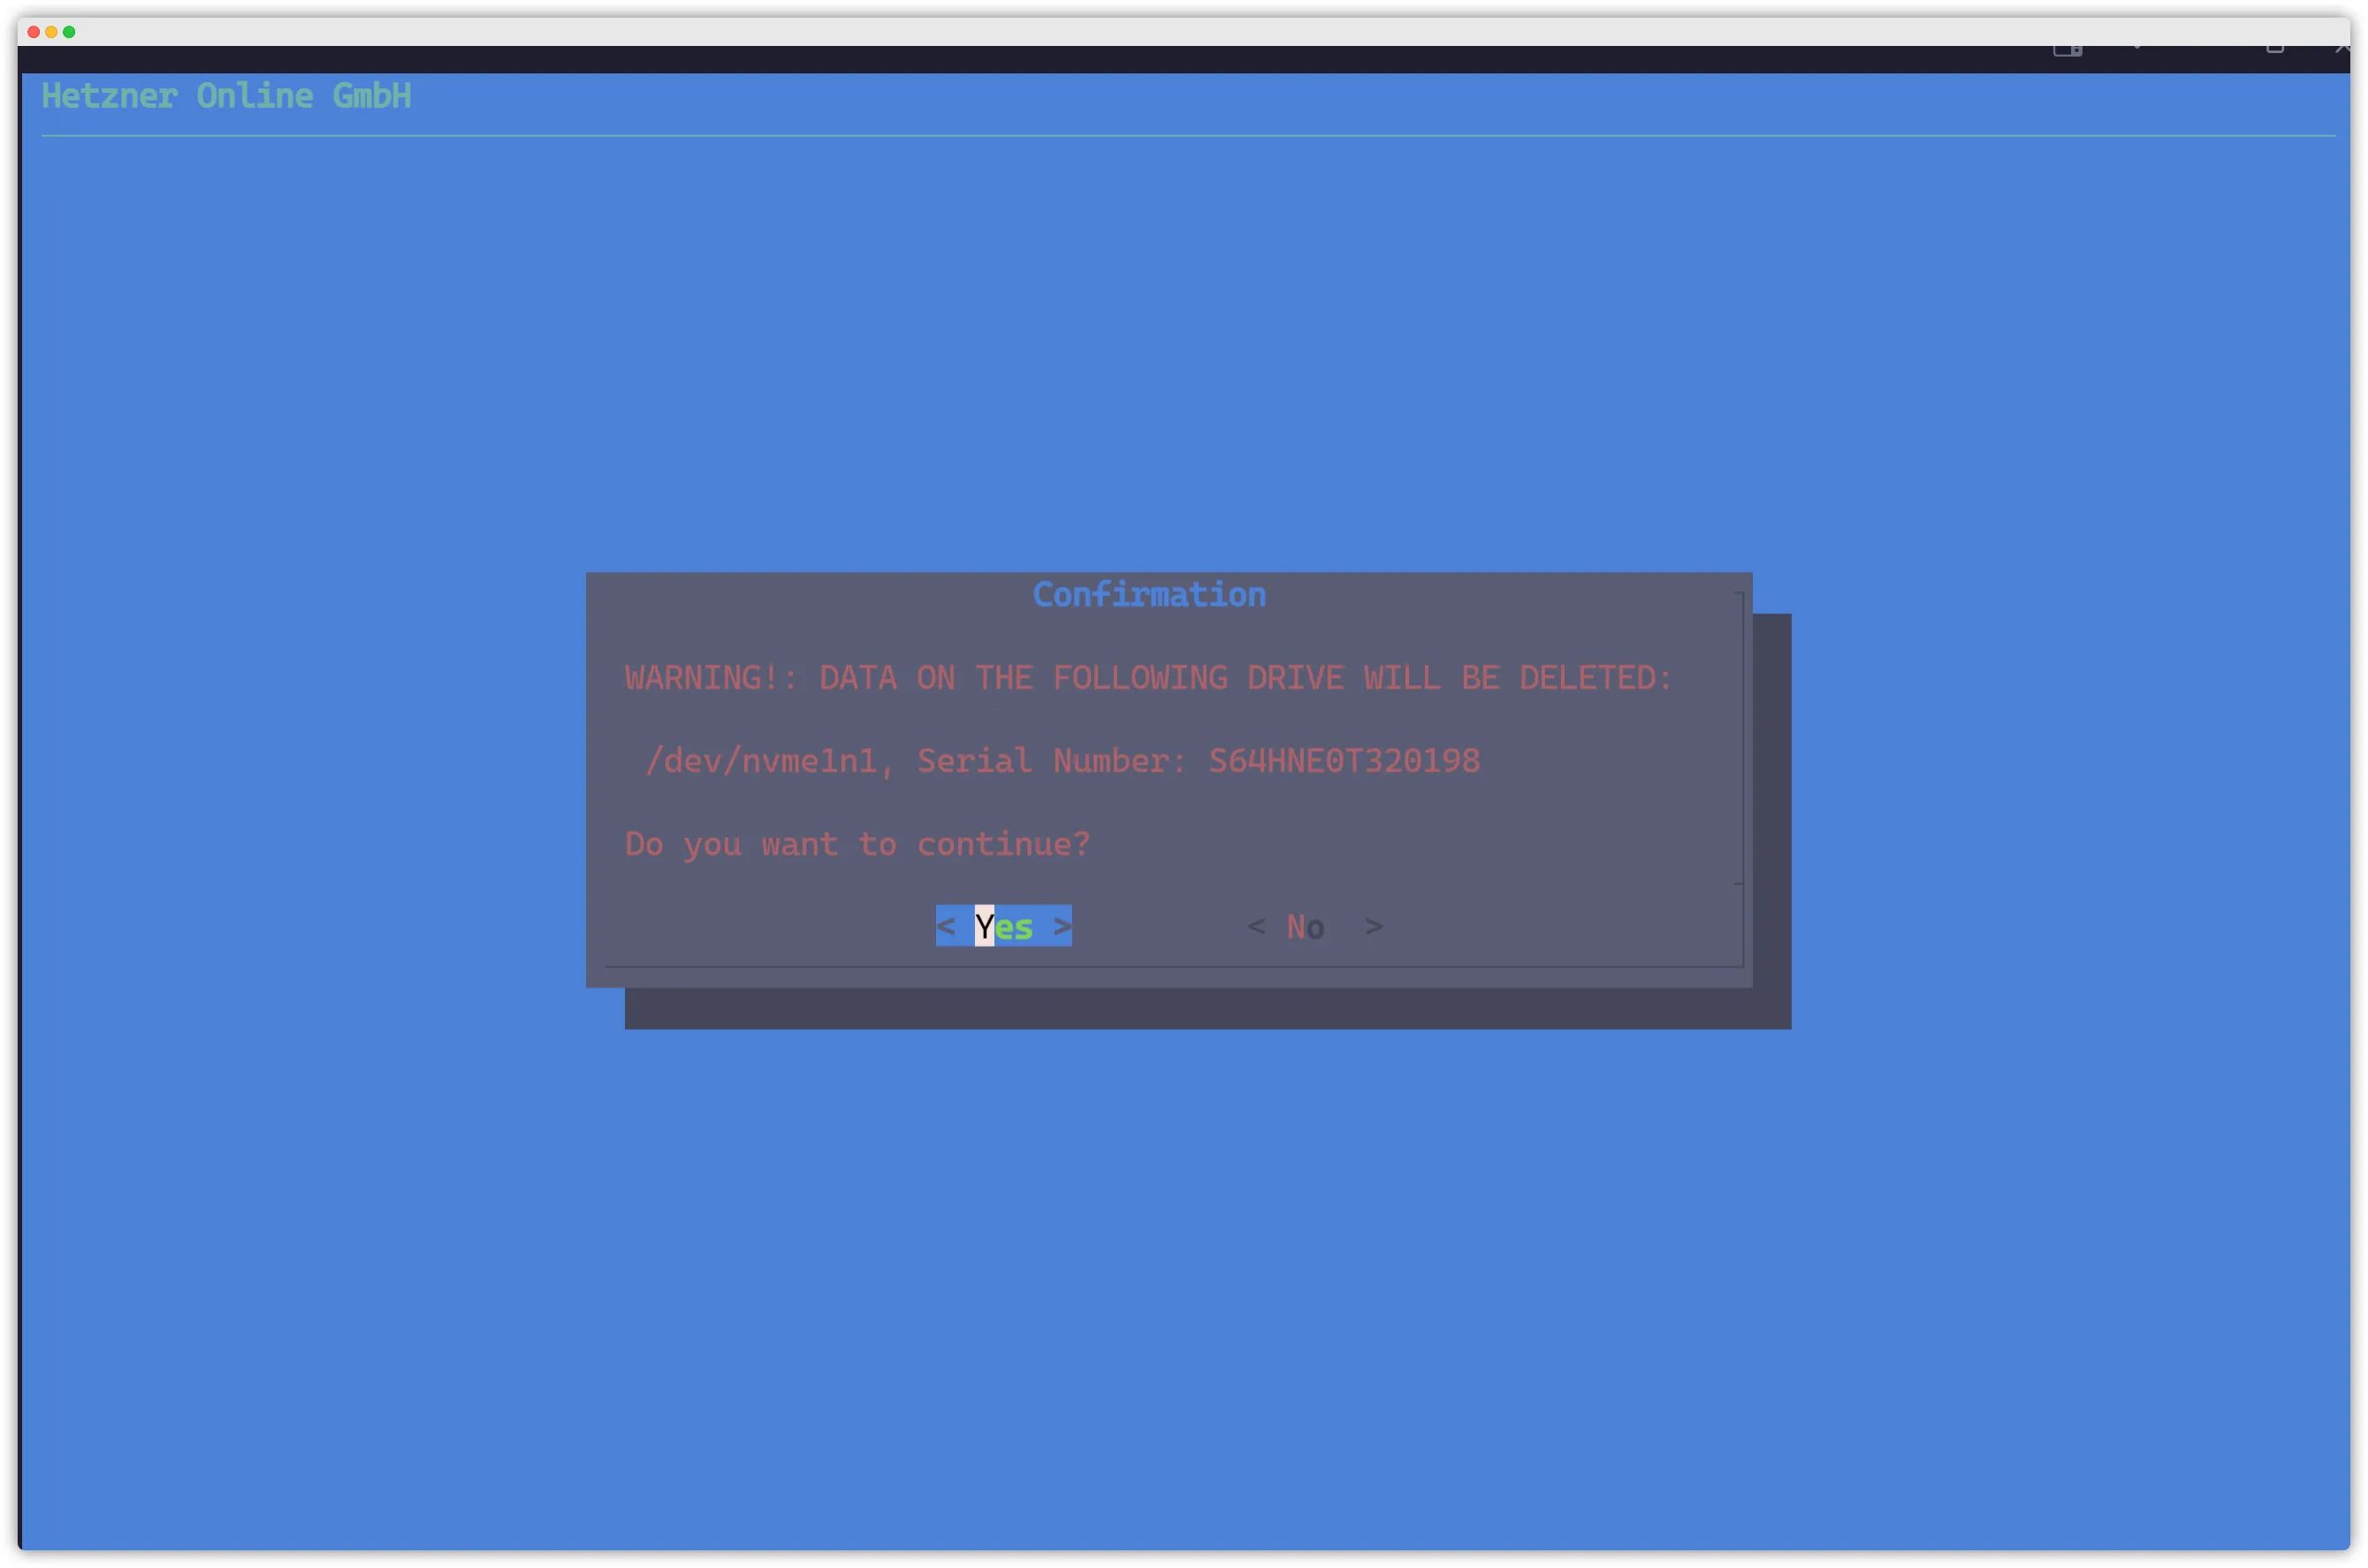
After these steps, you can happily double-tap the ESC key, choose YES, and skip through the series of warnings by smashing Enter. (Those warnings are just telling you that the disks are about to be formatted—“are you sure?”)
You’ll then see a progress screen like the one below. Wait for it to finish, then type reboot and press Enter.
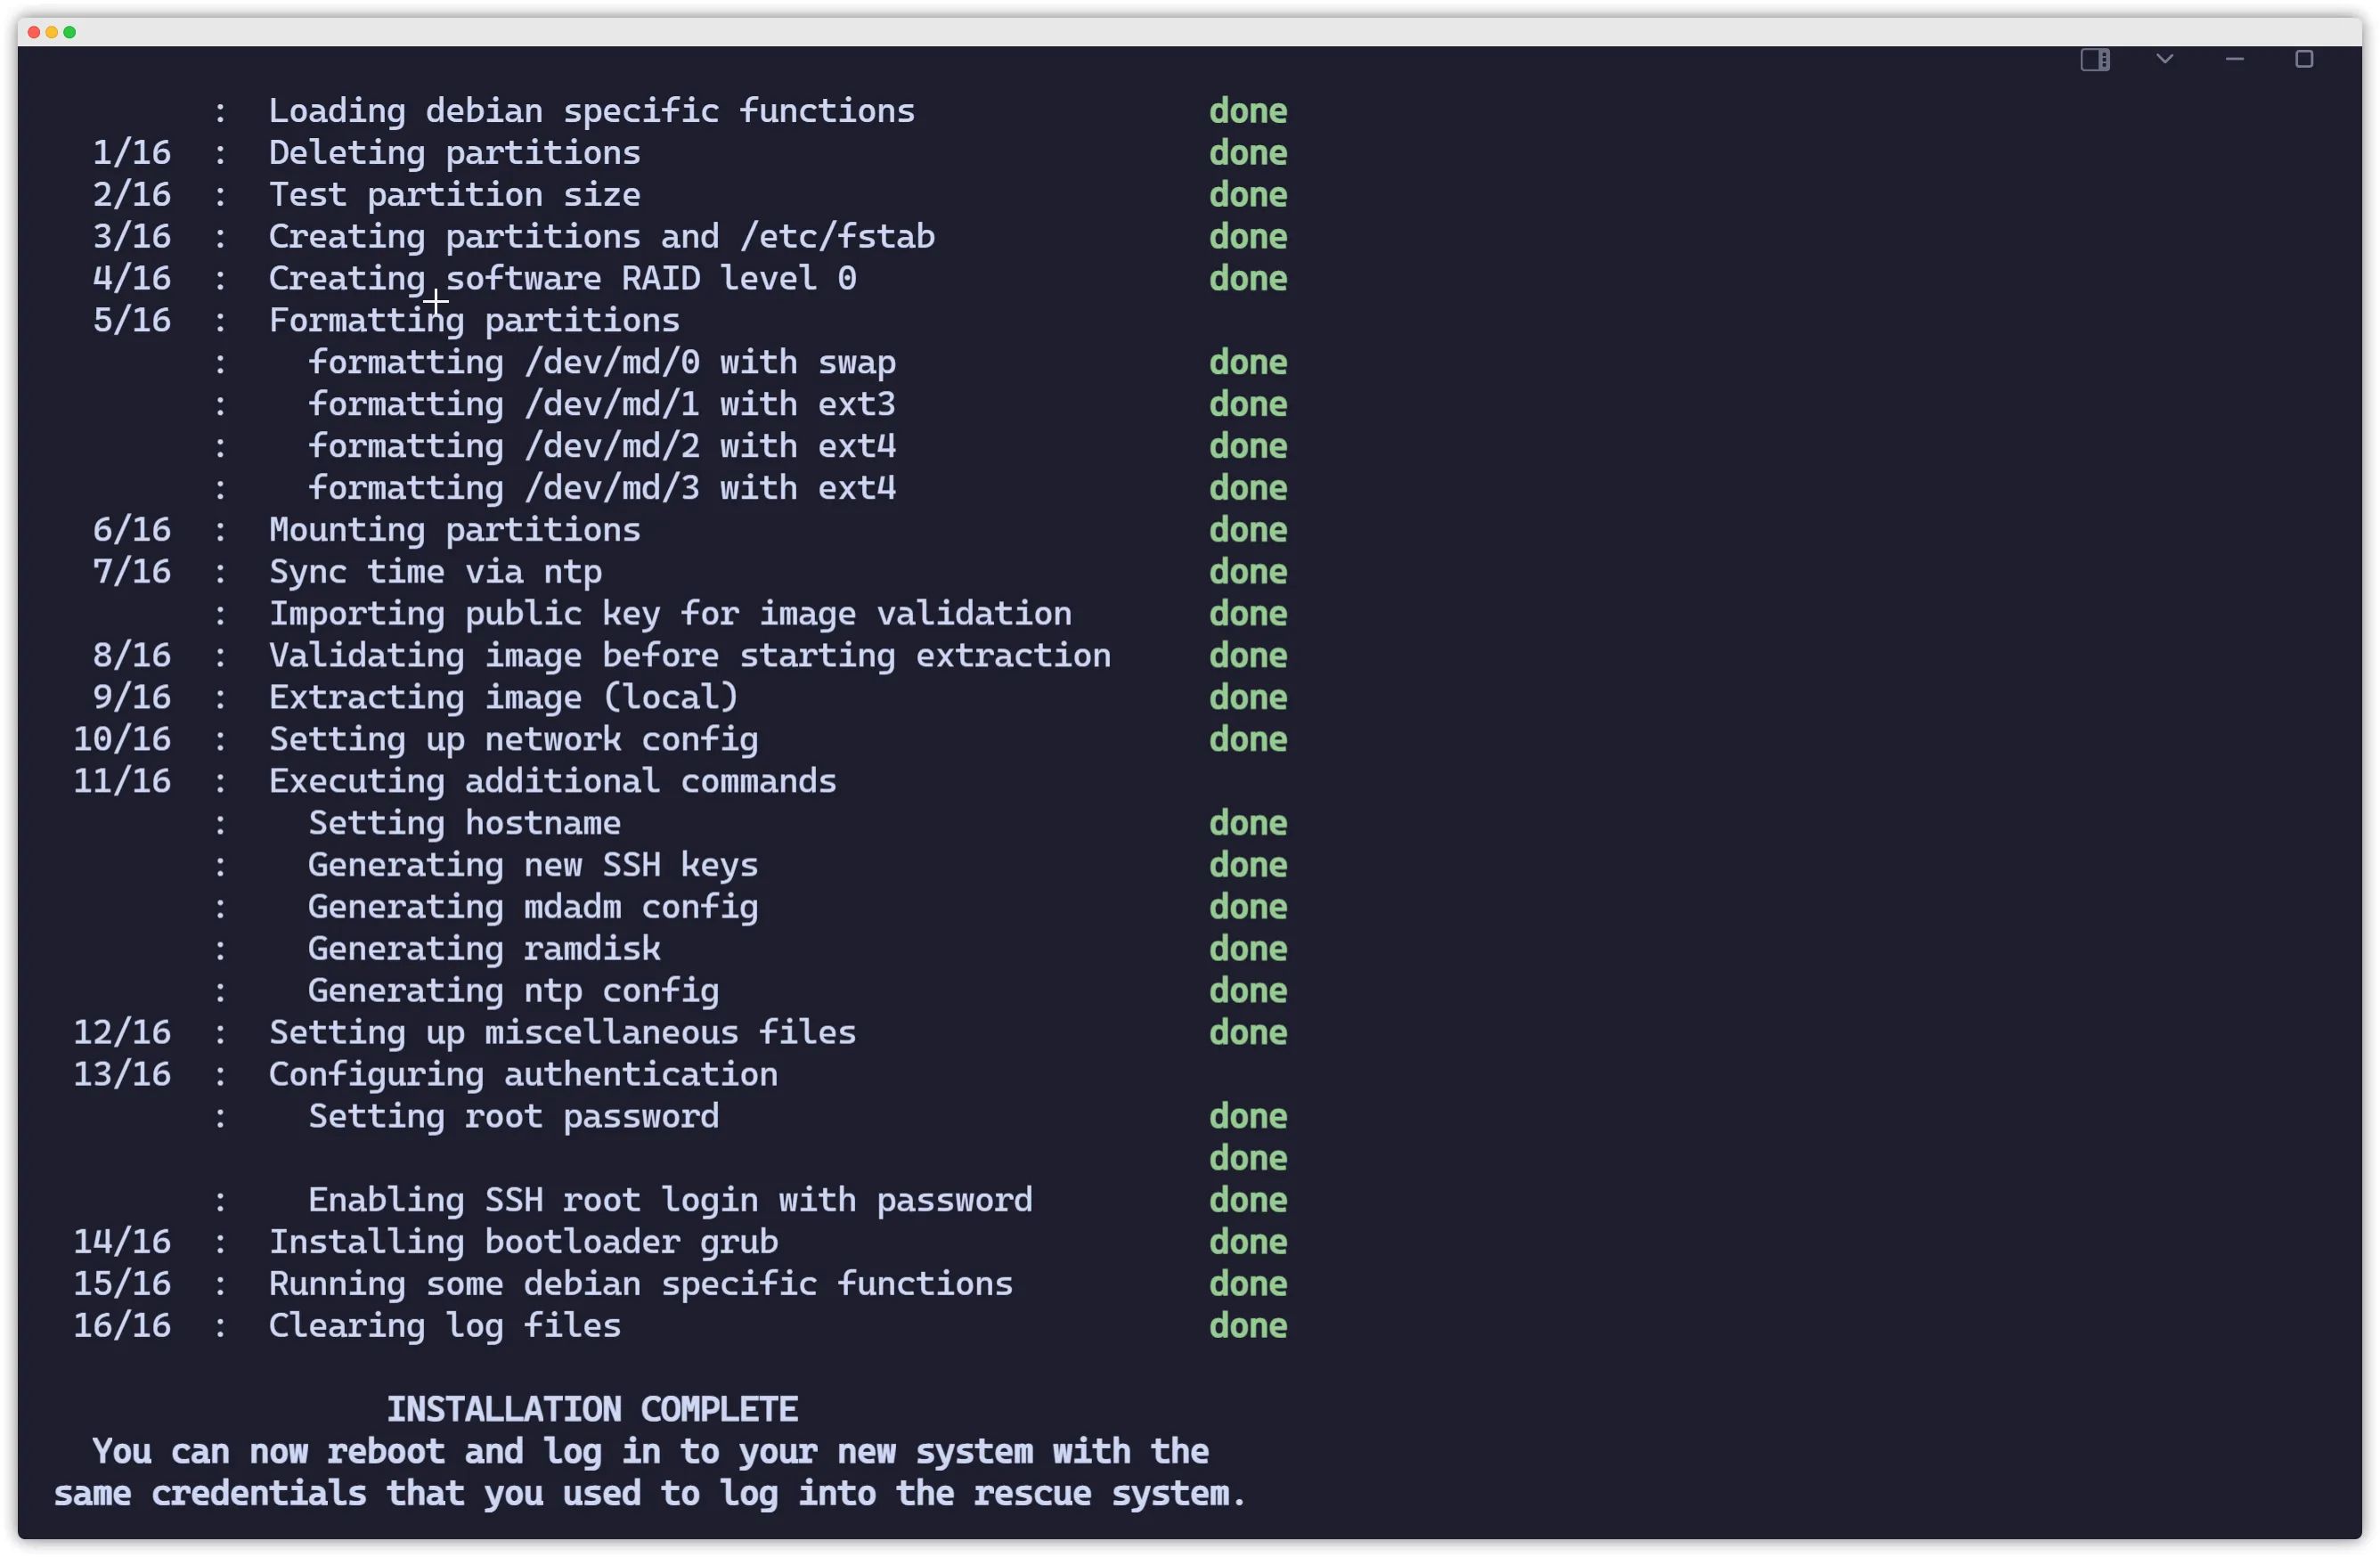
Once it’s done you’ll be prompted to reboot. After that, your fresh dedicated server install is ready to go.
Checking Power-On Hours
wget https://github.com/Aniverse/A/raw/i/a && bash a CPU 型号 AMD Ryzen 9 5950X 16-Core Processor CPU 核心 合计 16 核心,32 线程 CPU 状态 当前主频 4043.007 MHz 内存大小 128719 MB (3180 MB 已用) 交换分区 4089 MB (0 MB 已用)
第 1 块硬盘 通电 7831 小时,型号 SAMSUNG MZQL23T8HCLS-00A07 第 2 块硬盘 通电 7831 小时,型号 SAMSUNG MZQL23T8HCLS-00A07
硬盘大小 7169.0 GB
服务器时间 2024-02-13 10:49:36 运行时间 0 days 0 hour 9 min 系统负载 2.59, 0.69, 0.24 虚拟化技术 No Virtualization Detected
IPv4 地址 65.108.xxx.xxx IPv6 地址 2a01:4f9:xxxx:xxxx 运营商 AS24940 Hetzner Online GmbH 地理位置 DE, Bavaria, Gunzenhausen
操作系统 Debian 12.2 bookworm (x86_64) 系统内核 6.1.0-13-amd64 TCP 加速 cubic
当前脚本版本 1.4.1.1
顺序写入 (1st) 2000 MB/s 顺序写入 (2nd) 1100 MB/s 顺序写入 (3rd) 1100 MB/s 顺序写入 (4th) 1800 MB/s 顺序写入 (5th) 1900 MB/s 顺序写入 (avg) 1600.0 MB/sThe installimage Command in Detail
The method above uses the step-by-step TUI, but you can also fully automate the installation with a single command.
We’ll still use Hetzner’s official installimage command.
In general, if you want to know which options a command supports, you can run command -h or command --help.
For example:
installimage -h or installimage --help
Below are the options for installimage:
This is the usage description for installimage. The script supports many parameters; here is a brief explanation of each:
-
-h: Show help. -
-a: Automatic / batch mode – use together with the options below to run a non-interactive installation. -
-c <configfile>: Use the specified config file for automatic setup. -
-x <post-install>: Use this file as a post-install script, which will be executed in the chroot environment after installation. -
-n <hostname>: Set the hostname. -
-r <yes|no>: Enable or disable software RAID. -
-l <0|1|5|6|10>: Set the RAID level. -
-i <imagepath>: Install using the specified image. -
-g: Force verification of images with detached GPG signatures. If the image is invalid, the installation will abort. -
-p <partitions>: Define the partitions to create. -
-v <logical volumes>: Define the logical volumes to create. -
-d <drives>:/devnames of the drives to use. -
-f <yes|no>: Whether to format the second drive (if not used for RAID). -
-s <de|en>: Language for various transactions (e.g. PLESK). -
-z PLESK_<Version>: Install optional software such as PLESK. -
-K <path/url>: Install SSH keys from a file or URL. -
-t <yes|no>: Take over the SSH public key from the rescue system. -
-u <yes|no>: Allow or disallow USB drives. -
-G <yes|no>: Generate new SSH host keys (default: yes).
These options let you automate server installation without entering the interactive mode by combining the parameters according to your needs.
Hetzner Billing Model
This part can be quite tricky, so pay close attention. Don’t casually cancel servers, as it may even result in your account being terminated. (It’s not easy to register an account, so be careful.)
Hetzner uses postpaid billing by default: you order the server first, use it for a while, and only then do they charge you.
When you need to pay, an unpaid invoice will appear on the billing page at https://accounts.hetzner.com/invoice. You’ll also receive an email—make sure to check it.
| Hetzner dedicated servers are billed in 30‑day cycles, and the billing date is fixed to a specific day of the month. Suppose the billing date is the 3rd. If you order on August 1, then on the 3rd you effectively need to pay for 08/01–08/31, i.e. you prepay 28 days. But since the 14‑day trial period is not over yet, there will be no invoice on August 3. On September 3, you’ll be asked to pay for two months at once: 08/01–09/31. If you order on July 11, then by August 3 the 14‑day trial is already over, so an invoice will be generated for 07/11–08/10, effectively prepaying 7 days. |
|---|