OnlyServers Dell Server RAID Array and OS Installation Guide
Preface
Last night OnlyServers launched a first-month $9.9 promotion for their “Du Fu” dedicated servers, and there are quite a few toys to play with. But it’s also a bit odd: the Du Fu I received wasn’t reset at all—when I opened the console it had already been running for 12 days. The provider only gives you iDRAC access (exposed directly to the public internet, no less) and expects you to handle everything yourself. Since many people don’t have experience with this, here’s a walkthrough.

Tutorial
First confirm whether your machine is a Dell like mine. I didn’t buy other brands, but the overall logic should be similar; you’ll just need to adapt as needed. If you have a Dell as well, you can follow along more or less exactly.
Change RAID mode
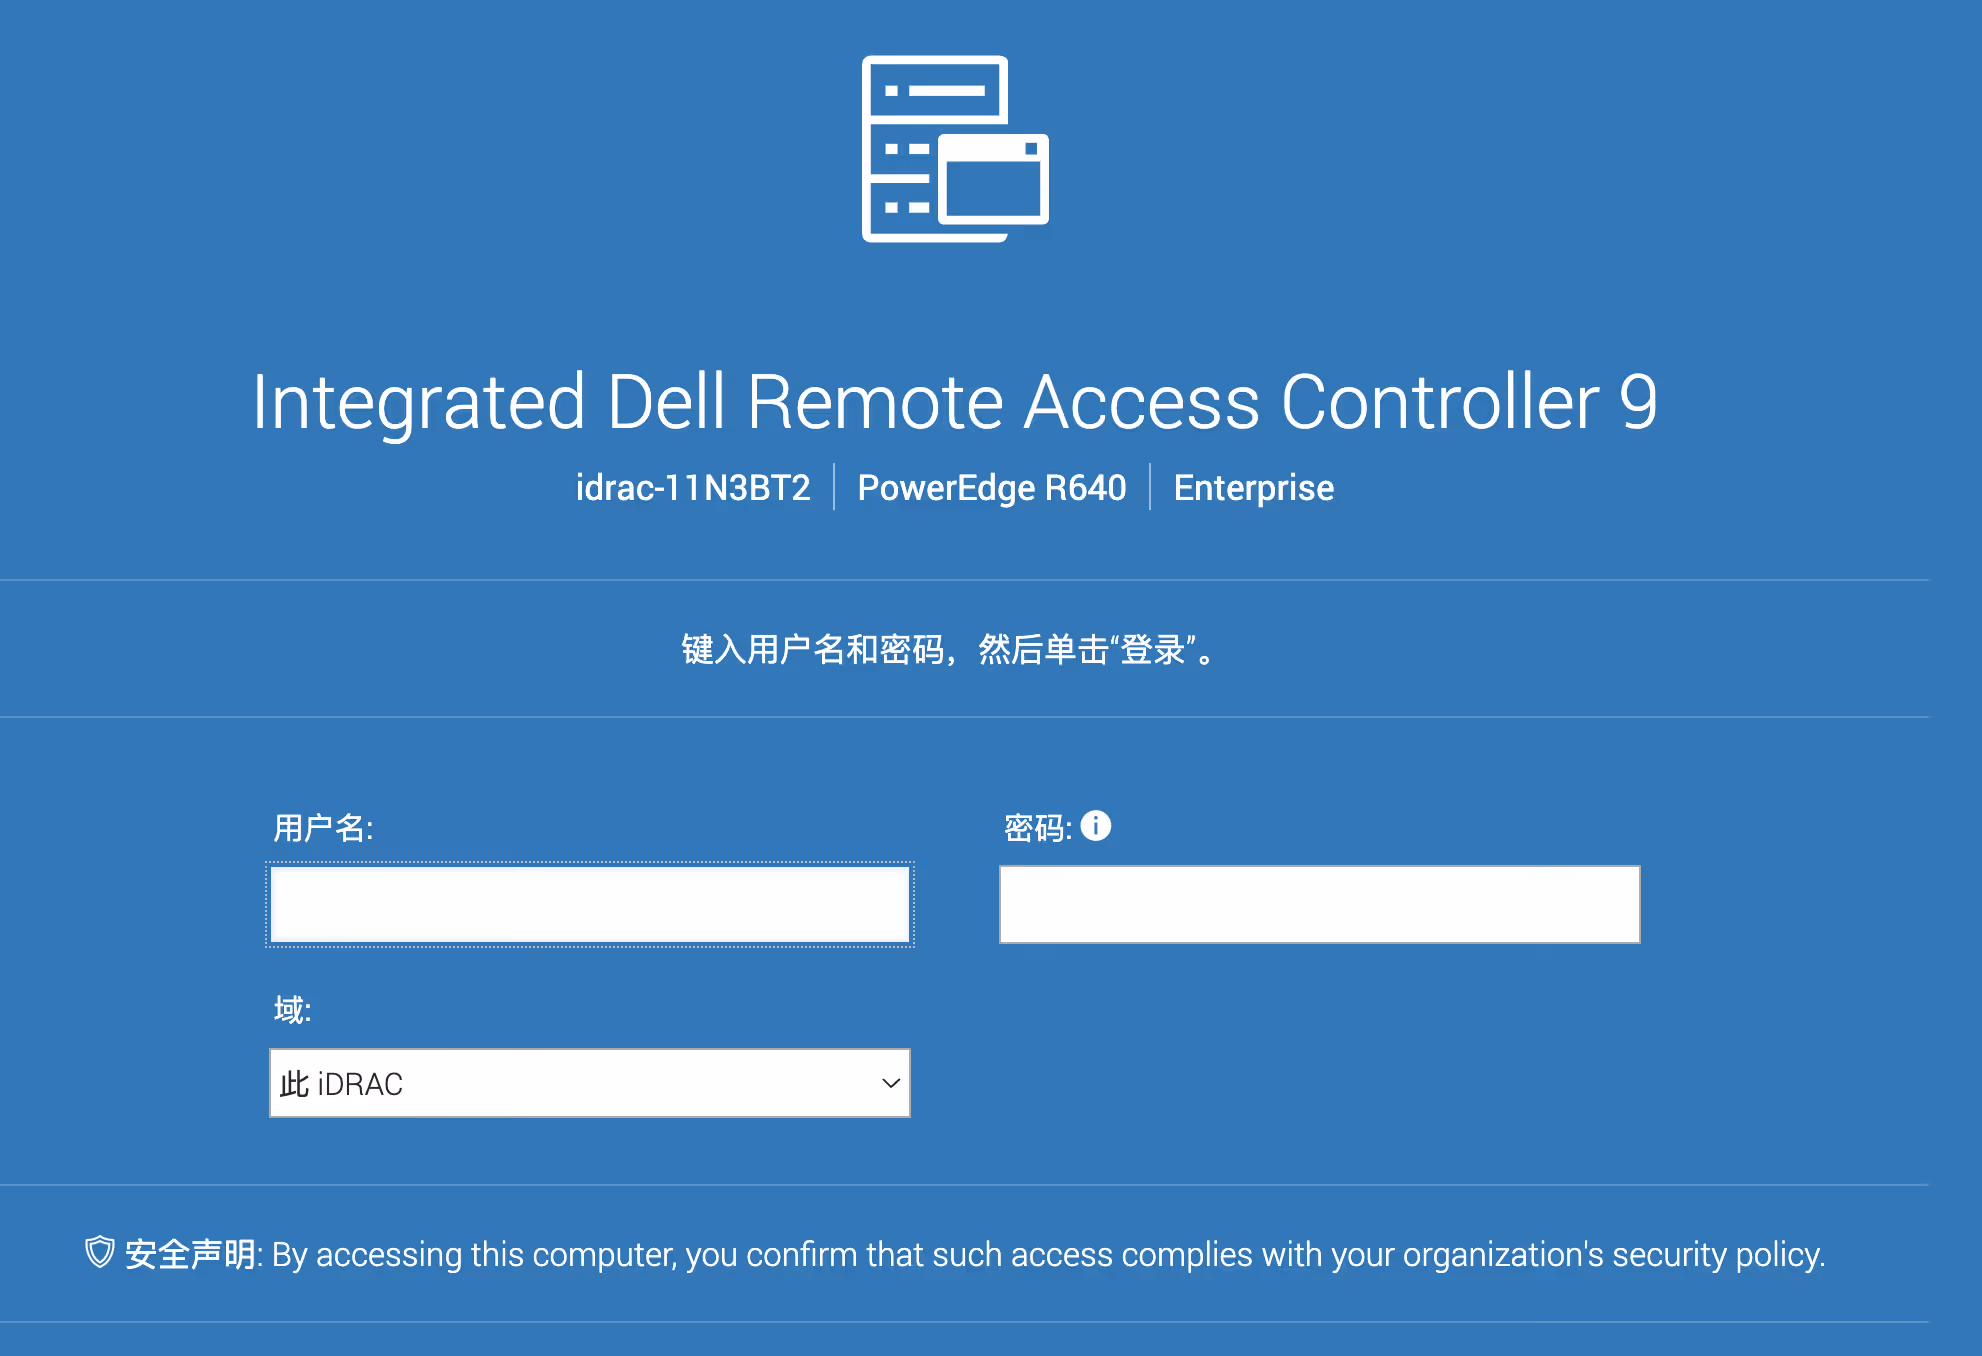
From the provider’s panel you’ll usually get the iDRAC access details. Open the URL in your browser and log in.
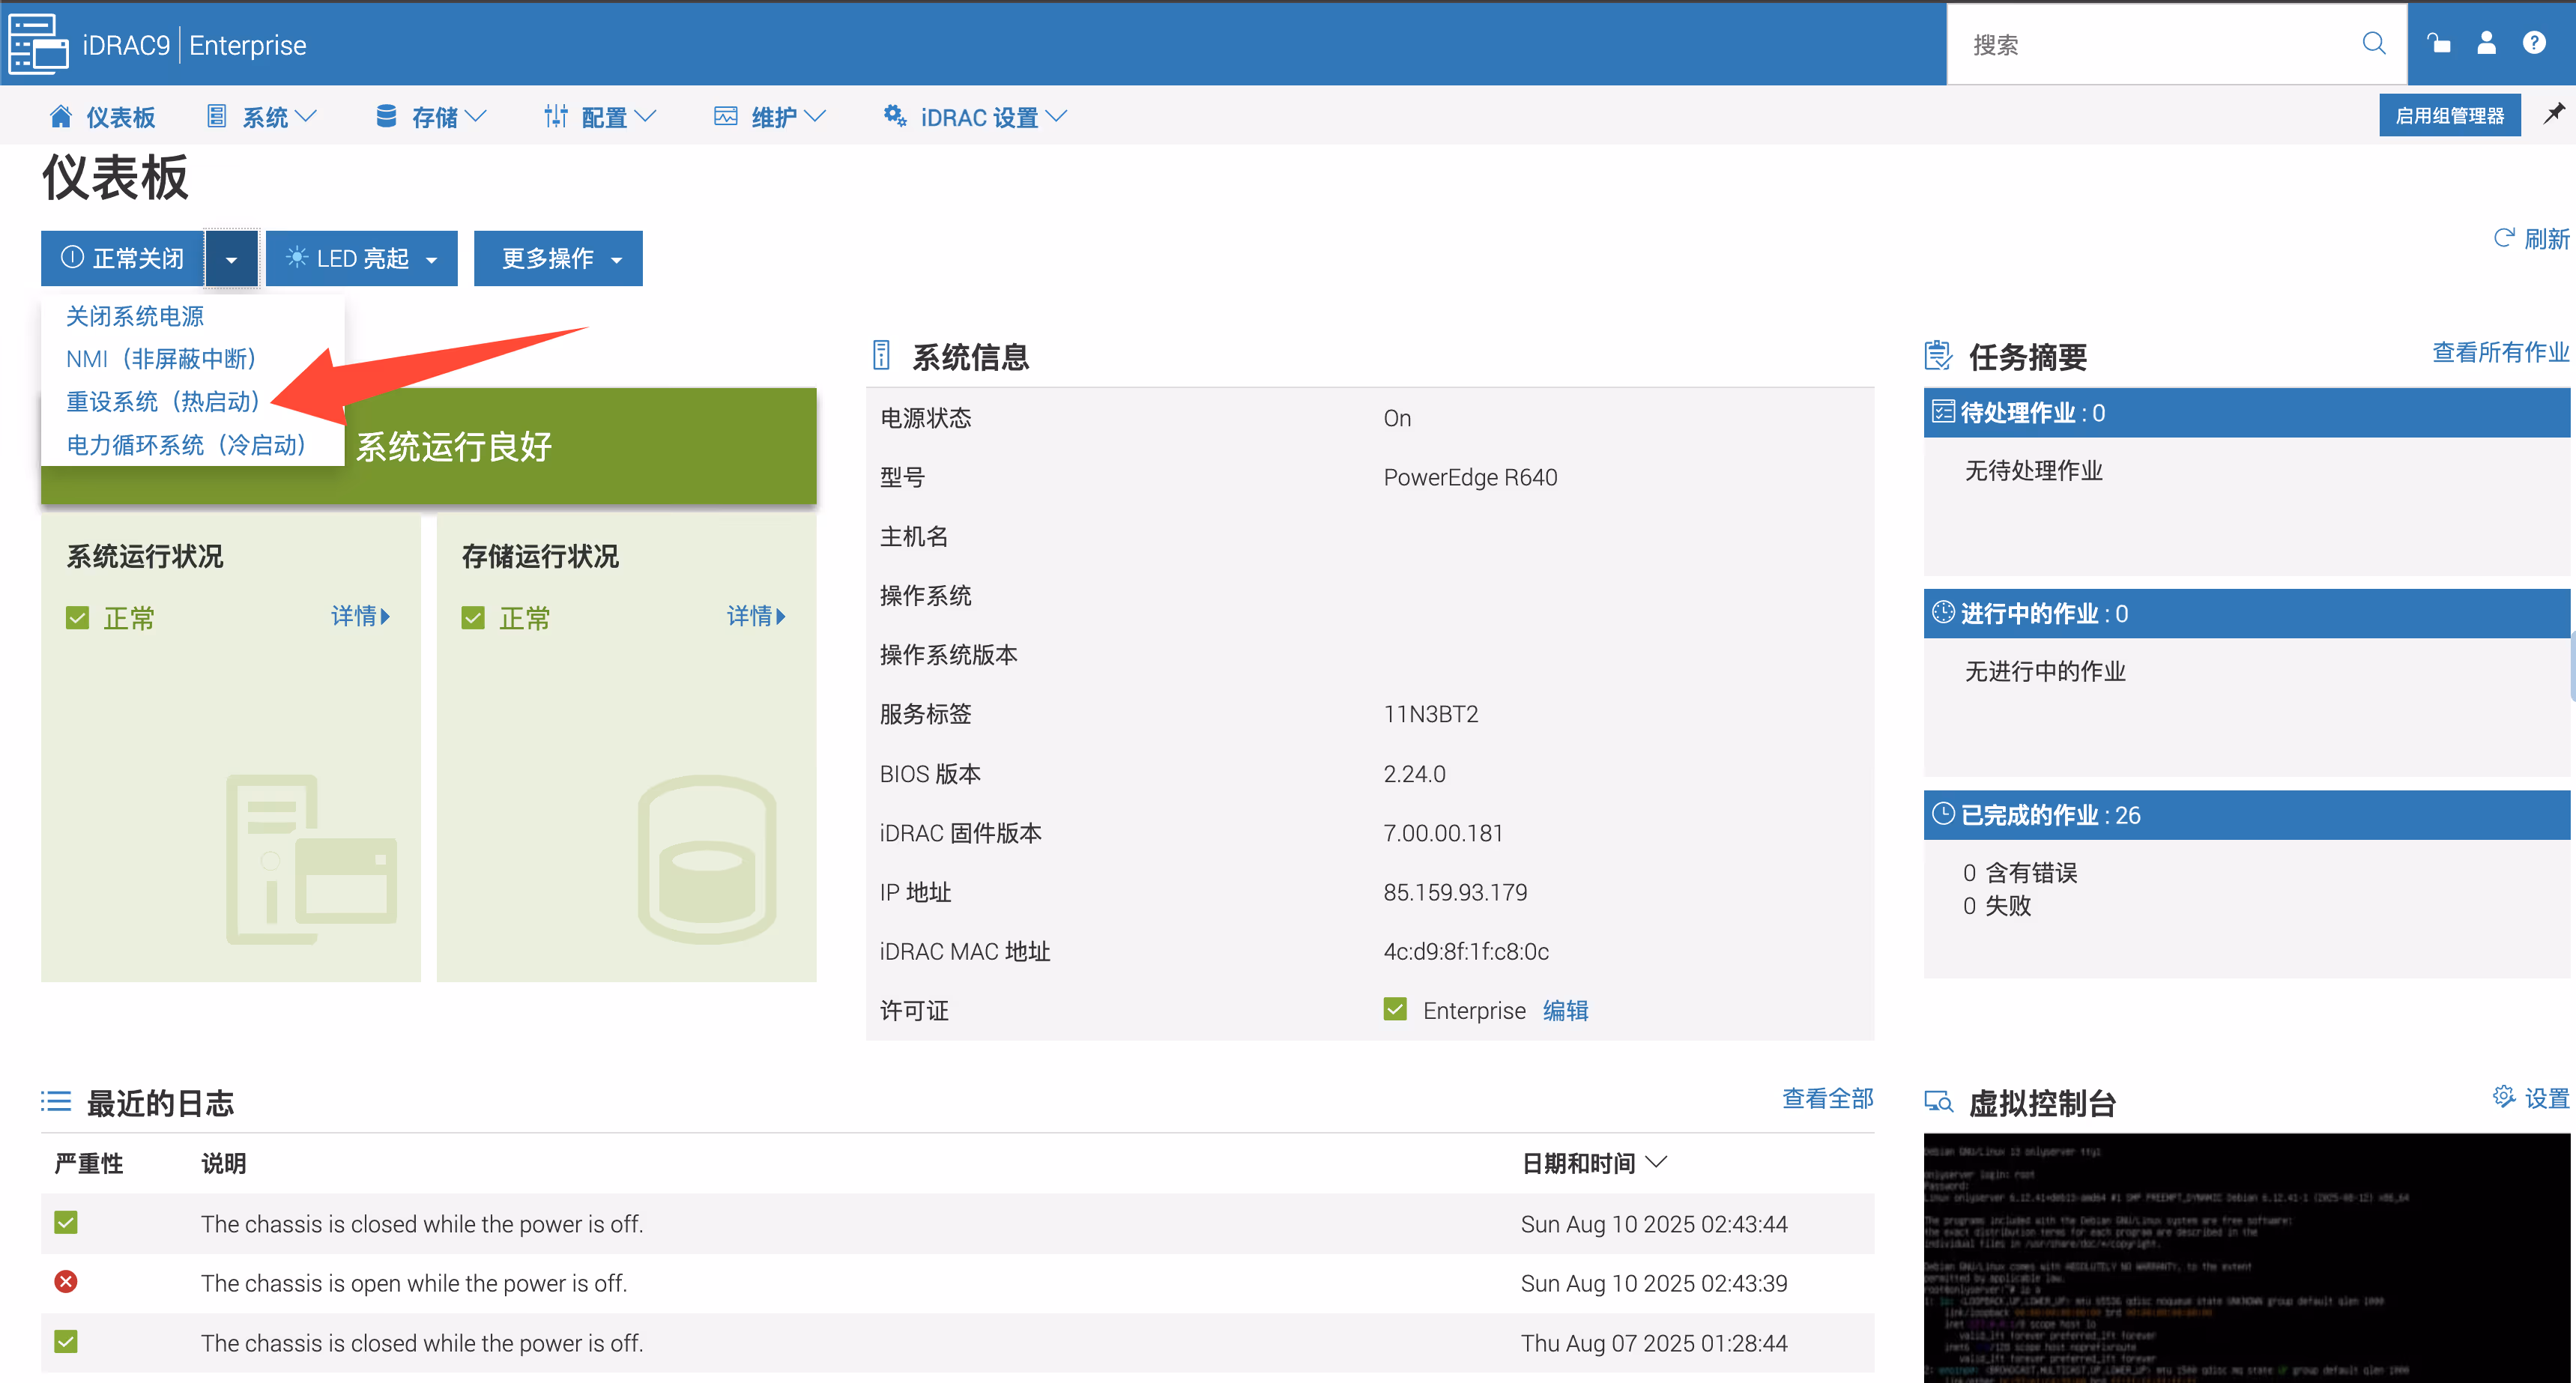
Reboot the server
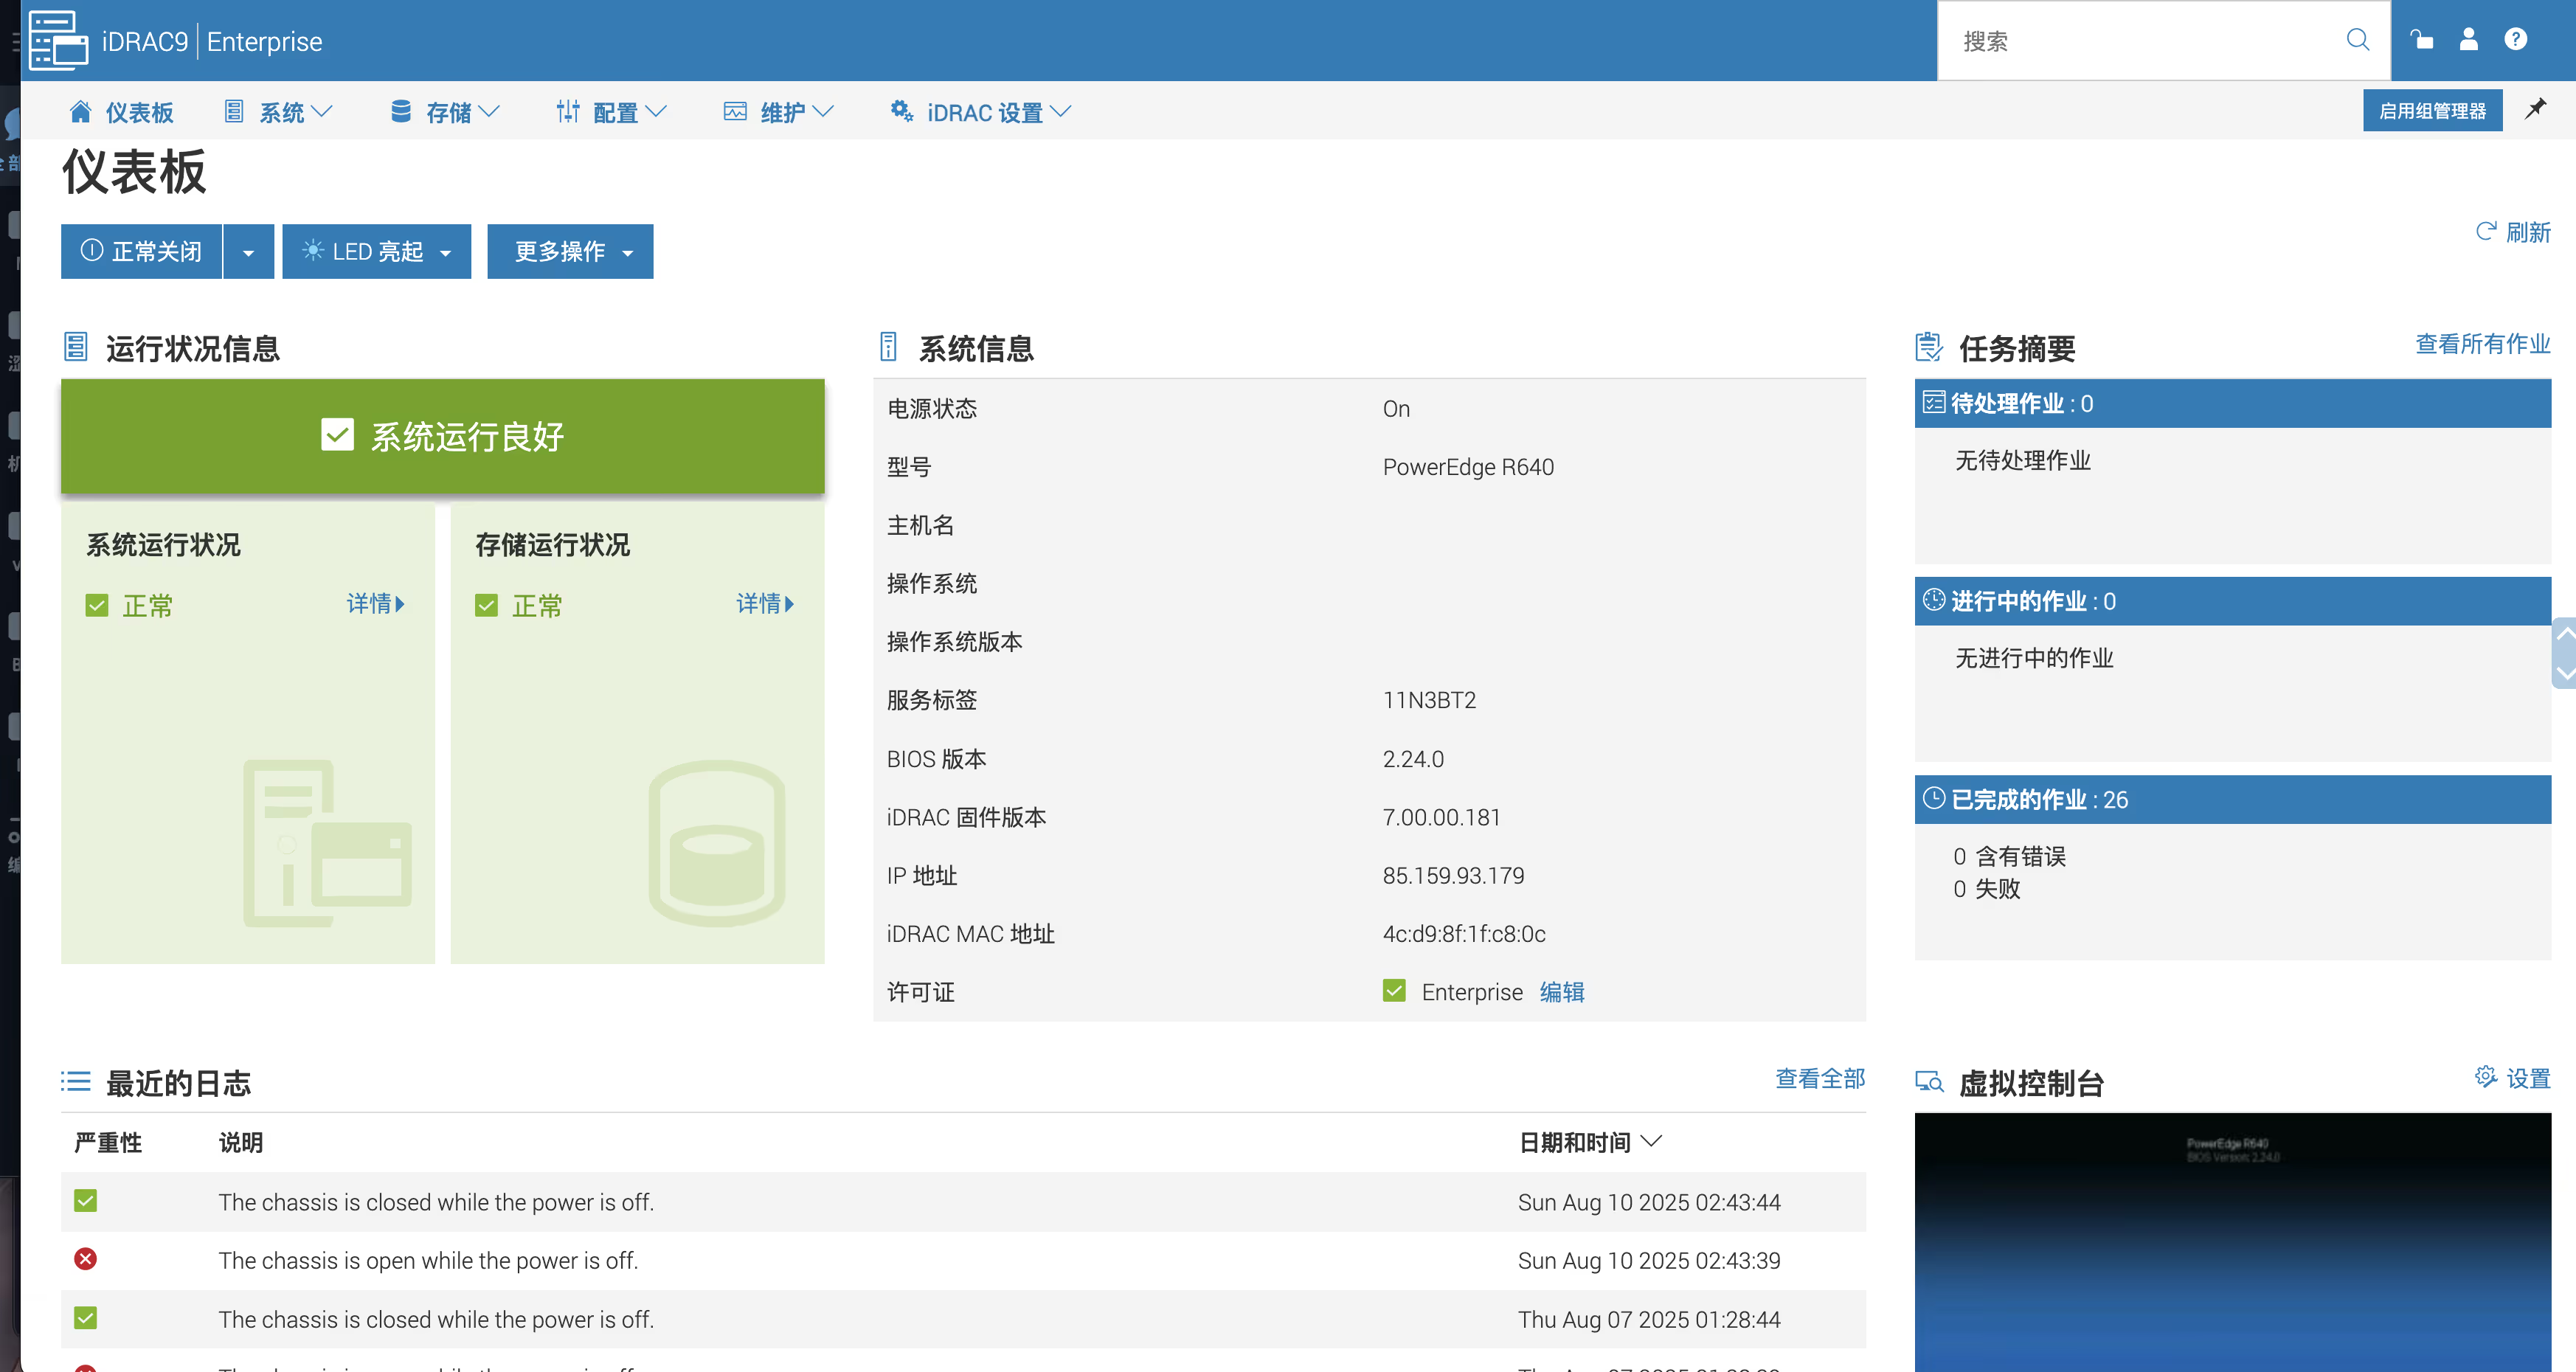
Then click the Virtual Console button in the bottom-right corner to open the web console.
Typically you’ll see something like this when it opens:

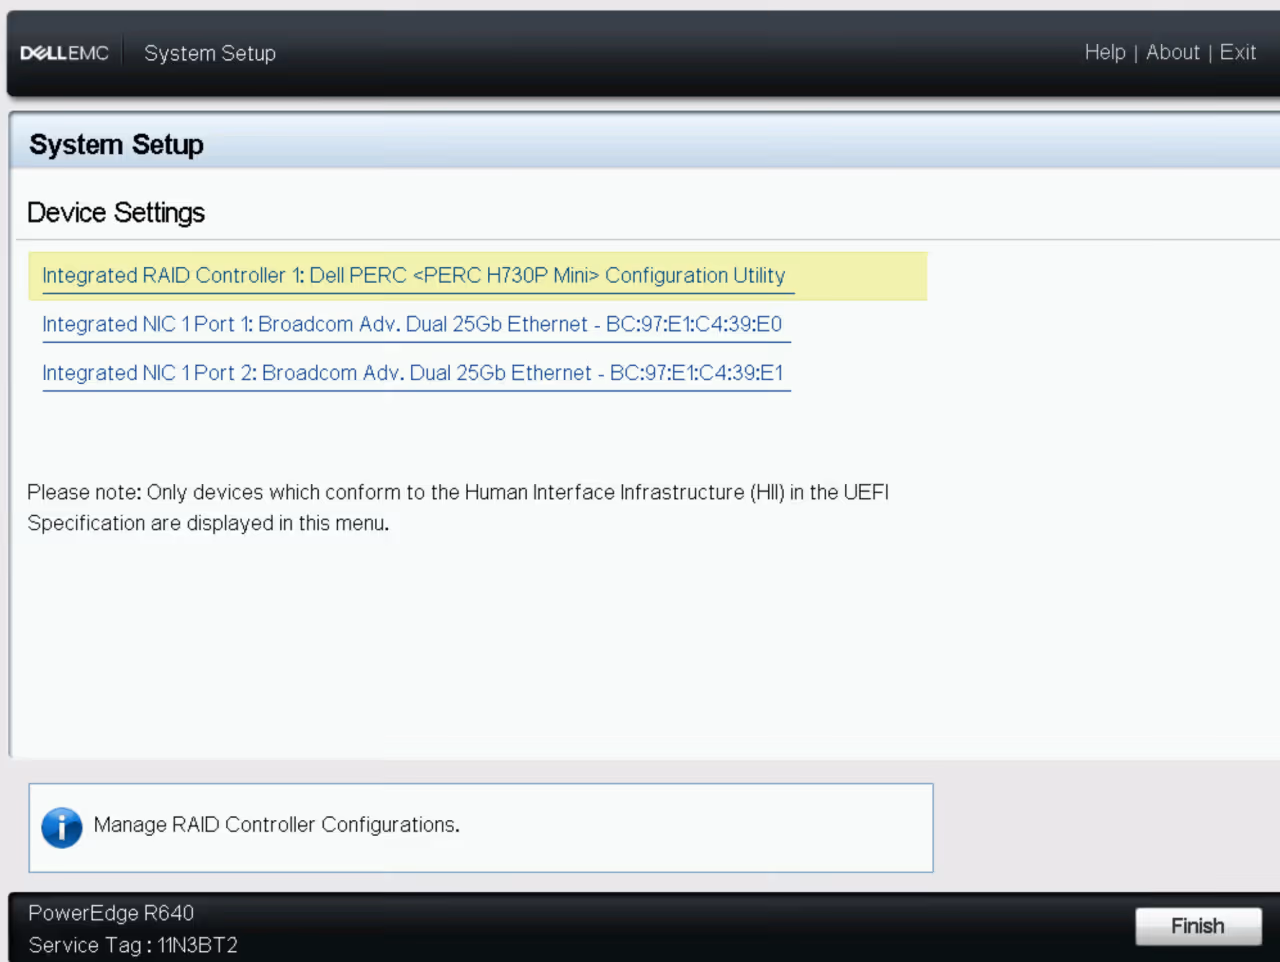
Keep pressing F2 and, following the on‑screen prompts, enter System Setup with F2. I forgot to take a screenshot, but it usually looks like this:

Wait a bit until the page loads, then select your RAID controller. Mine is an H730P.
Rebuild the array
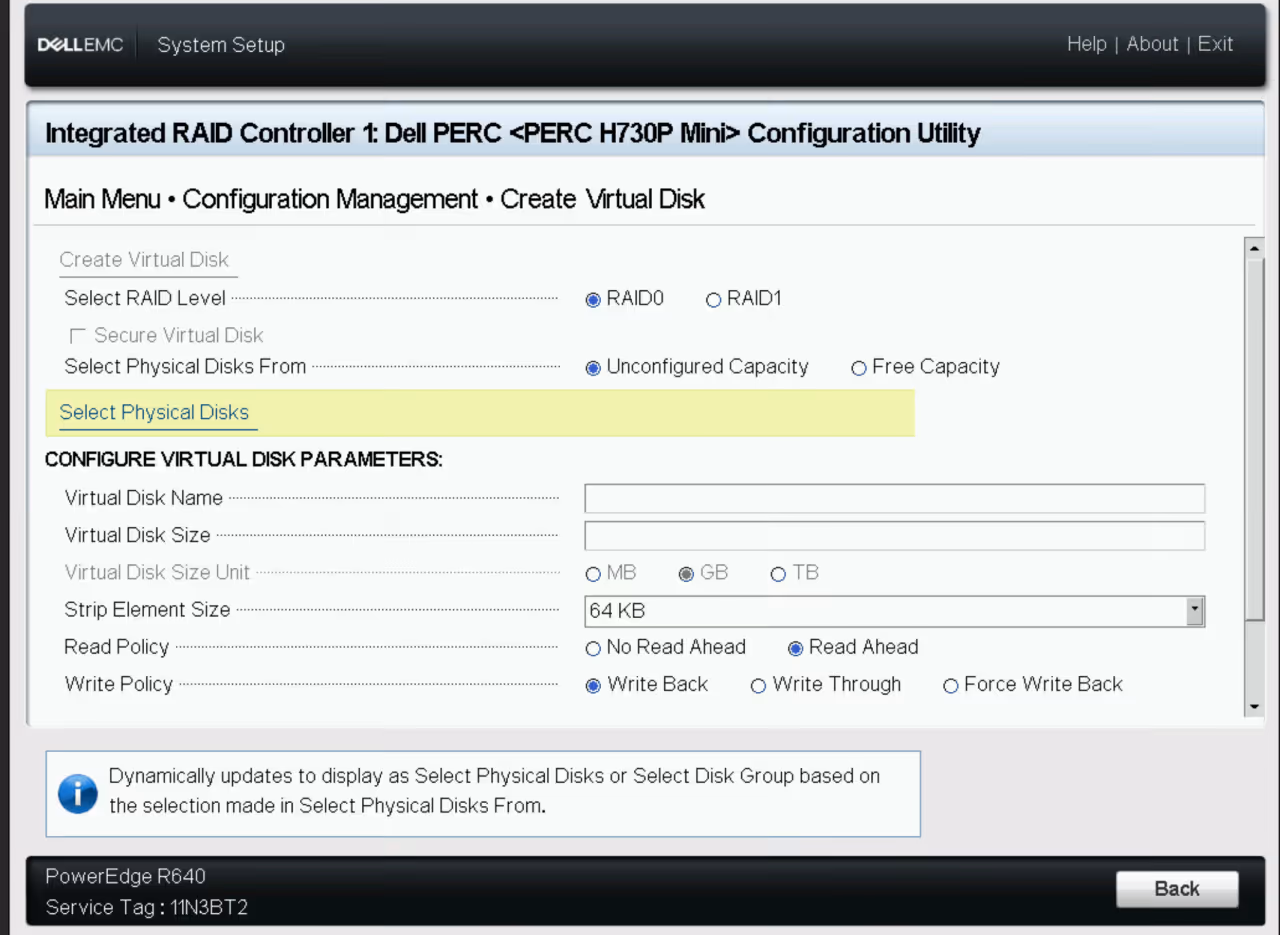
On the next screen, in the RAID controller management page, choose Configuration Management and select the RAID level you want. Here I’m changing it to RAID 0.

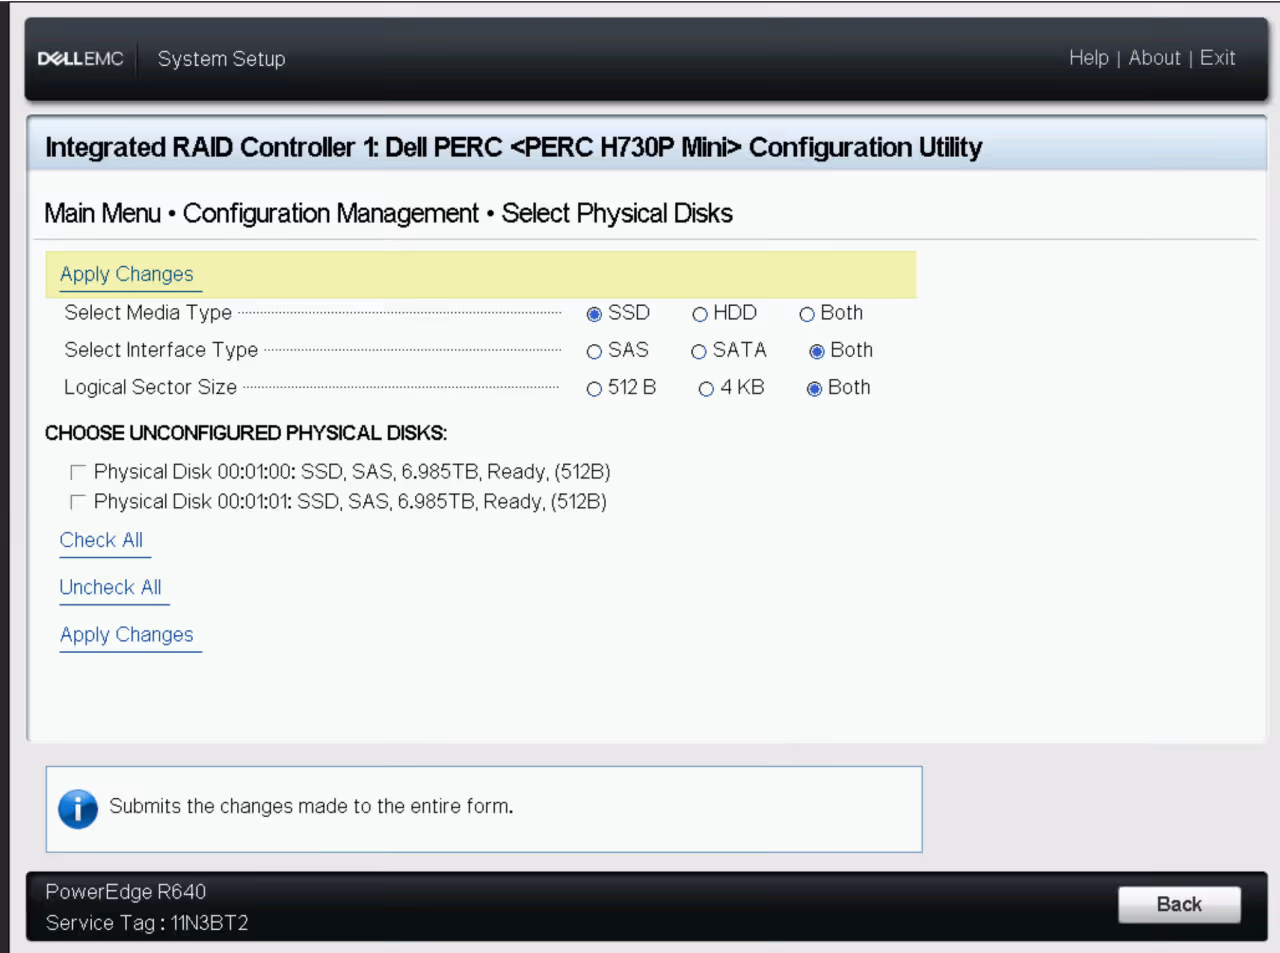
Click Select Physical Disks and pick the drives according to what you purchased. In my case I just click Check All.
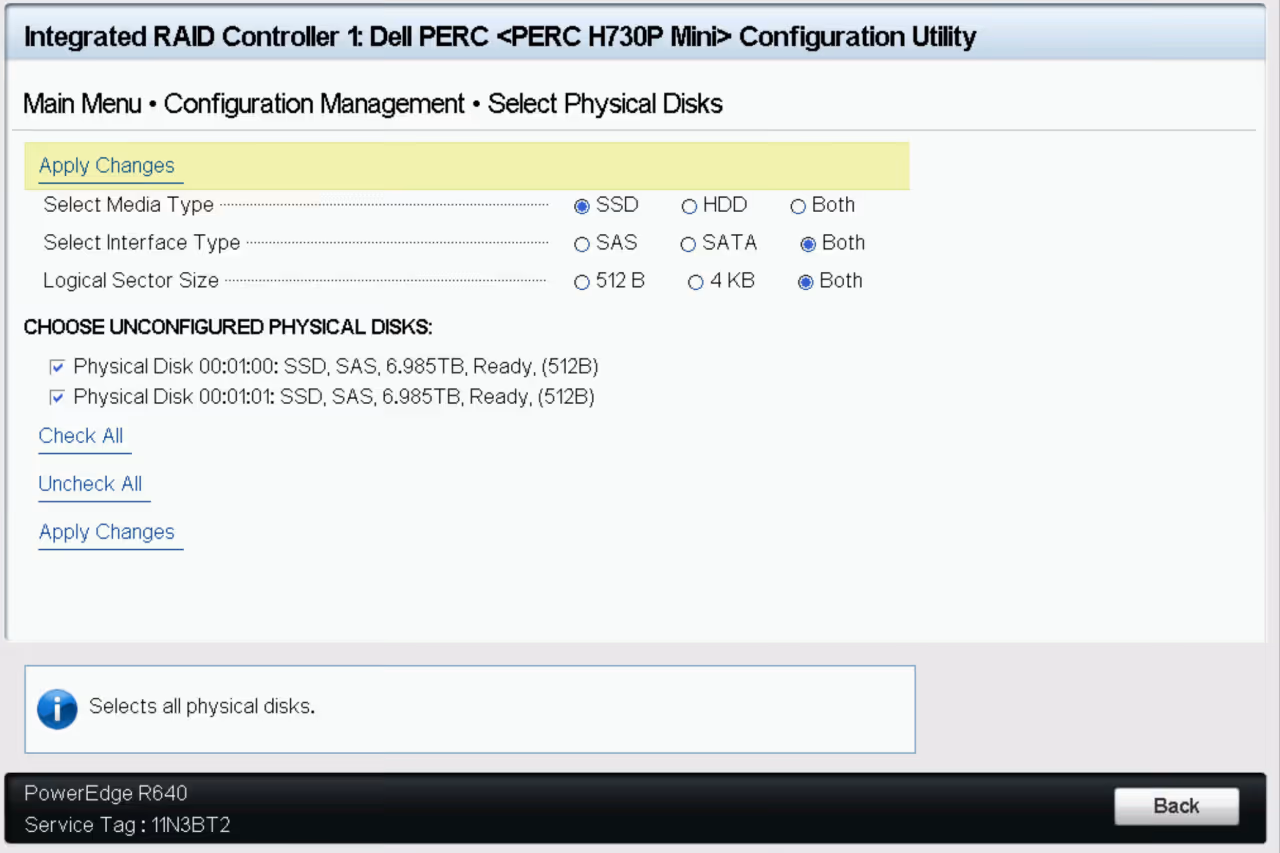
After selecting the disks, click Apply Changes to save the configuration.
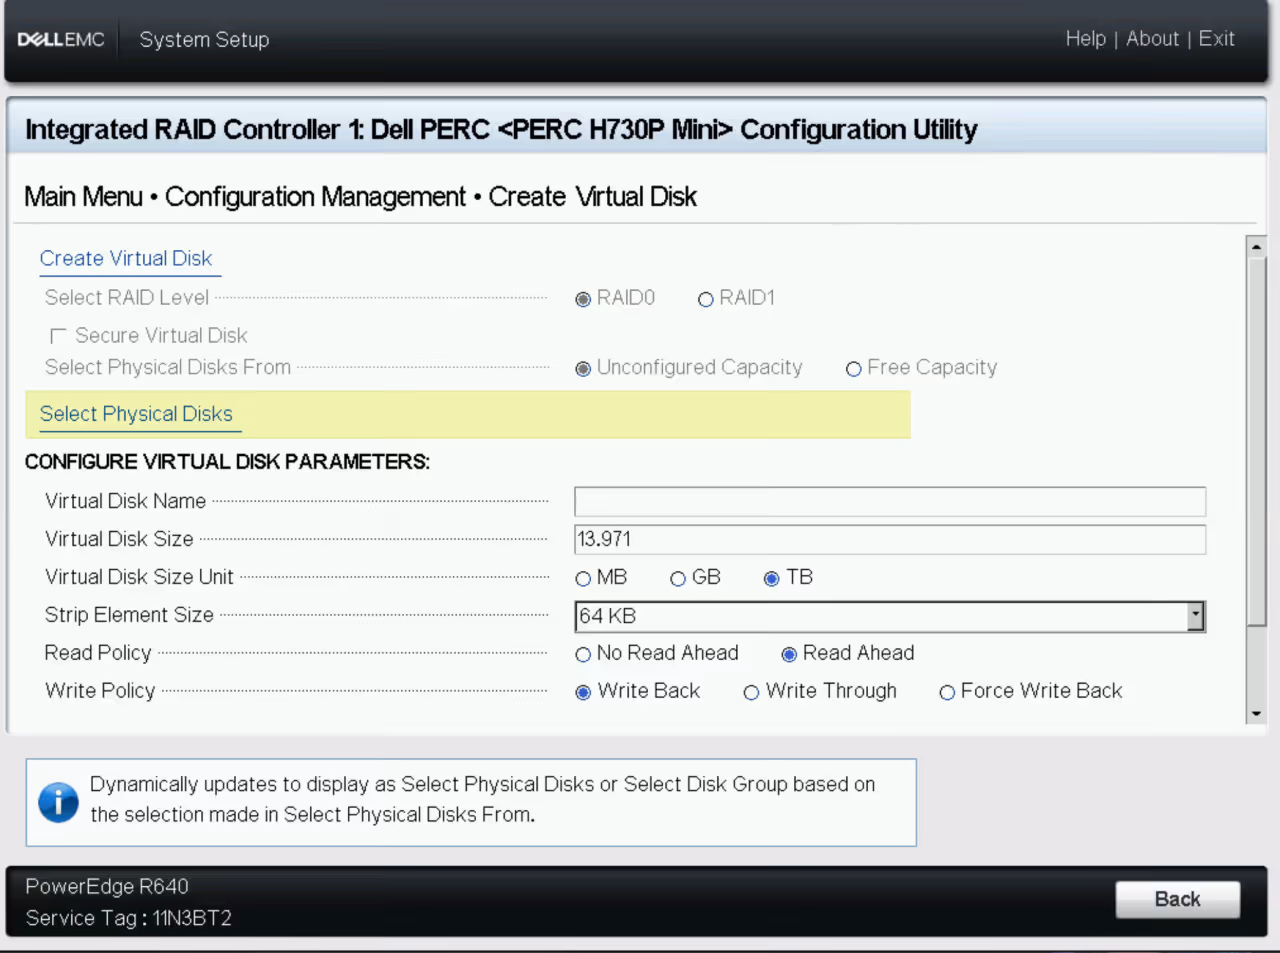
Check the array
Under Virtual Disk Management you should see the status as Ready along with the size of the newly created virtual disk.
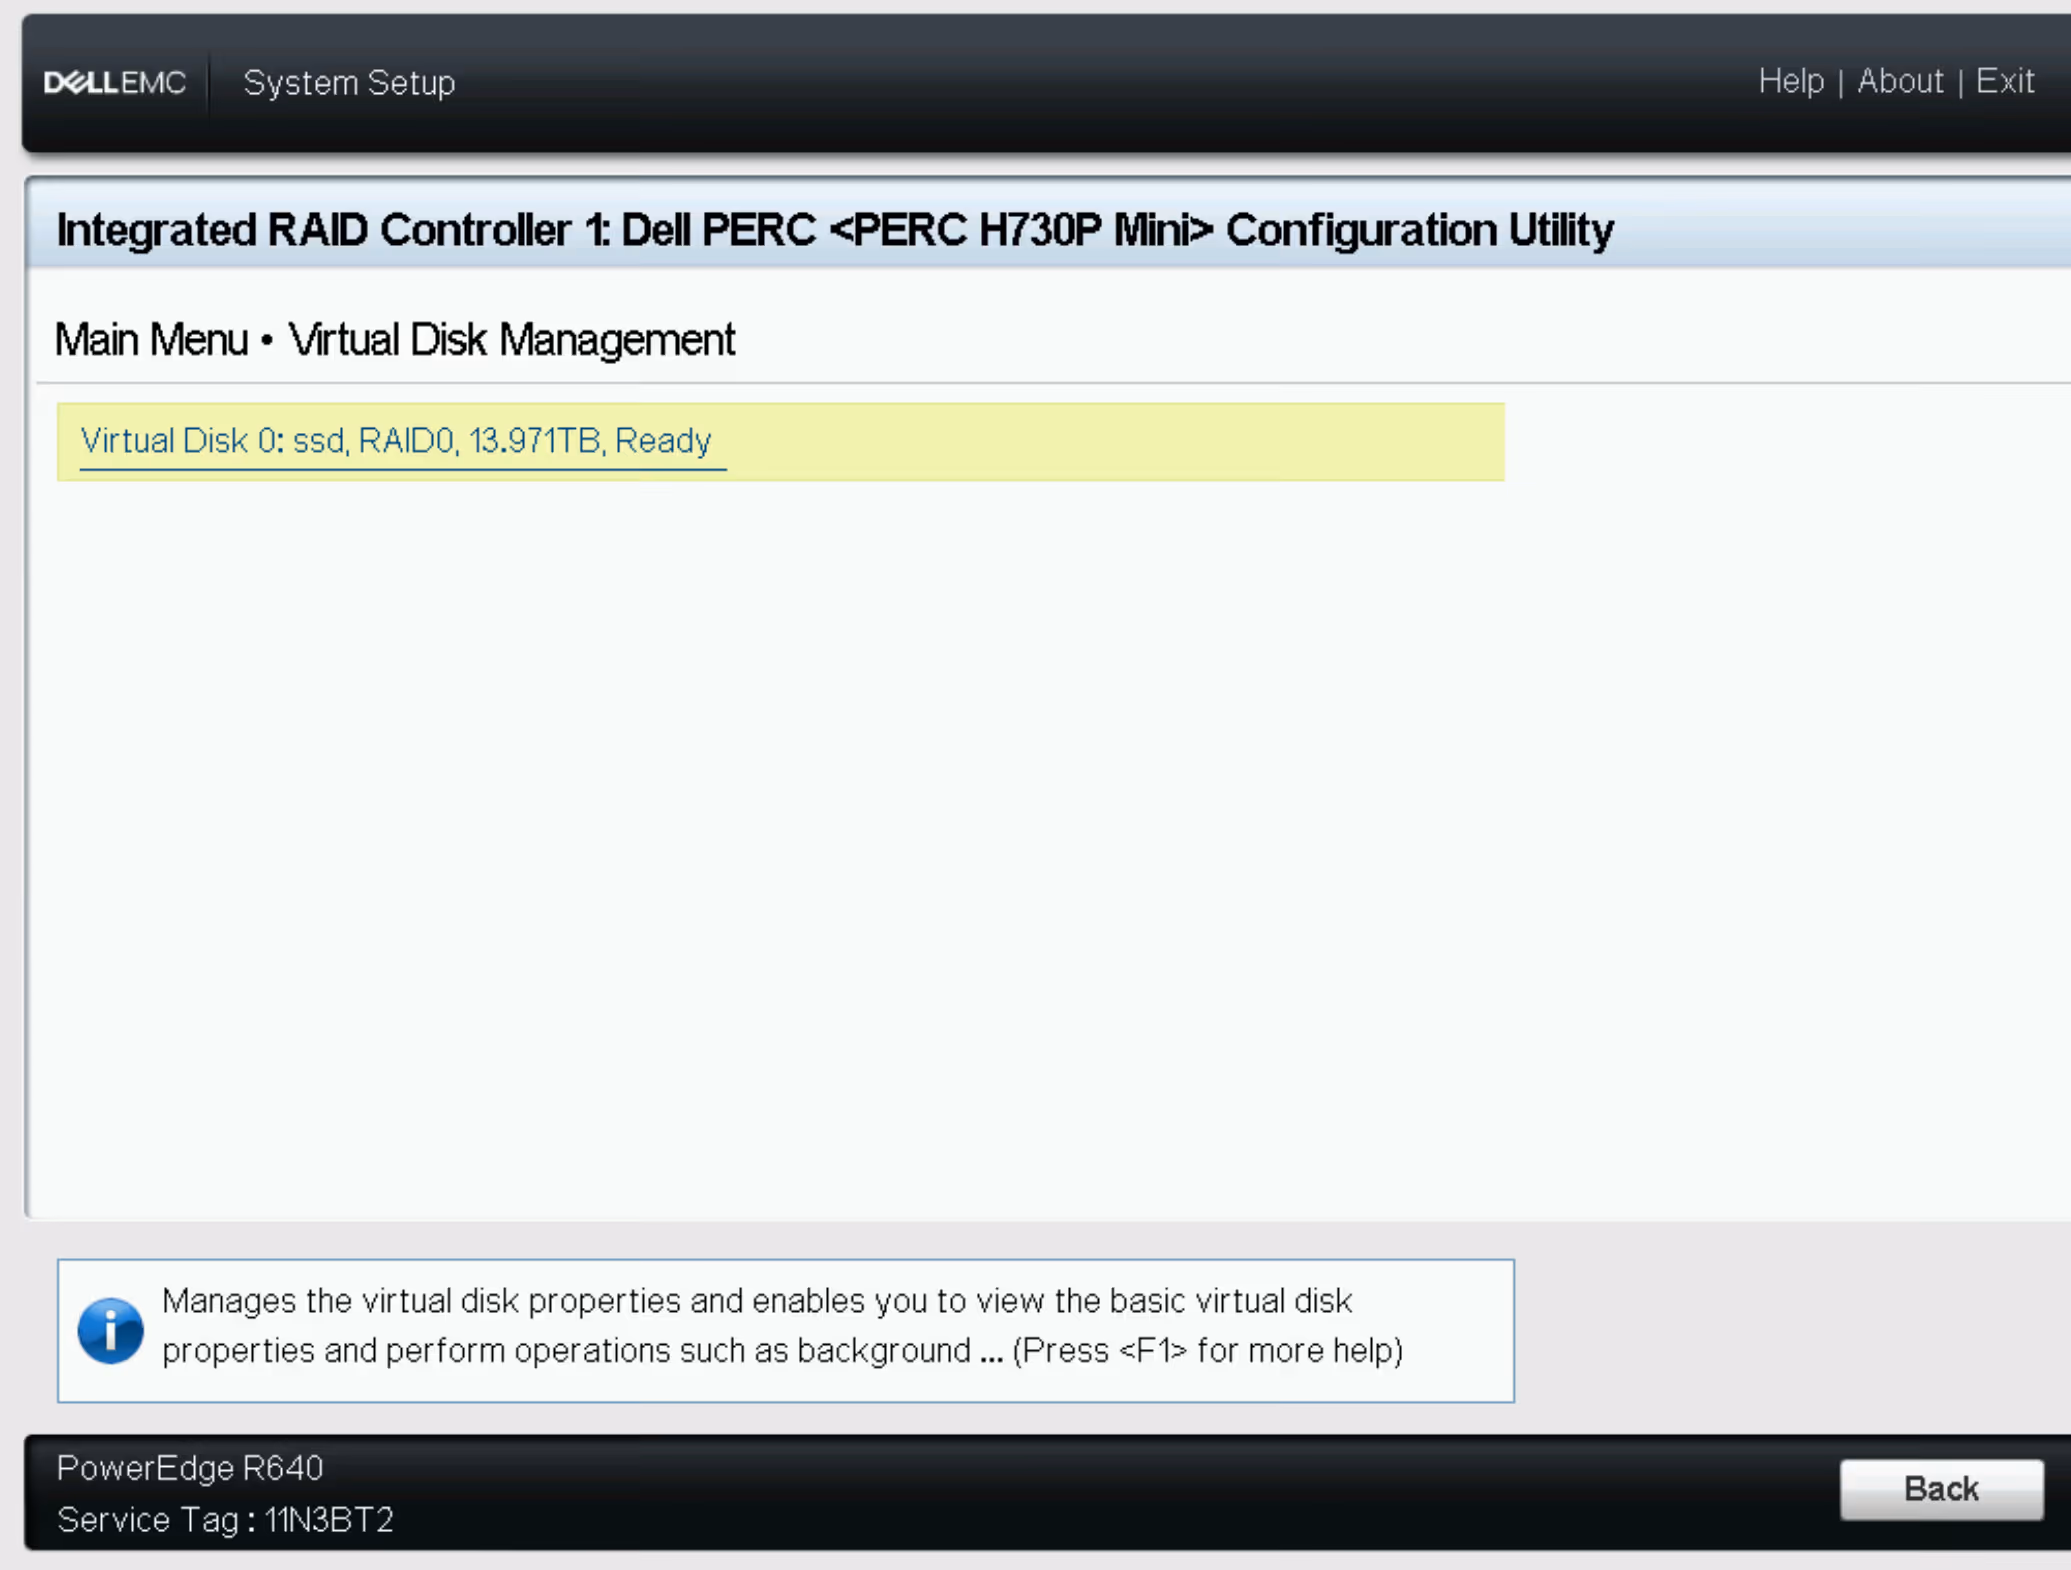
At this point the RAID reconfiguration is done. Save your settings and reboot the server.
Install the OS
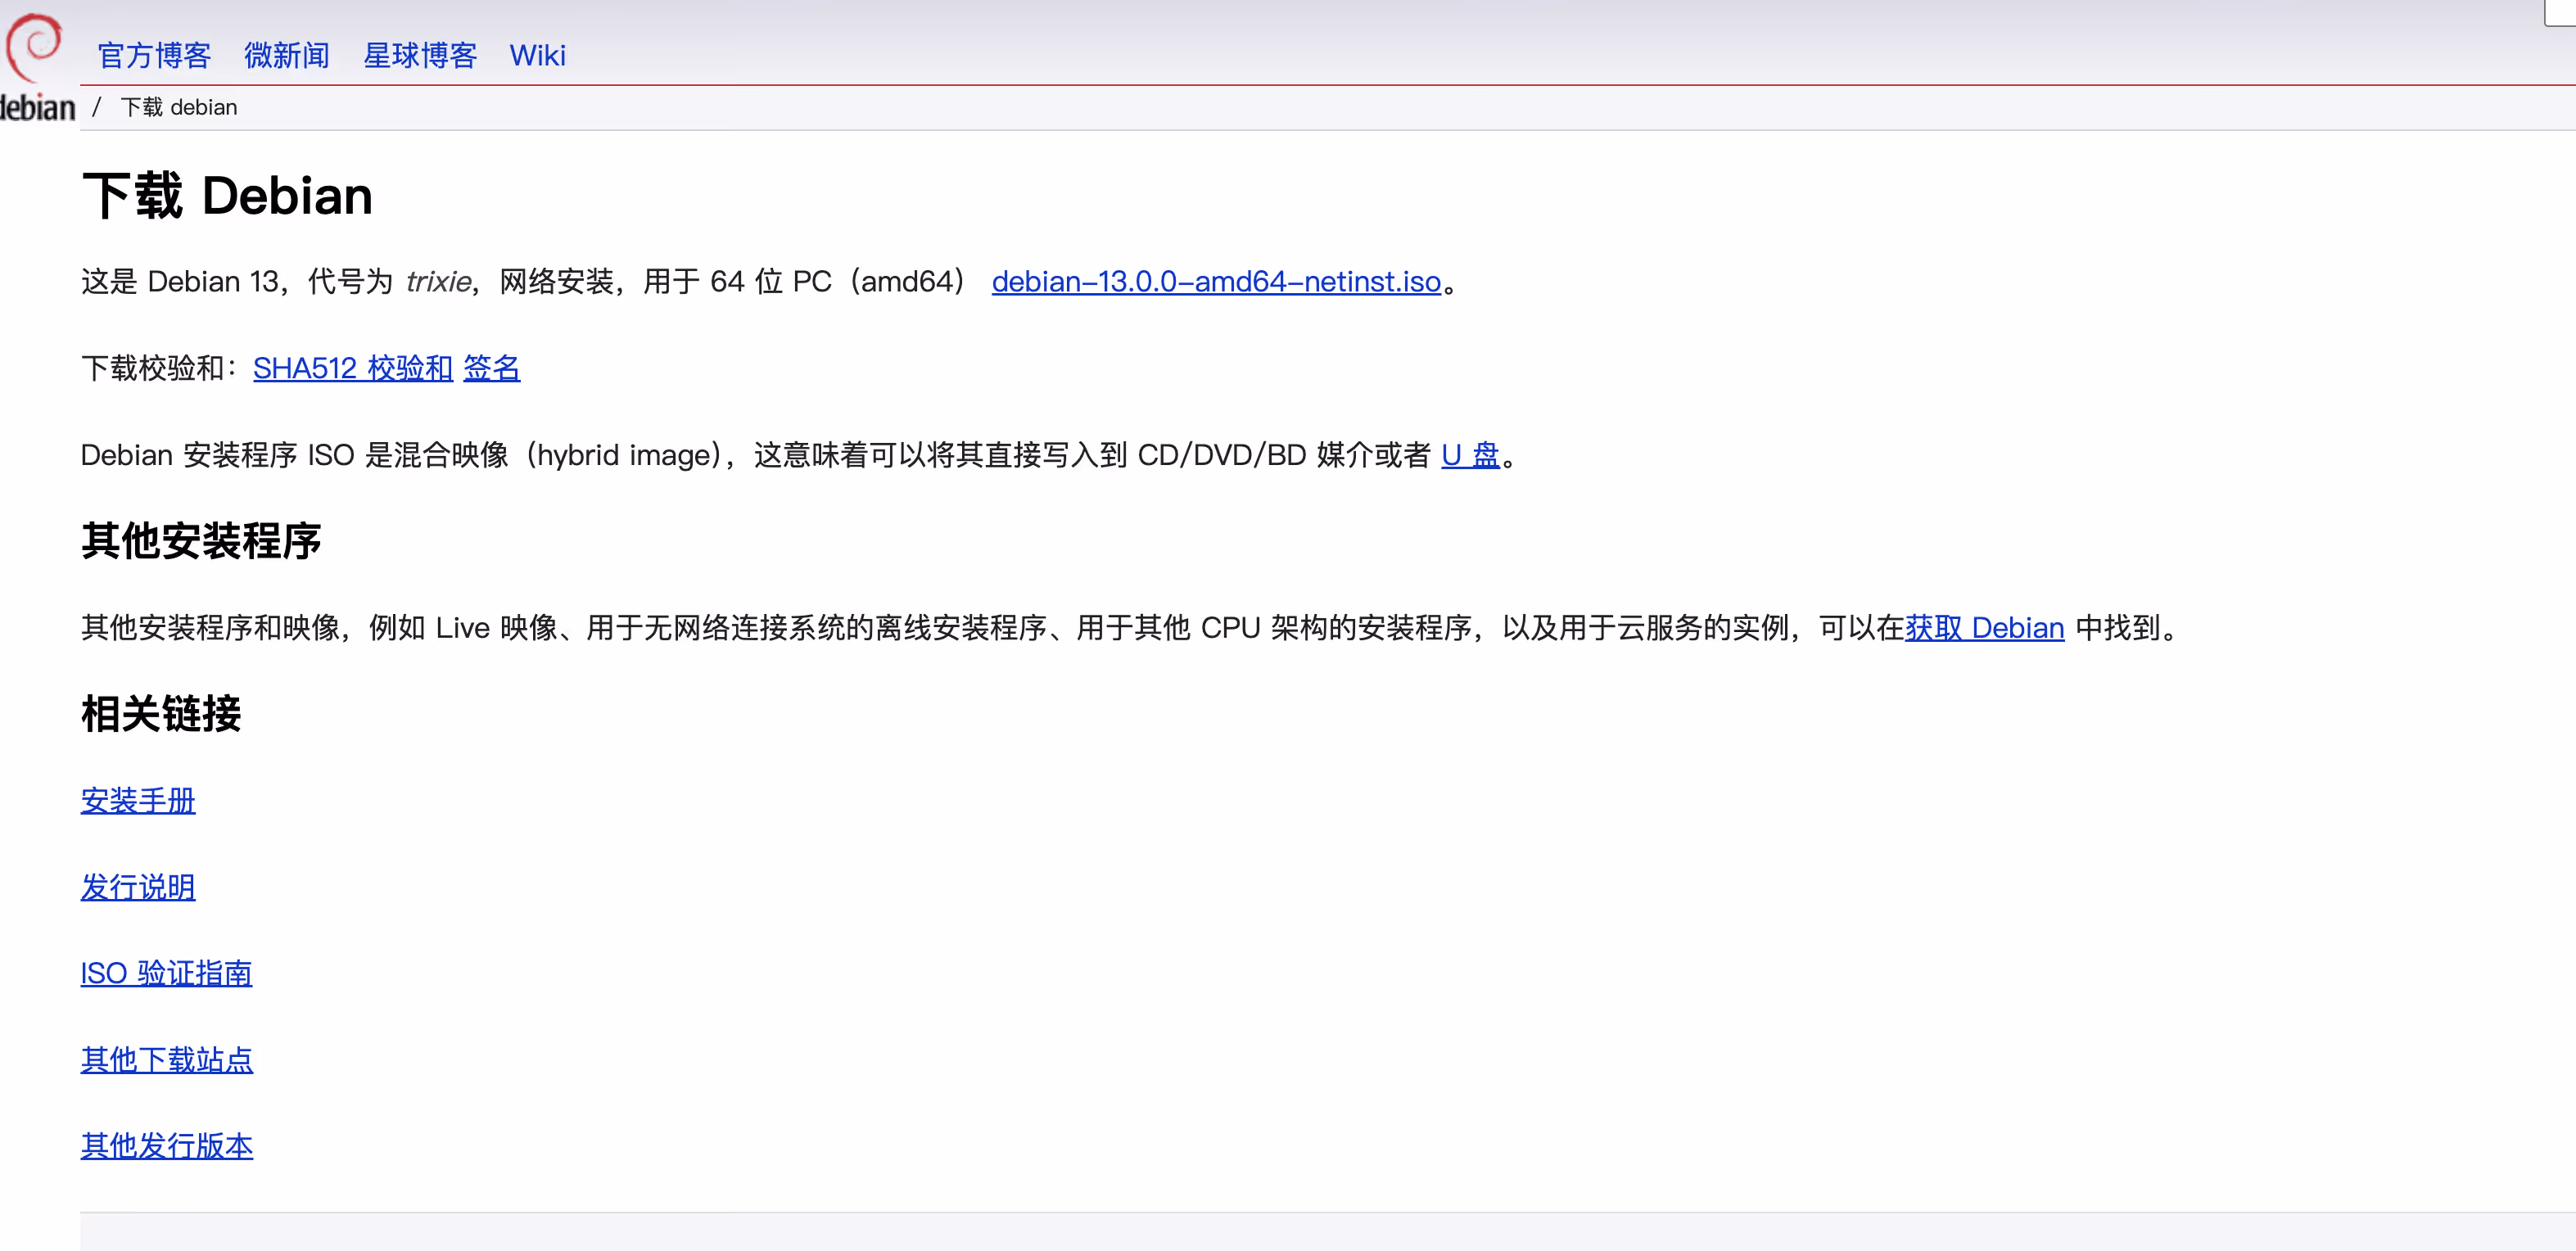
Download Debian 13
I’ll use Debian 13 as an example. First go to the official site and download the ISO. You can choose either the netinst image or the full ISO—either works.
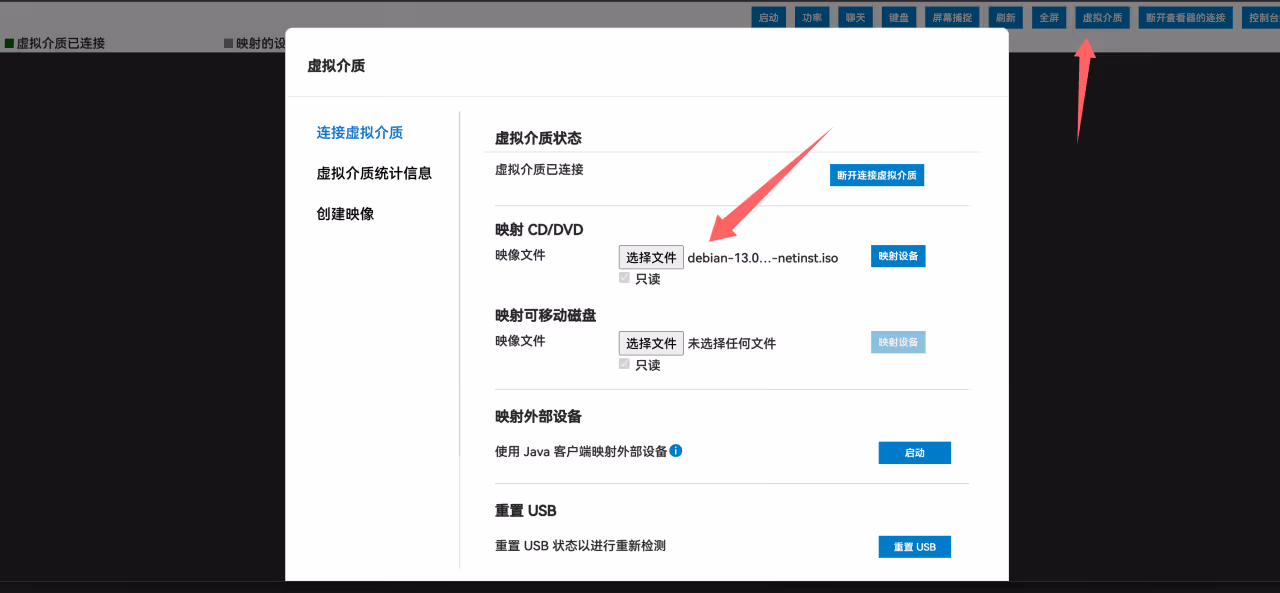
Mount virtual media
After completing the previous step and rebooting the server, open the web console again. Click Virtual Media, then mount the ISO you just downloaded and click Map Device.
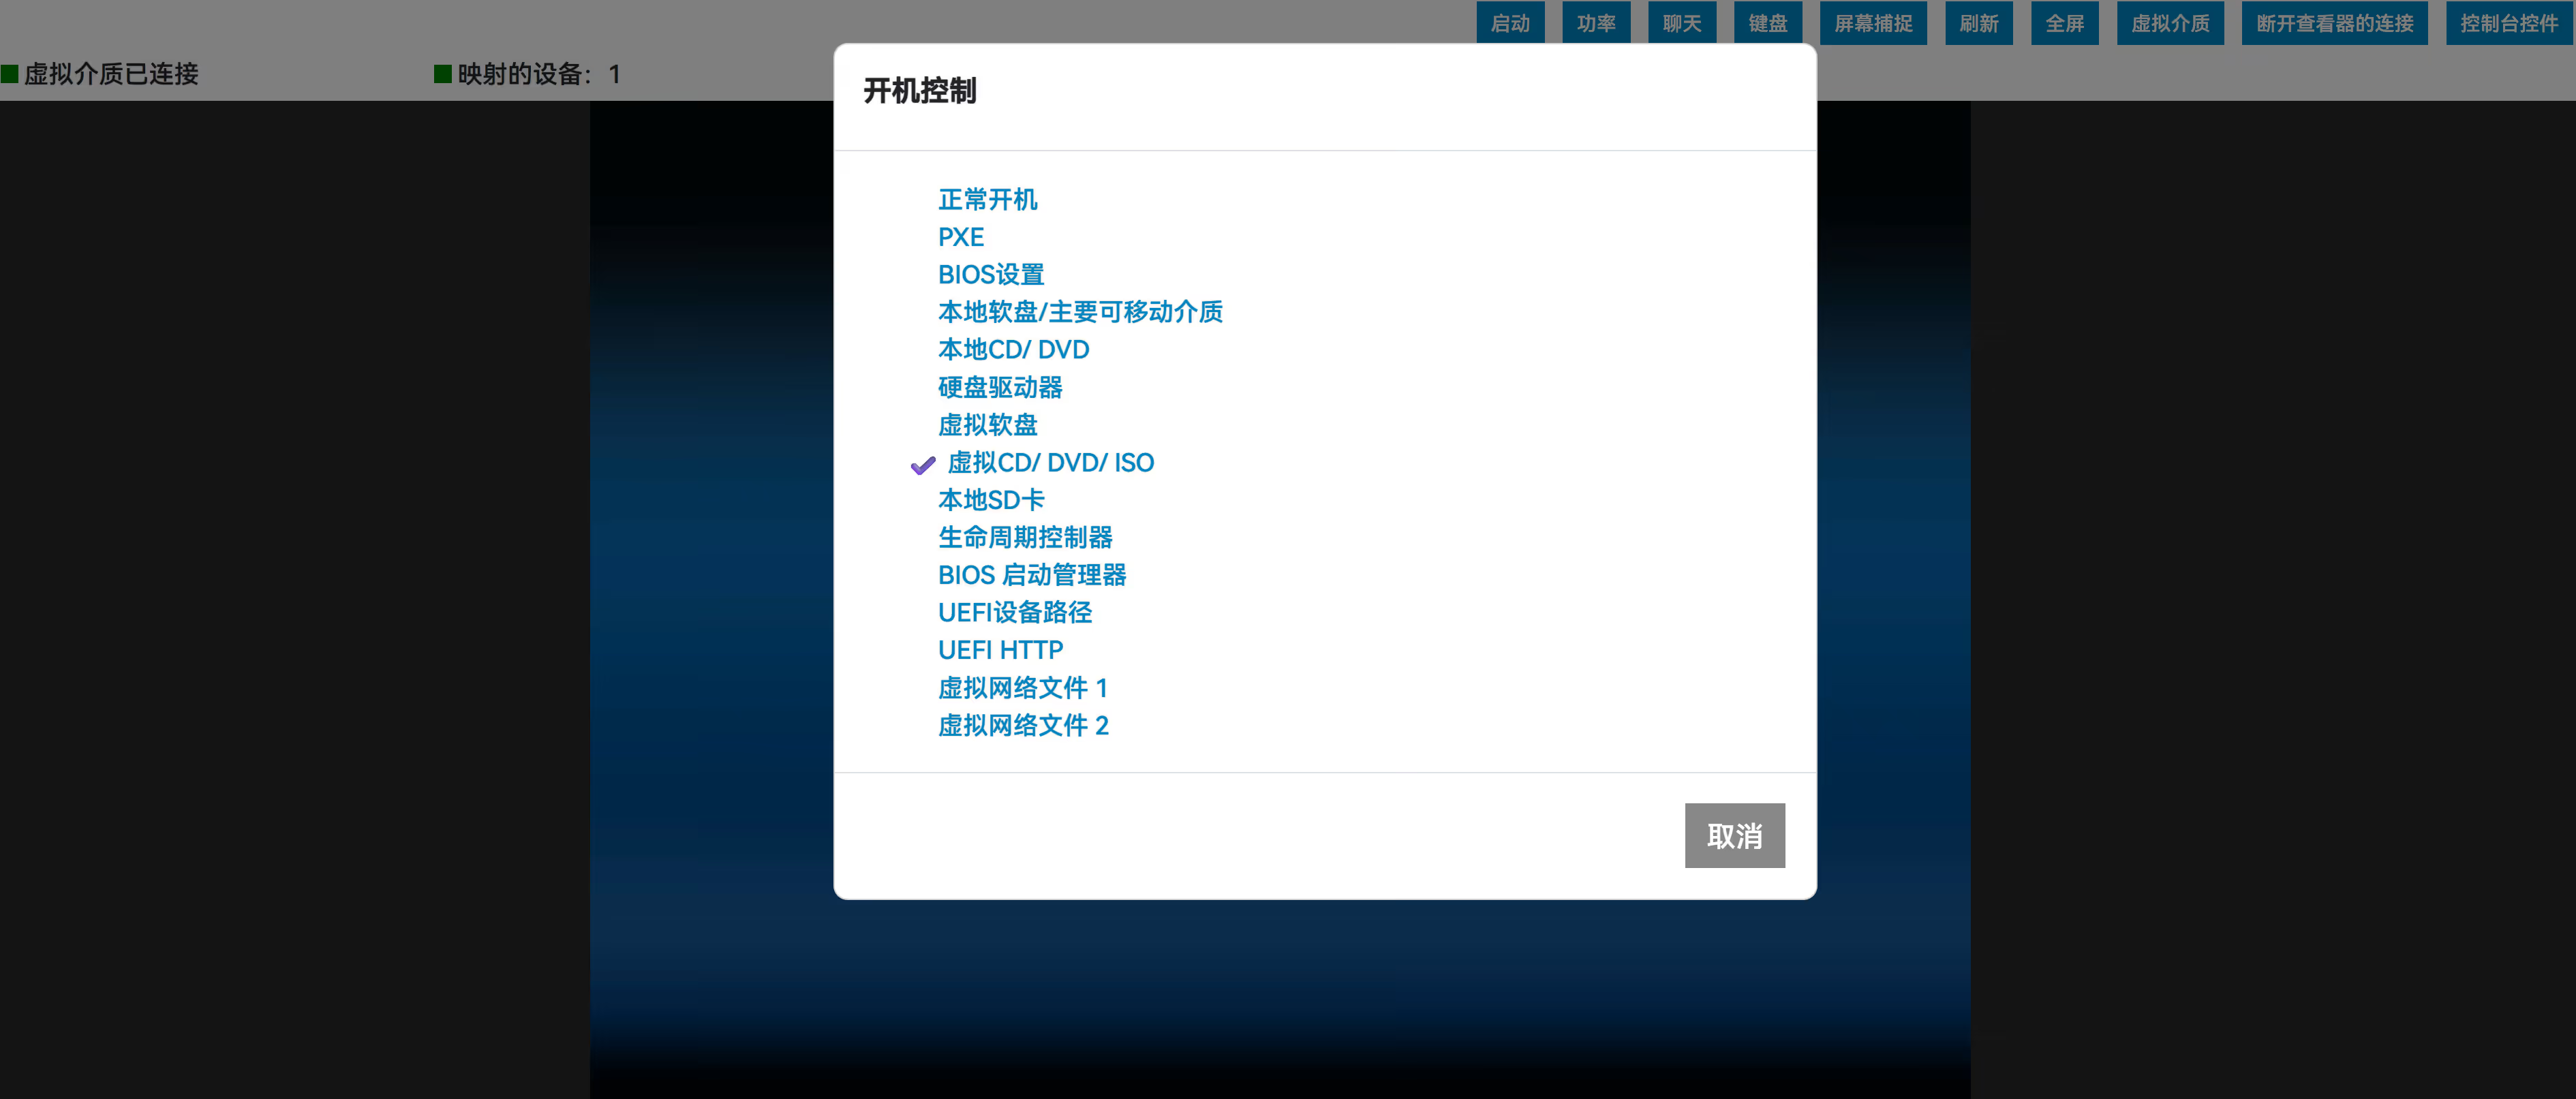
Adjust boot order
Go to the boot options and select Virtual CD/DVD/ISO as the boot device. Once this is configured, reboot the server.
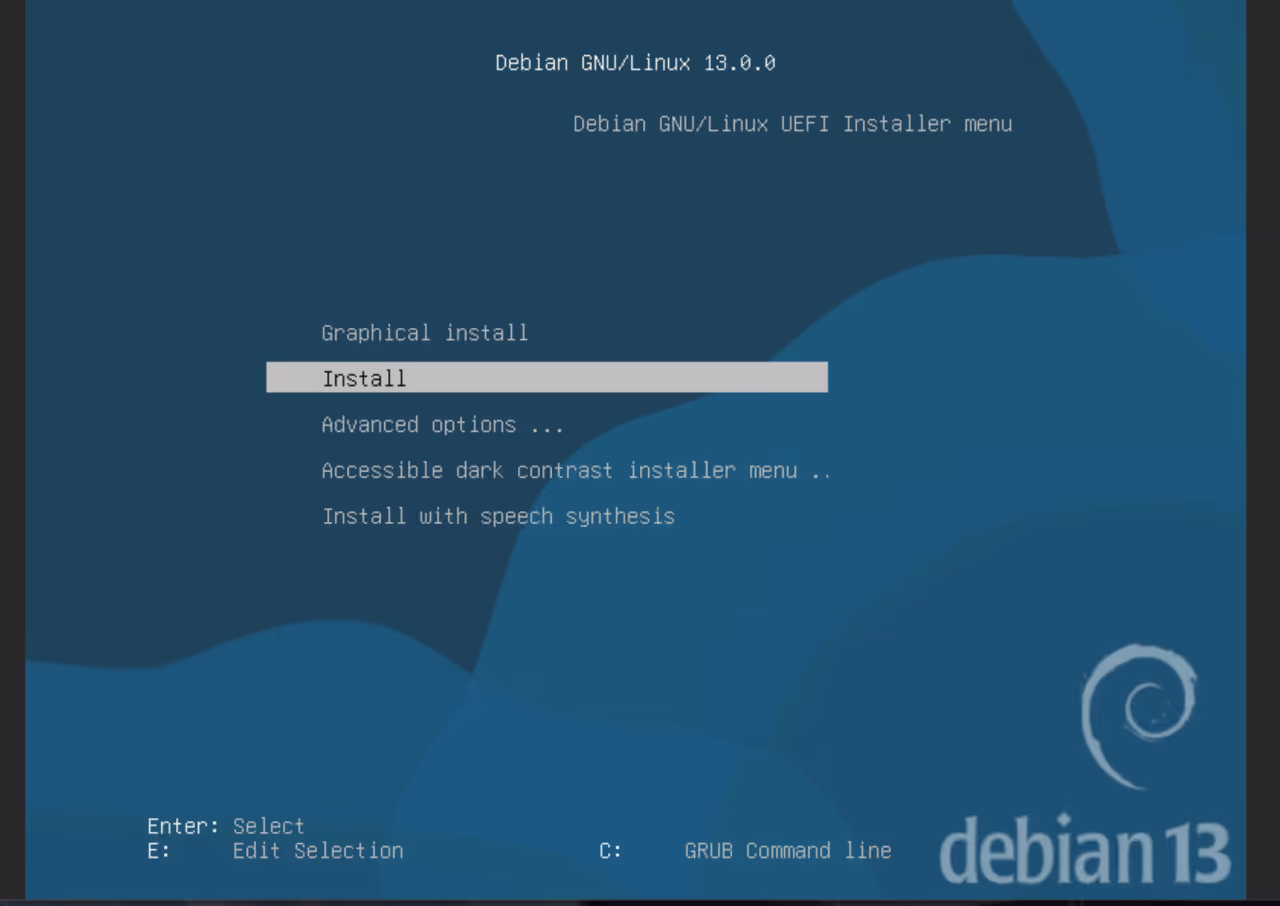
Install Debian 13

Summary
For a server that’s $9.9 for the first month on the front page, it’s actually pretty nice as a box to practice on and get some hands‑on experience.